Assembly
Plan most of an afternoon, including the first fire. The cart goes together with the included tools, and the main job is lifting the ceramic body into it.
- Build the cart close to where the grill will live, on a flat surface.
- Lock both locking casters before lifting any ceramic onto the cart.
- Use two people for the base and dome, and hold the ceramic, never the bands or hinge.
- Check that the dome closes evenly and the gasket meets all the way around; adjust the door latch and band if there's a gap.
- Run a moderate first fire to let the gasket settle before going to searing heat.
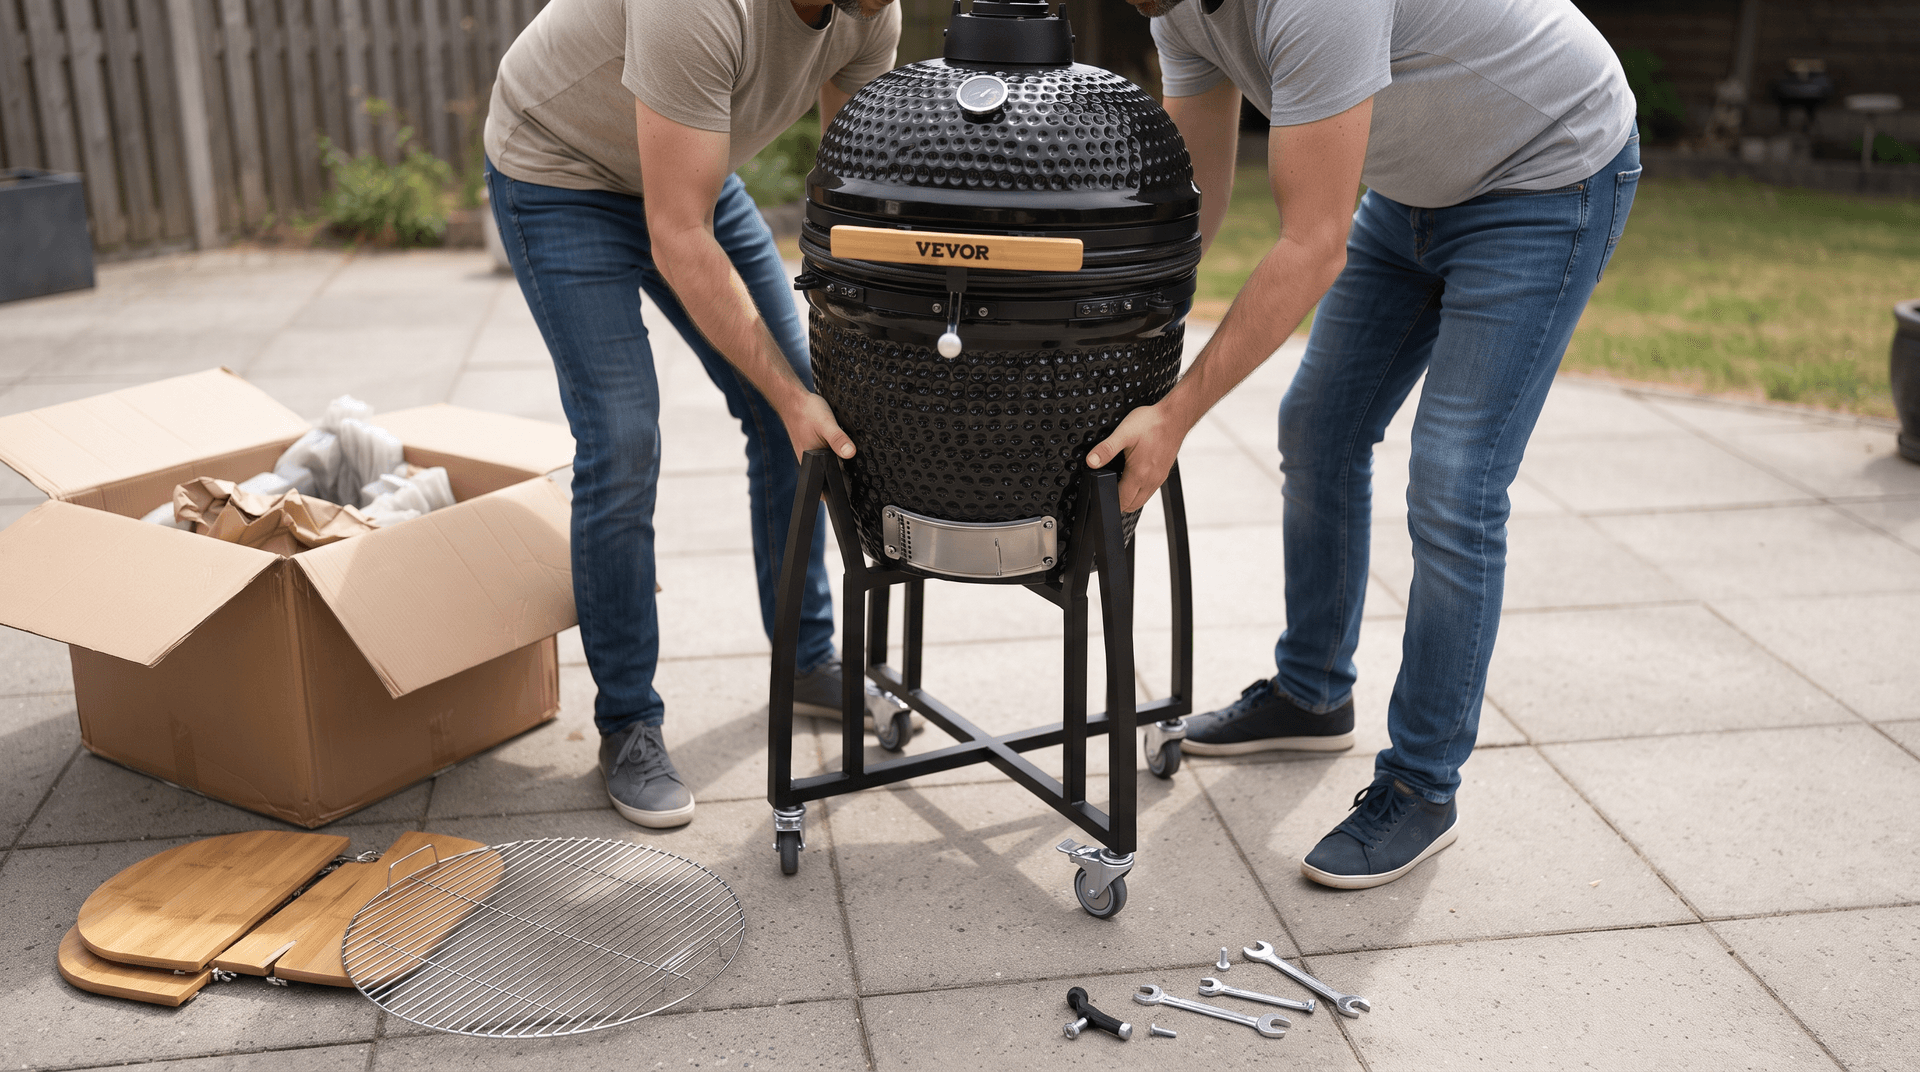 Lowering the ceramic into the cart is a two-person job.
Lighting and fuel
VEVOR says the grill is for charcoal only, not firewood. Use hardwood lump with a natural starter cube or an electric starter, and skip lighter fluid, which can leave off flavors in porous ceramic. Briquettes make more ash, which can choke airflow on long cooks.
Loading and lighting the lump
- Load: fill to the top of the fire ring for long cooks, with big pieces at the bottom so air can flow.
- Light: one spot in the center for low and slow, two or three spots for searing or pizza.
- Settle: leave the dome open for about 10 minutes after lighting, then close it and let the ceramic stabilize before cooking.
Adding smoke wood
Bury two or three fist-sized wood chunks in the lump before lighting for long cooks. Chips burn up fast in a kamado, so chunks give steadier smoke. Our wood chips and chunks guide covers which wood suits which meat.
Shutting down
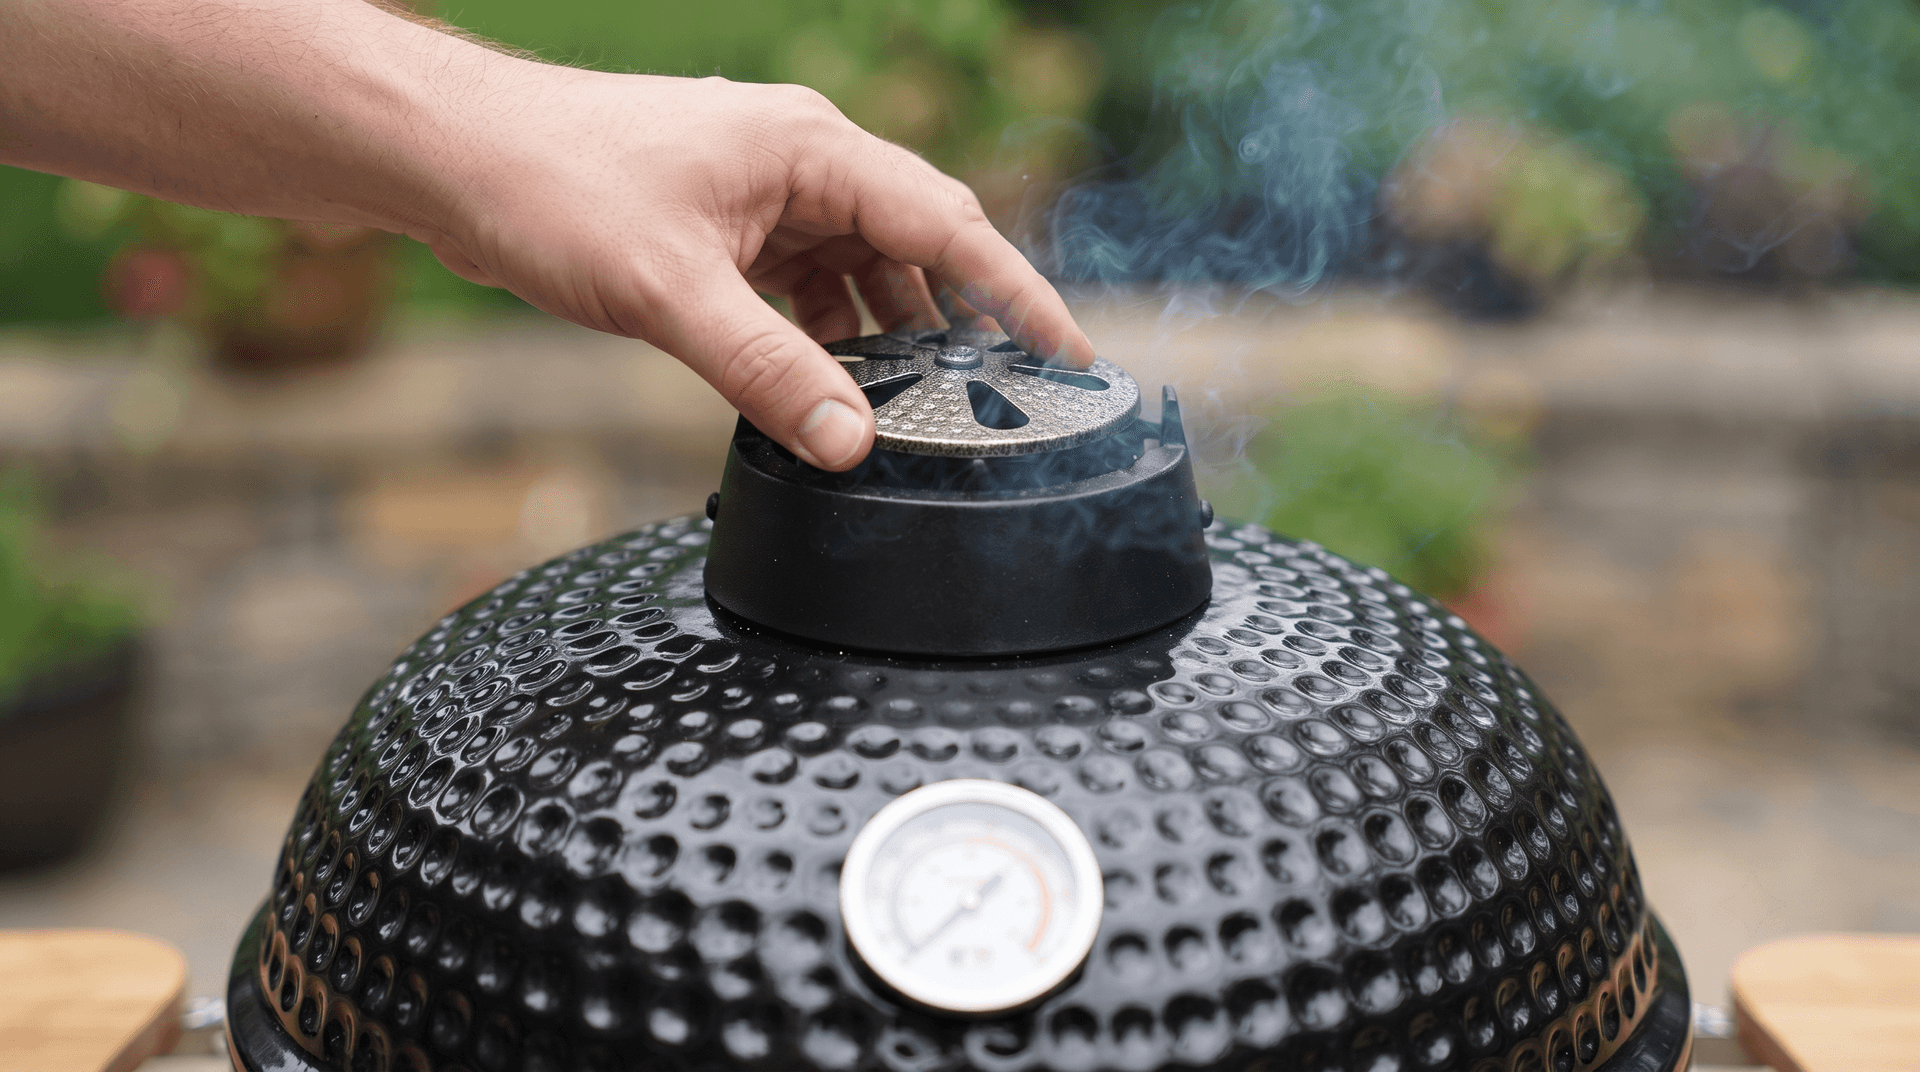
Close the top and bottom vents fully. The fire starves and goes out, and leftover lump relights next time. Never pour water on hot ceramic, because it can crack.
Cleaning and care
- Grate: brush it while warm (see how to clean grill grates).
- Ash: clear it once cold. Ash build-up is the most common reason a kamado won't get hot.
- Interior: a hot, empty burn cleans the ceramic. No soap or water inside.
- Hardware: check the hinge and cart bolts each season, and wipe metal parts dry after rain.
- Cover: none is included. Buy one sized for 18-inch kamados with side shelves, and close the top vent when the grill is off.
For cold months, follow our winterizing checklist.
What to cook first
Start with something short at a moderate heat, like a spatchcocked chicken. It teaches you how slowly the ceramic responds and how the vents behave before you risk an expensive cut.
- First week: chicken or sausages at a moderate temperature, to learn the vents.
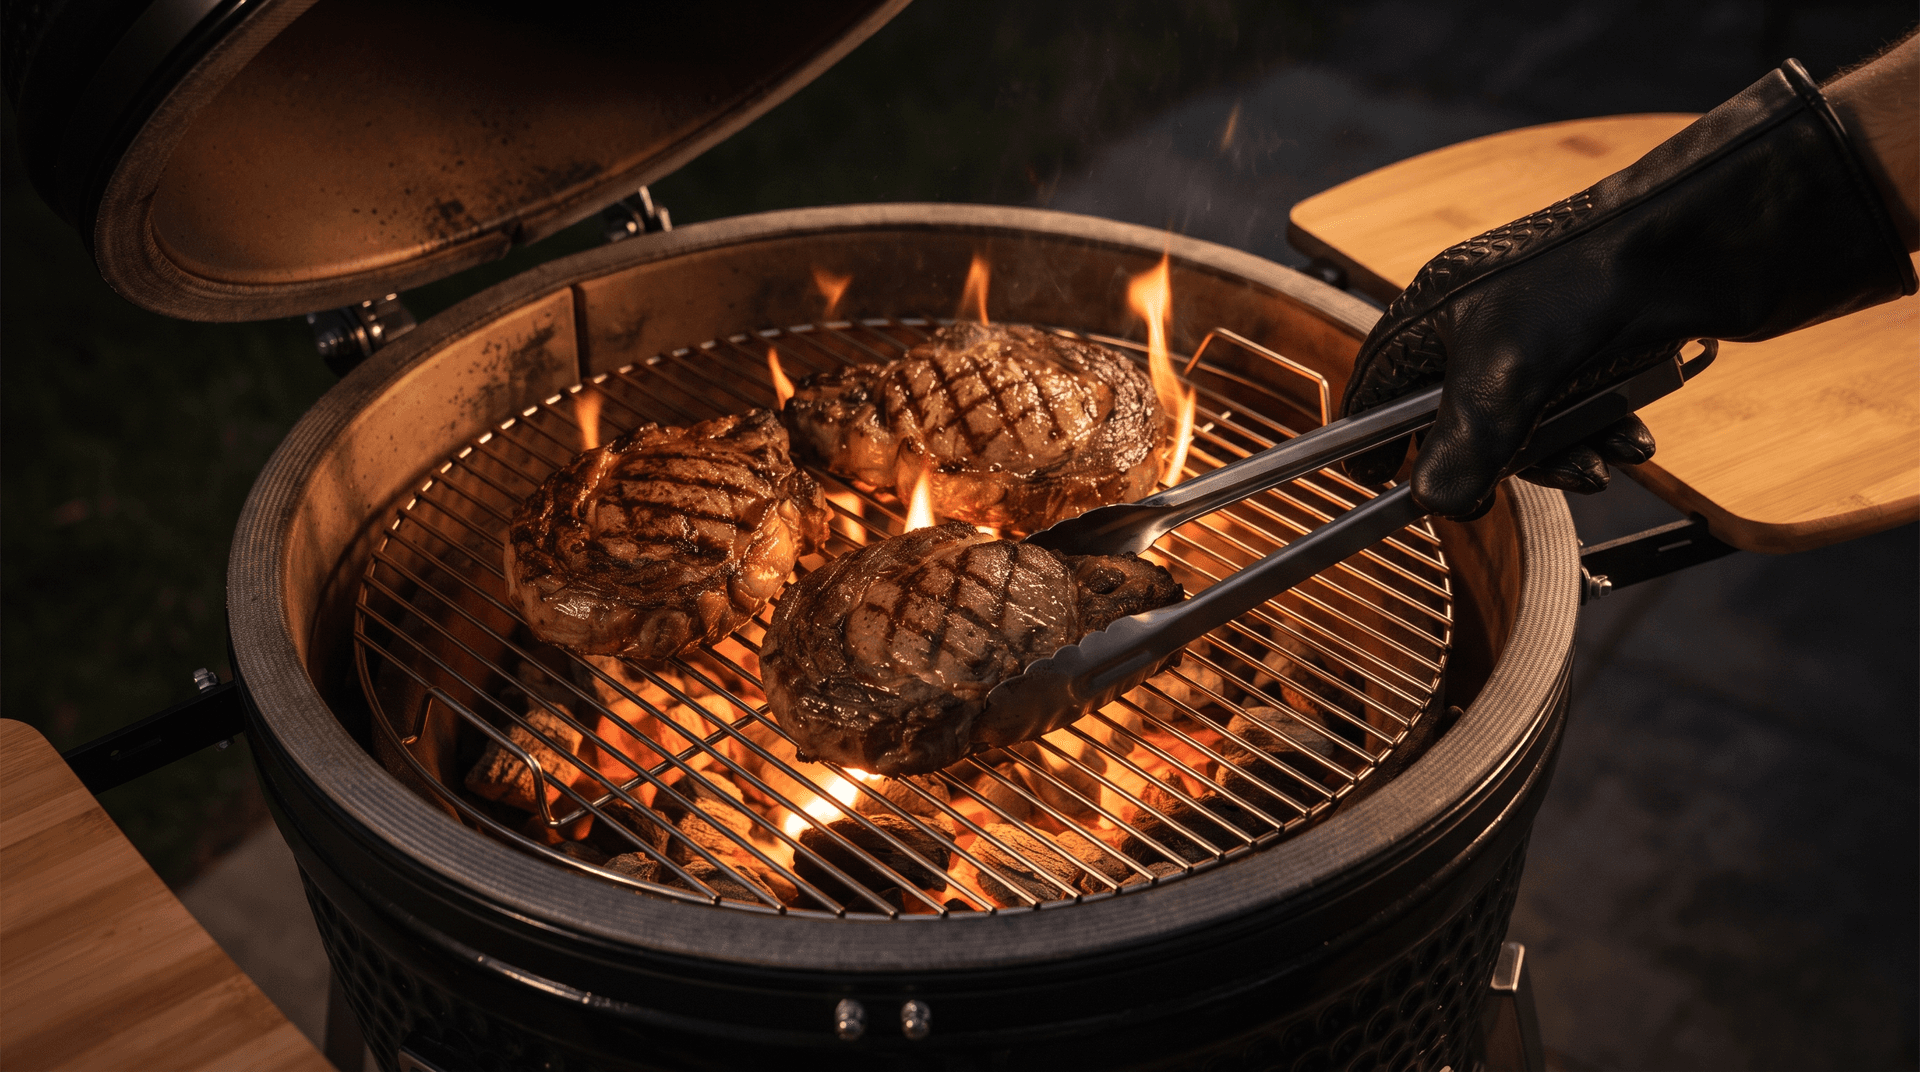
- Second cook: a steak night with the reverse sear, to learn how fast the fire climbs.
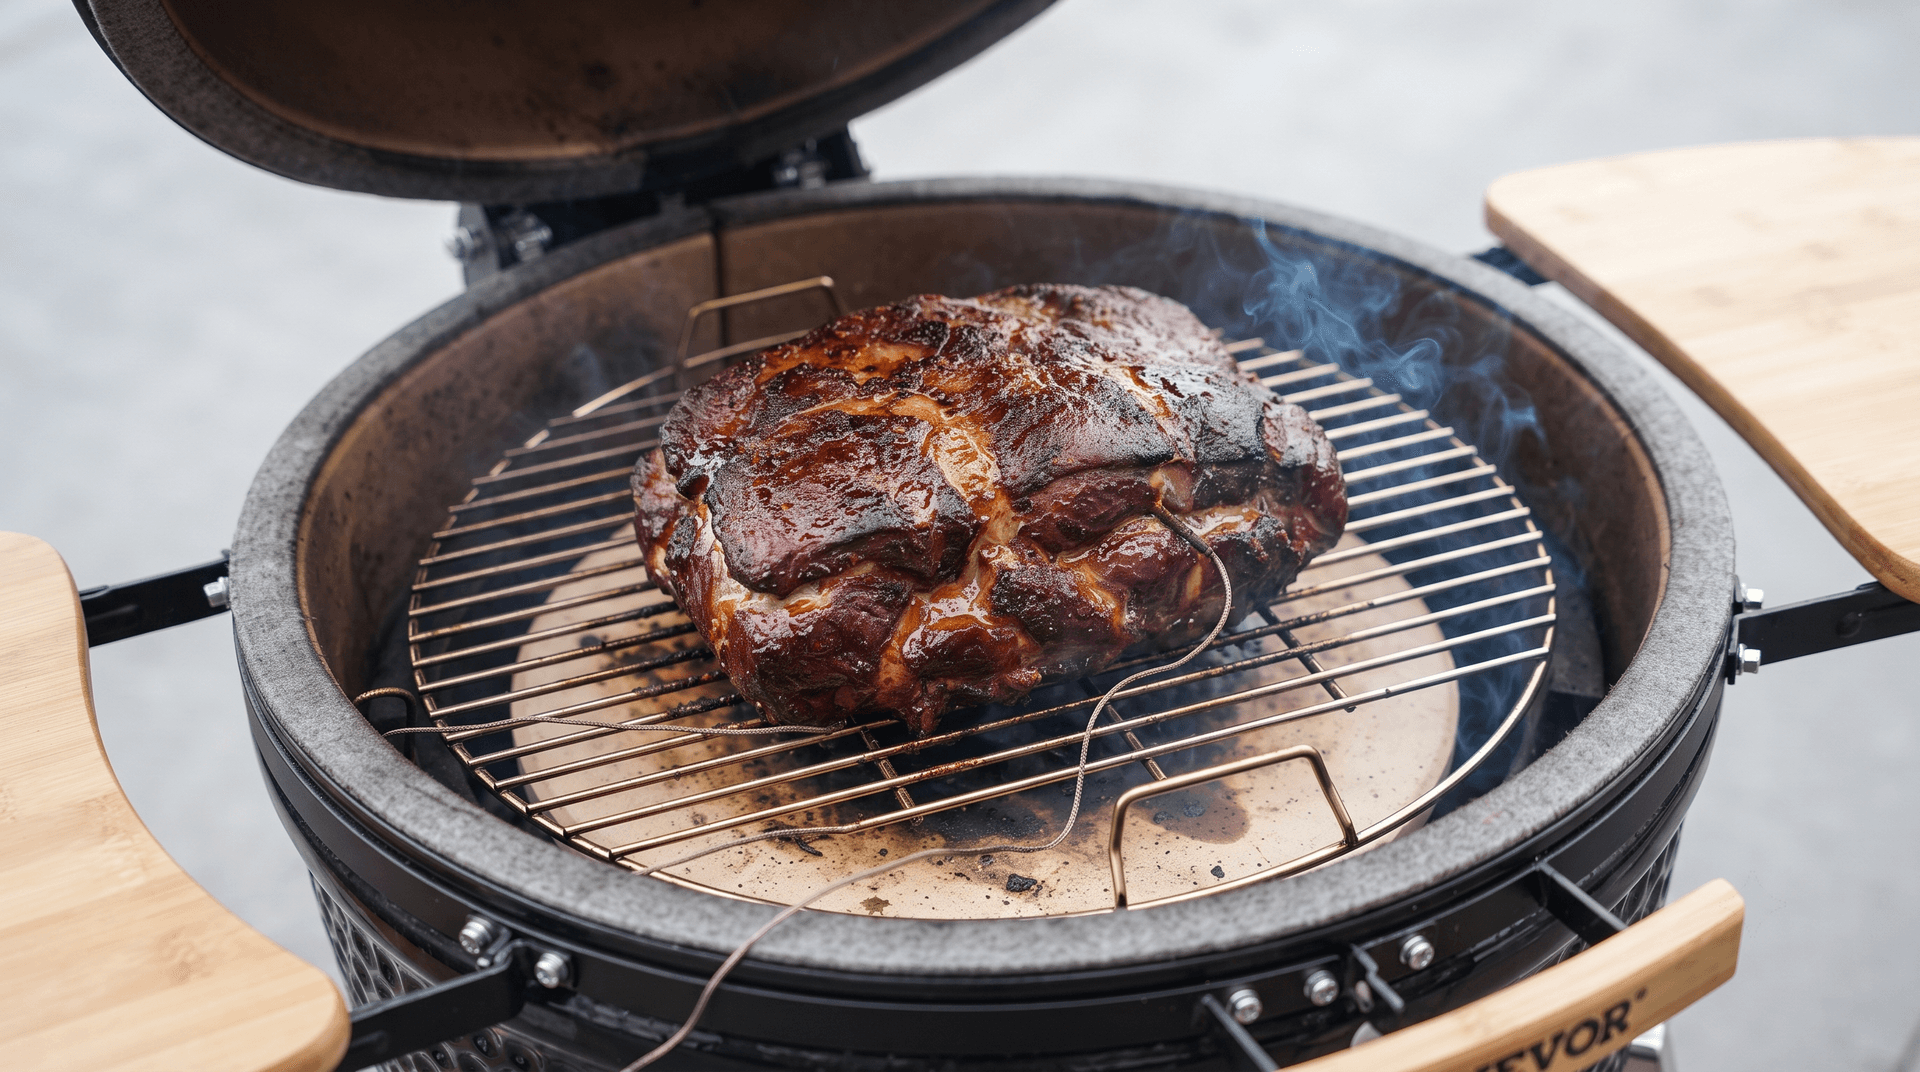
- Then: pizza on a stone, and only after that an overnight pork shoulder.
Accessories worth buying
The box holds the basics, so plan for a few extras. Check that anything you buy is sized for 18-inch kamados, and measure the grate and fire ring before ordering, since fit can vary between brands.
| Accessory | Why it helps |
|---|
| Ceramic heat deflector | Needed for indirect smoking and roasting |
| Pizza stone | Bakes pizza and doubles as a deflector |
| Fitted cover | Protects the gasket, vents, hinge and shelves from rain |
| Two-probe thermometer | Reads the grate and the food, not the dome air |
| Ash tool and grate lifter | Clears ash and lets you add fuel safely |
Running costs and warranty
Lump charcoal is the main ongoing cost. Because you shut the vents to put the fire out, leftover lump relights next time, so a bag lasts longer than on a steel grill. Budget for a replacement gasket every few seasons if you cook hot often; it is the part most kamado owners replace first.
VEVOR's listing doesn't spell out the warranty term. Keep your order record, inspect the ceramic for chips or cracks as soon as it arrives, and check the return window while a return is still easy.
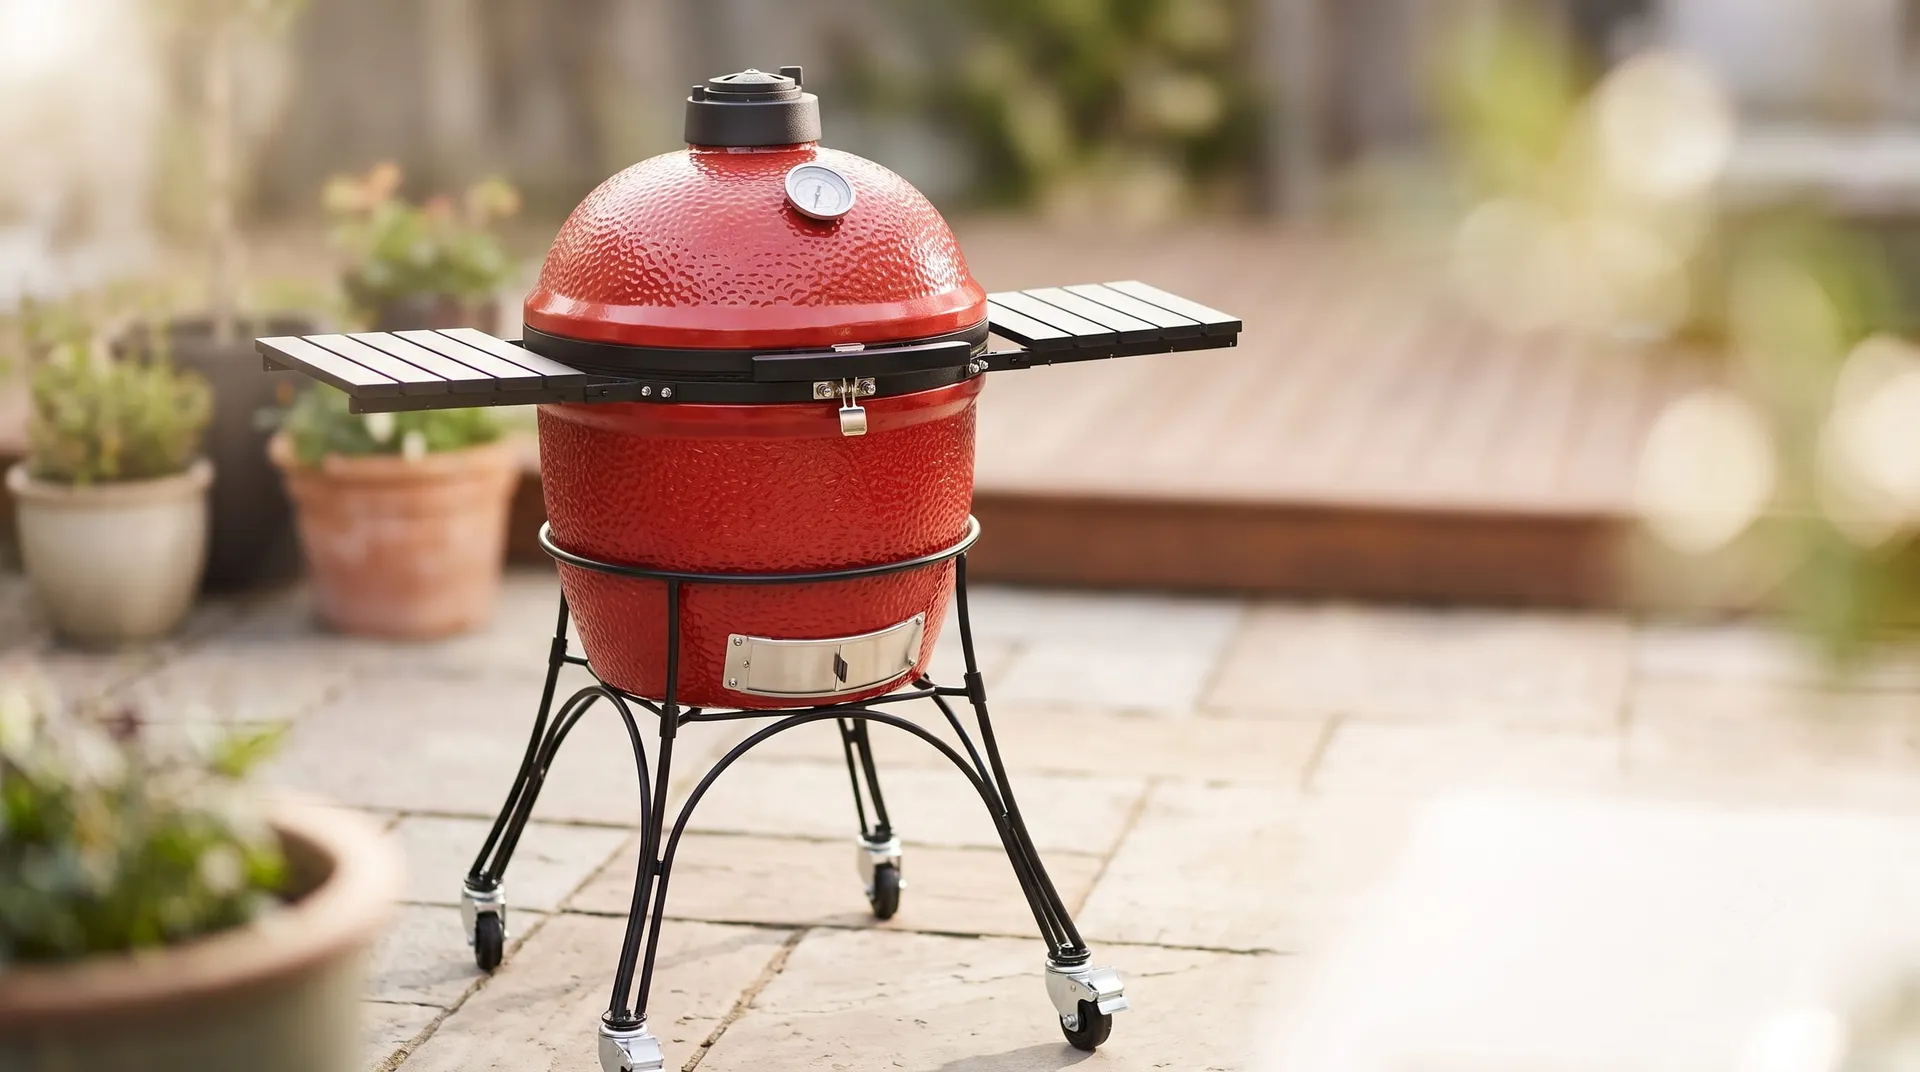
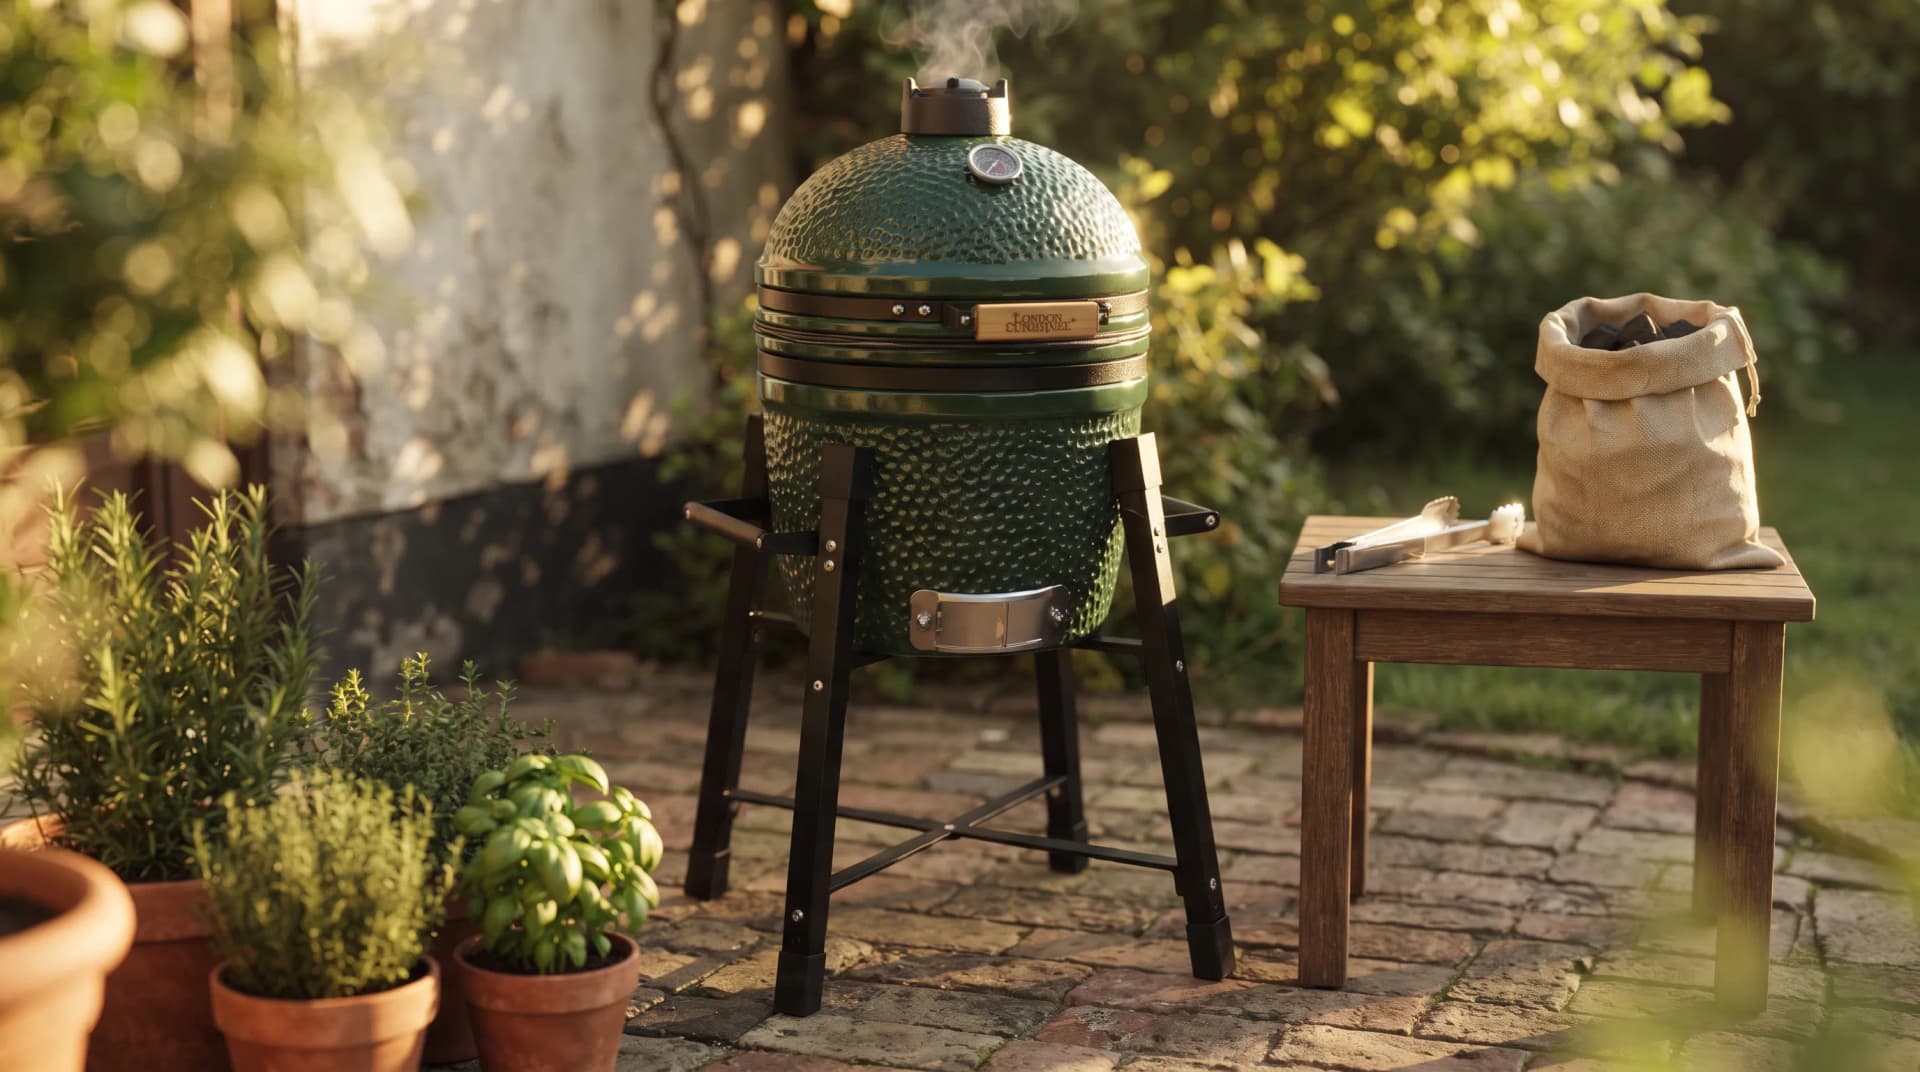
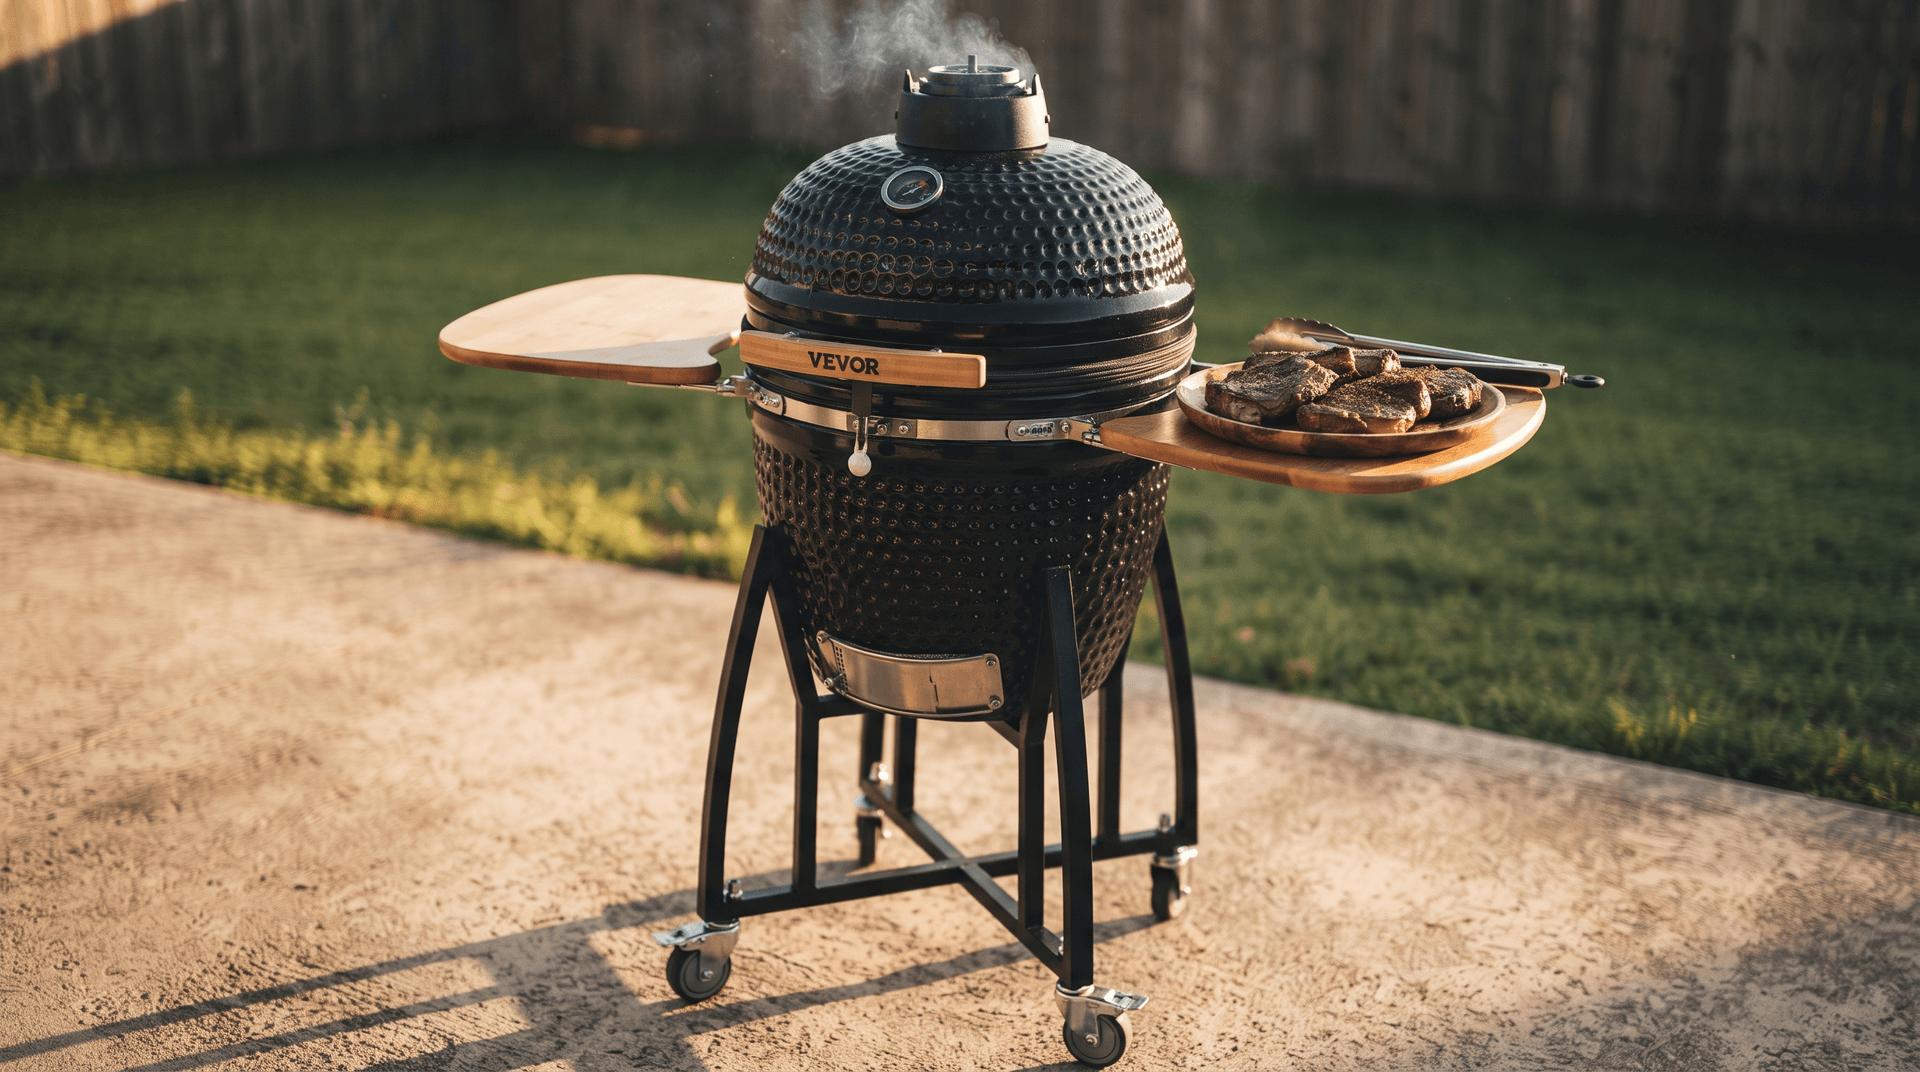 The VEVOR 18-inch kamado on its wheeled cart with both side shelves up.