Charcoal Grill Temperature Control Guide
How to control charcoal grill temperature with vents, coal placement, and airflow, plus how to hold steady heat for hours, from our testing team.
Airflow Is the Only Dial You Have
Unlike a gas grill's burner knob, a charcoal grill has no direct temperature control — every degree of heat comes down to how much oxygen you let reach the coals through the top and bottom vents. Once you genuinely understand that relationship, charcoal temperature control stops being guesswork and becomes a predictable, repeatable skill. This guide covers vent mechanics, coal arrangement, and how to hold steady heat for both short high-heat cooks and long low-and-slow sessions. If you haven't lit a charcoal grill before, start with our how to use a charcoal grill beginner guide for the basics, then come back here for finer vent control.
Quick Answer: Vent Position by Target Temperature
| Target Range | Bottom Vent | Top Vent | Typical Use |
|---|---|---|---|
| 500°F+ (high sear) | Fully open | Fully open | Steaks, burgers, direct searing |
| 350–450°F (medium) | Half open | Half to fully open | Chicken, vegetables, general grilling |
| 225–275°F (low-and-slow) | Quarter open | Half open | Ribs, pork shoulder, brisket |
| Below 225°F (hold/rest) | Barely cracked | Quarter open | Extending a cook, holding food warm |
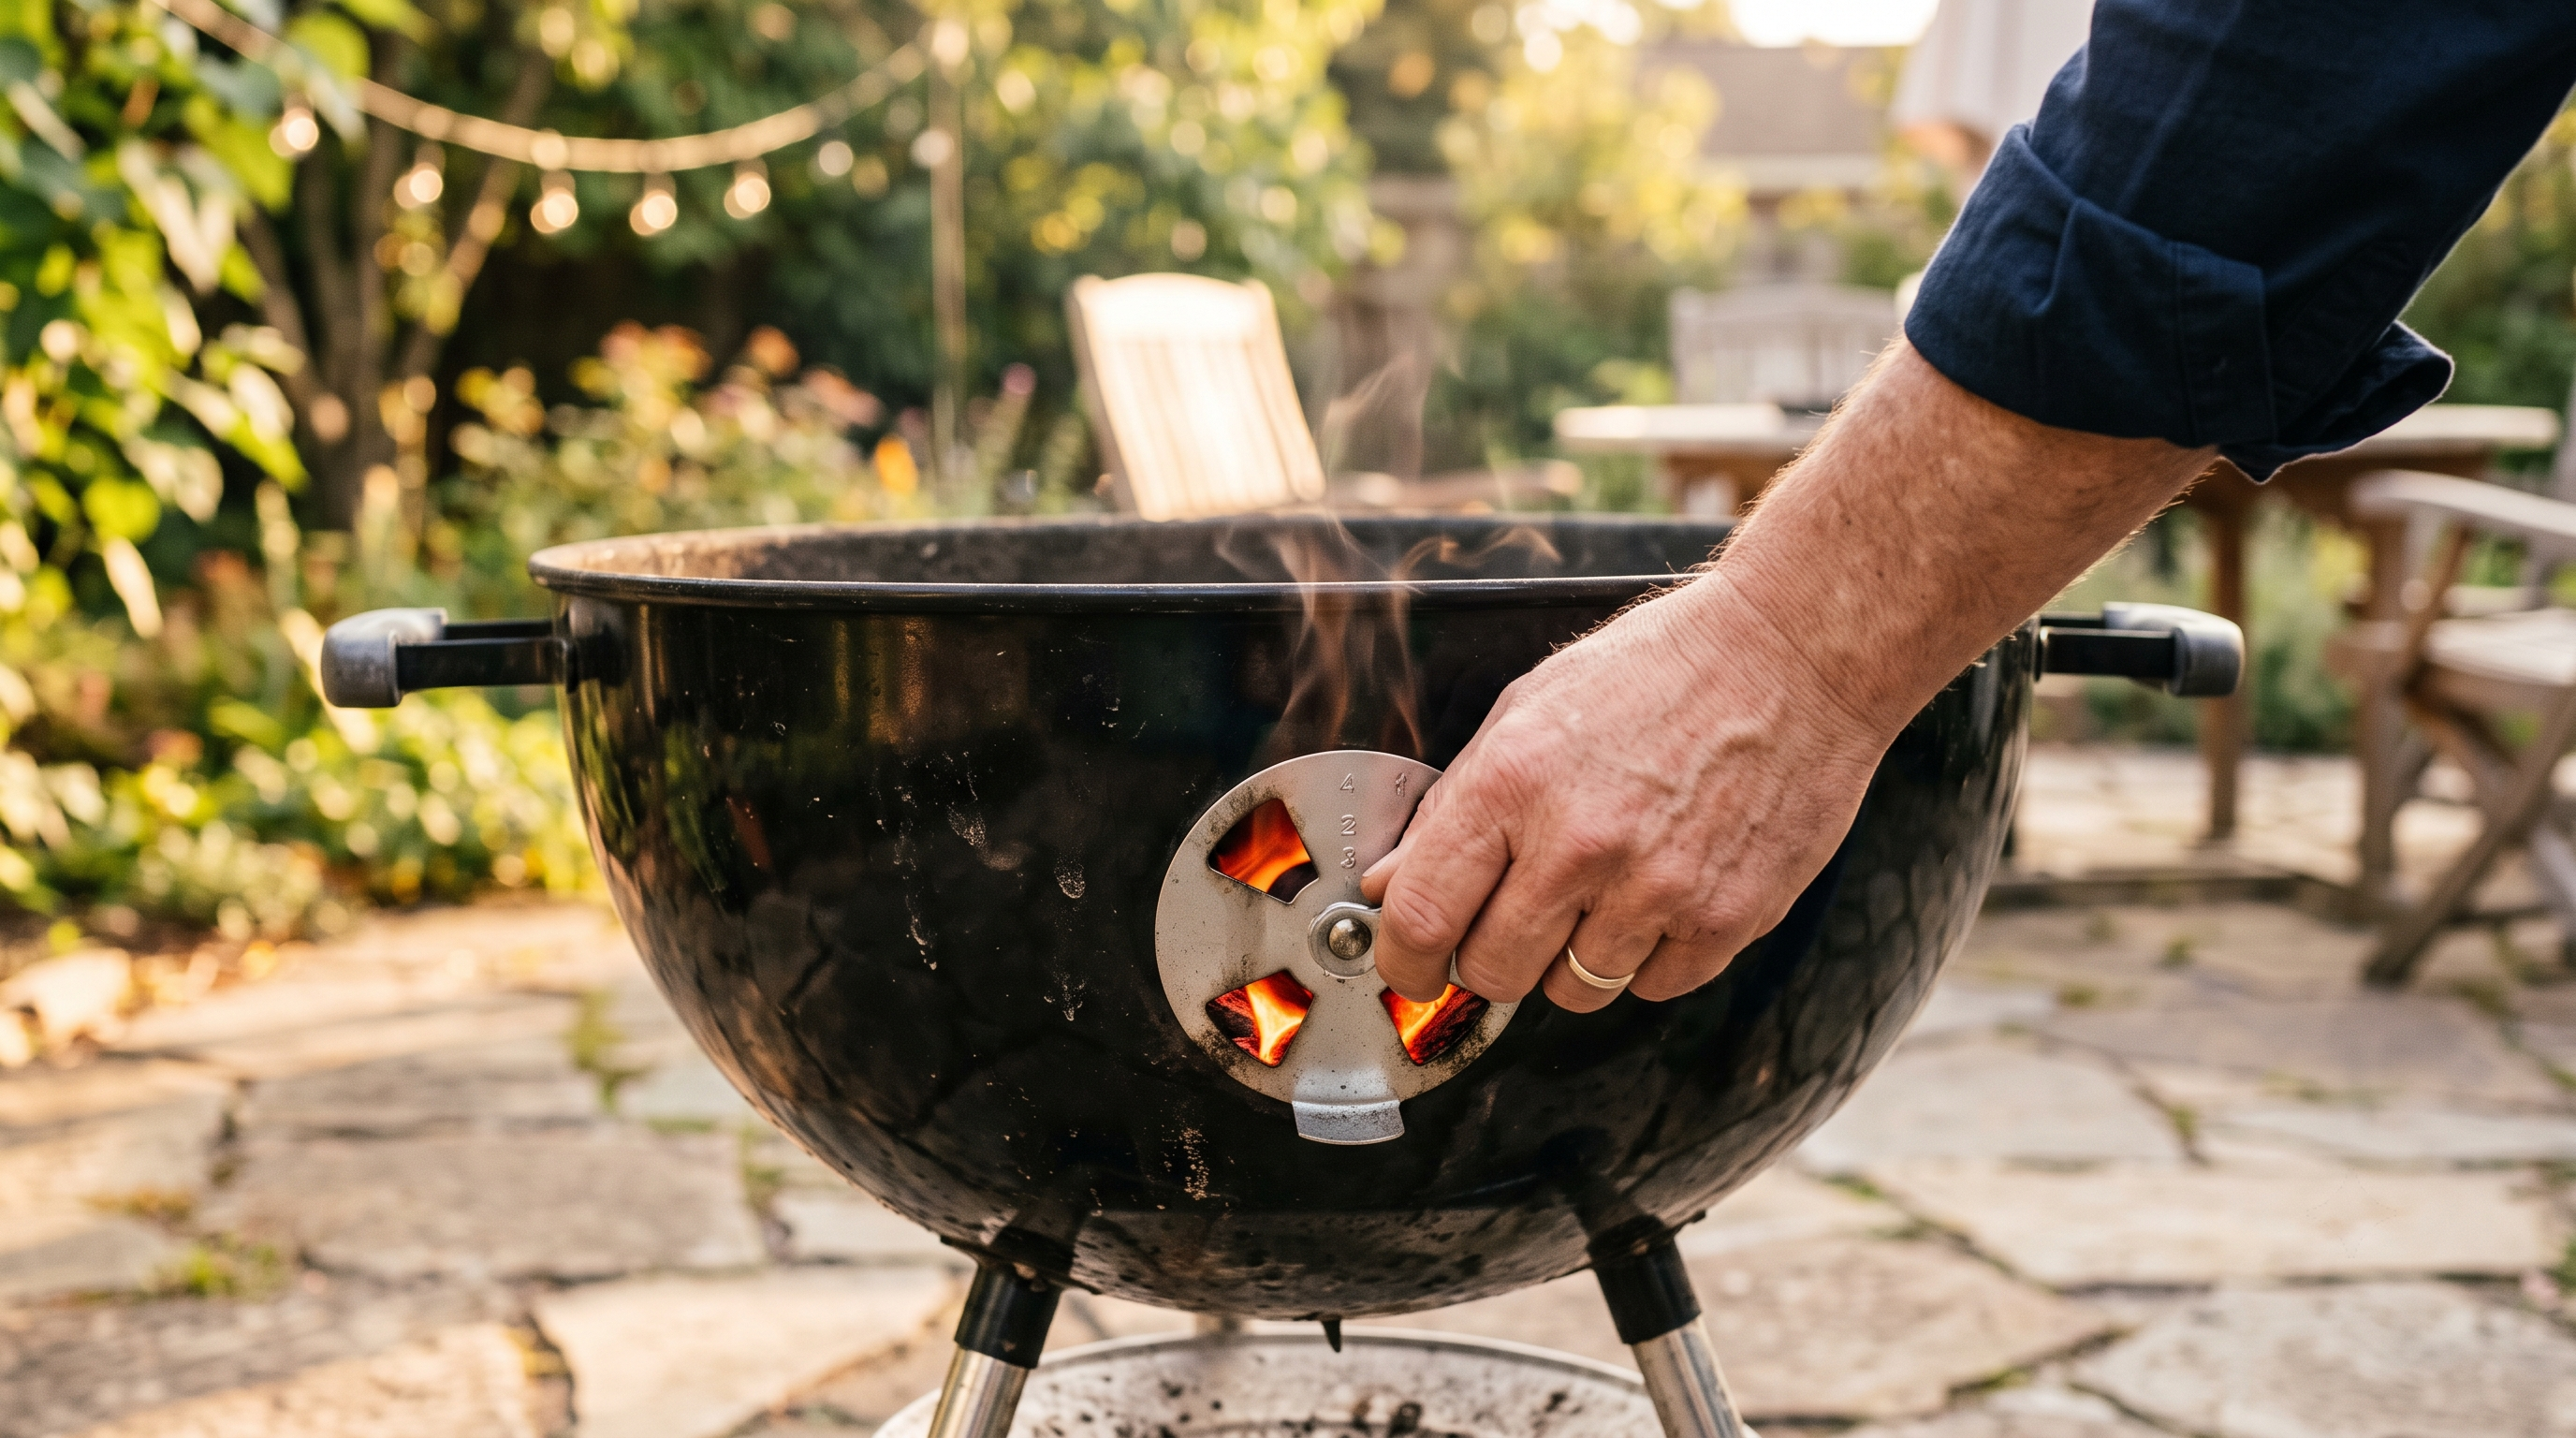
If you remember one rule: the bottom vent controls how much air reaches the fire and does most of the real temperature work, while the top vent fine-tunes and helps direct smoke flow. Adjust the bottom vent first, then use the top vent for smaller corrections.
How Airflow Actually Controls Heat
The Basic Physics
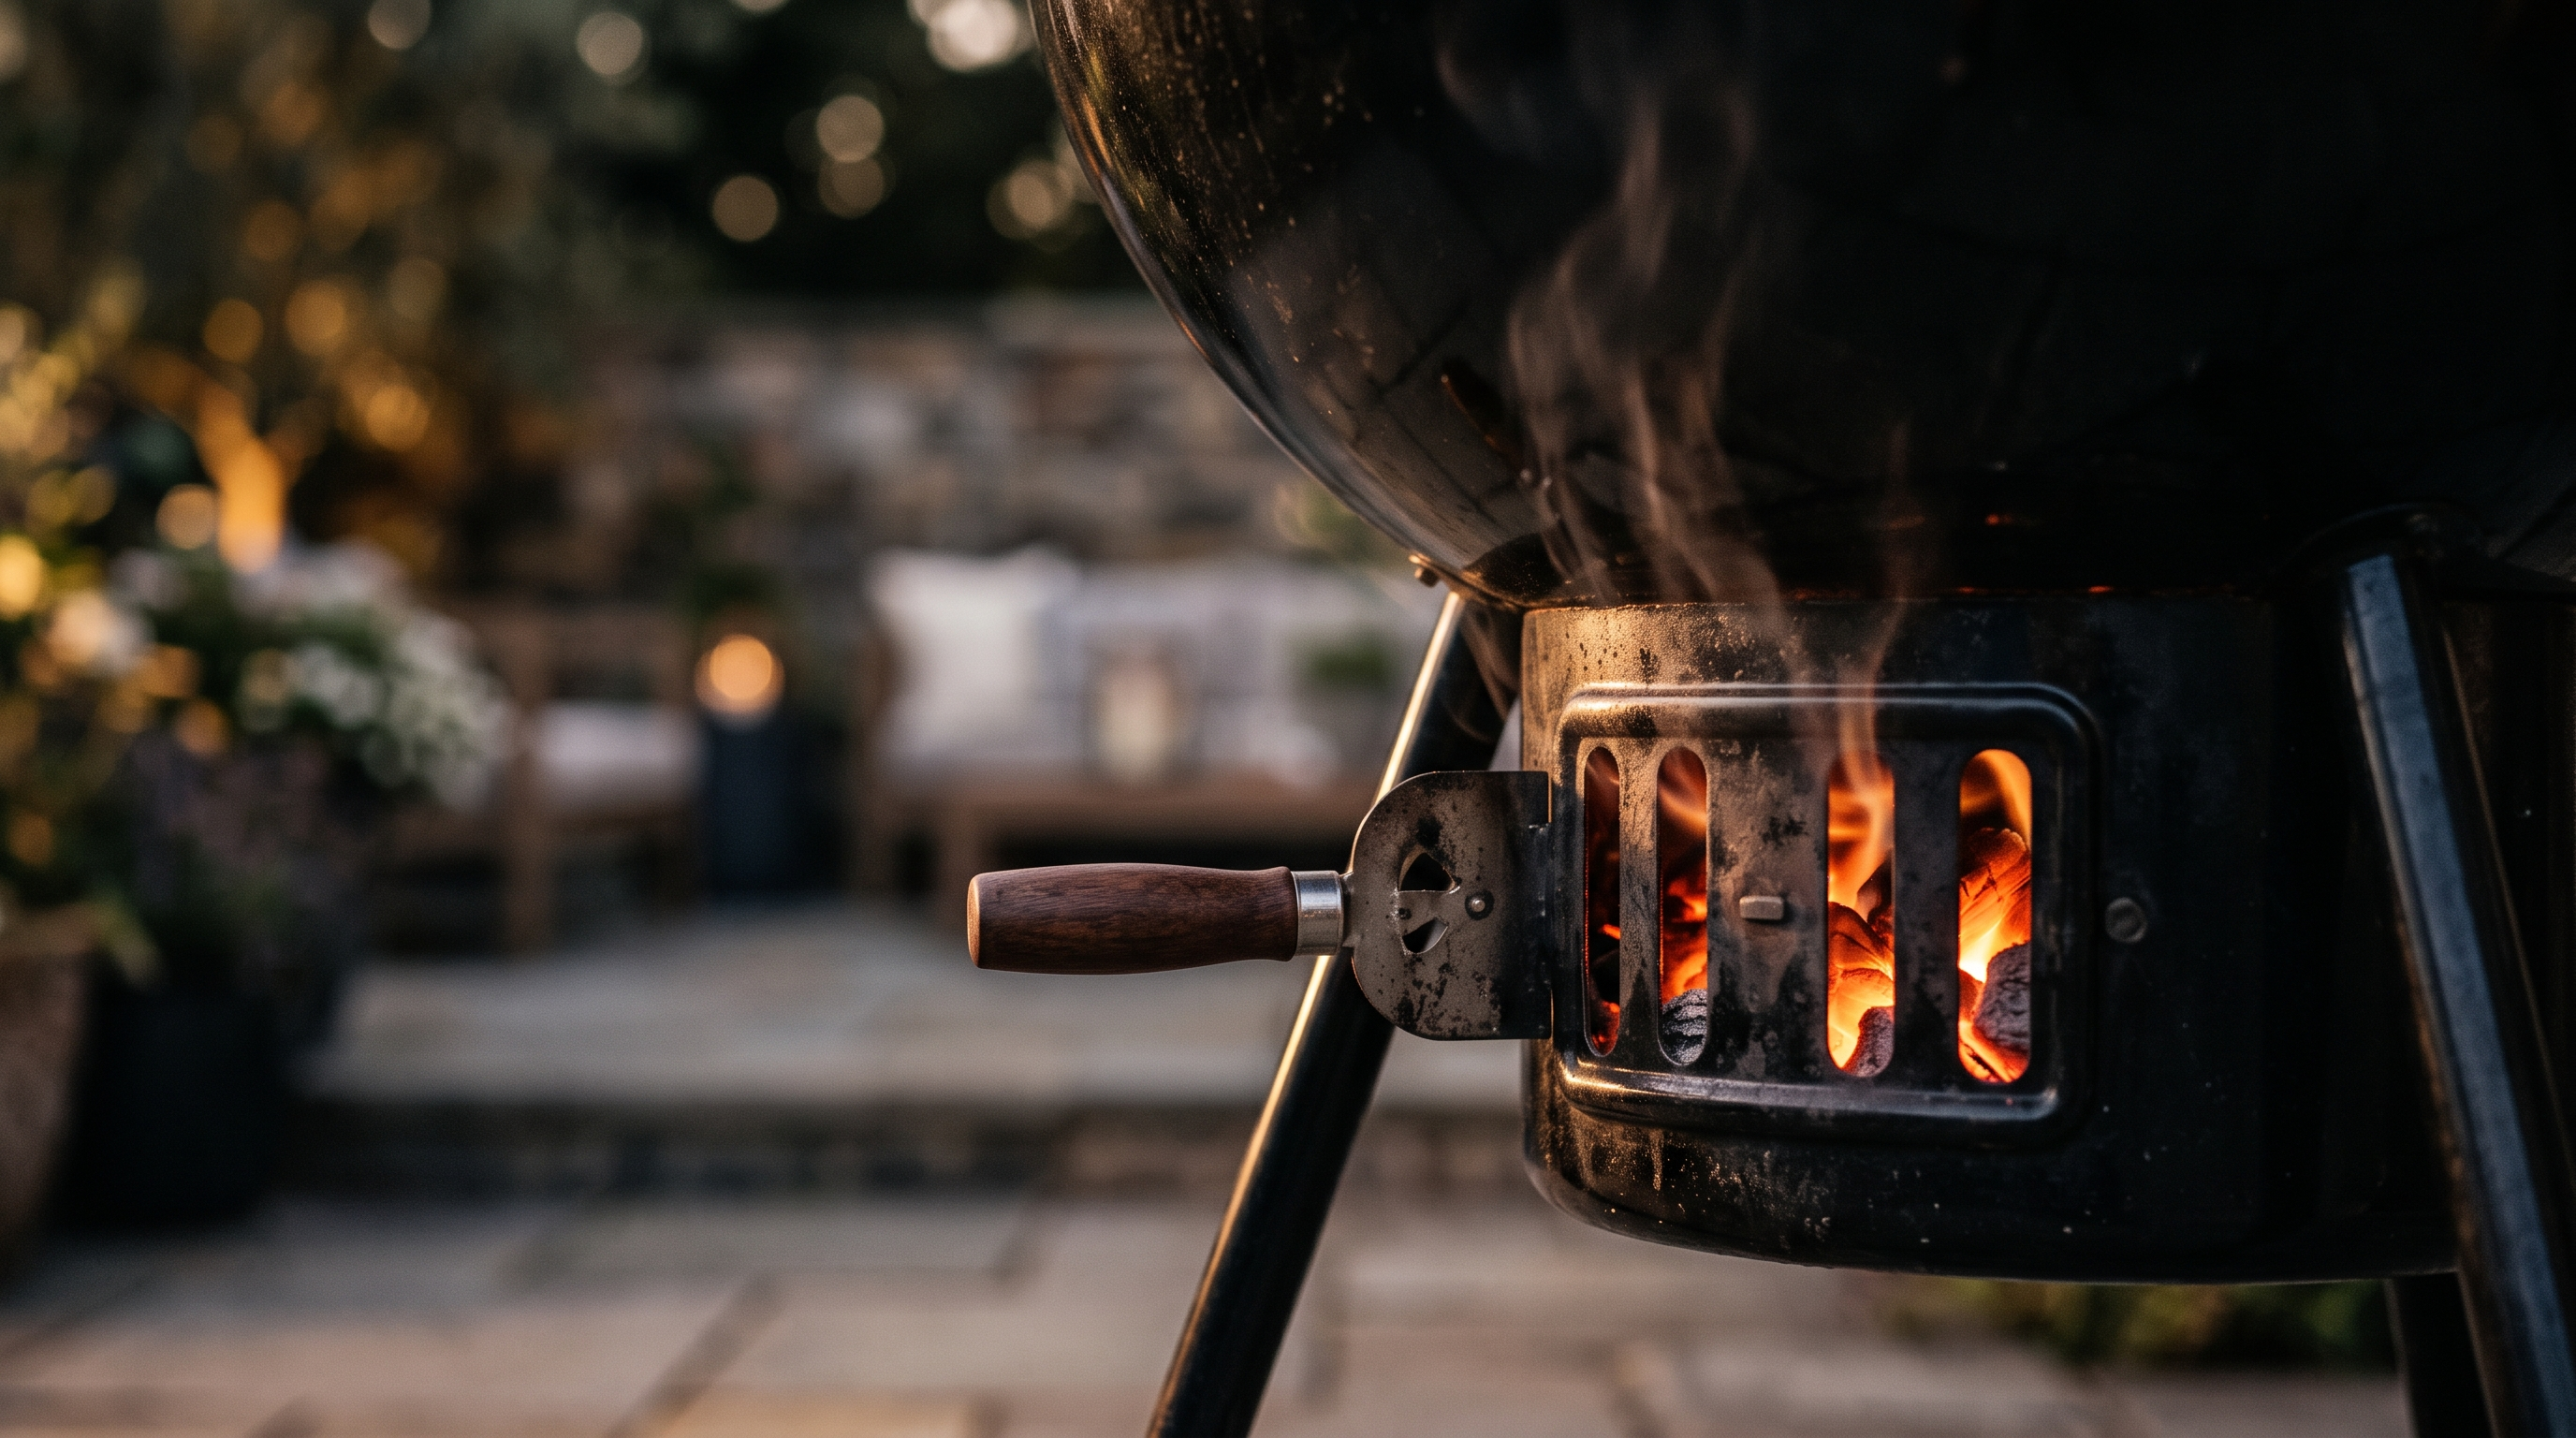
Fire needs oxygen to burn — more airflow means faster, hotter combustion, and less airflow means slower, cooler combustion. Charcoal grill vents are simply valves controlling how much air reaches the coals. Opening both vents fully lets in maximum airflow for the highest temperatures; closing them down restricts oxygen and drops the temperature, down to the point of nearly extinguishing the fire if closed completely.
Bottom Vent vs. Top Vent
The bottom vent sits directly below the charcoal and has the most direct effect on combustion rate — this is your primary temperature control. The top vent, near the lid, has a smaller effect on raw temperature but plays a bigger role in directing smoke flow across the food and preventing stale, trapped smoke that can turn bitter. Our testing on the Weber Original Kettle 22-Inch consistently found that adjusting the bottom vent alone produced roughly 80% of any temperature change, with the top vent contributing smaller, slower corrections.
Digital Airflow Systems: The Automated Alternative
Everything above assumes manual vents, but a newer category of digital charcoal grills automates this entire process. The Masterbuilt Gravity Series 1050's DigitalFan system held our 225°F low-and-slow target within roughly 10–14°F across a 12-hour overnight smoke — tighter than we typically achieve through manual vent management alone — by continuously adjusting airflow itself rather than requiring periodic hands-on correction. The underlying physics is identical to what's described above; the grill is simply making the same bottom-vent-style adjustments automatically and far more frequently than a person checking a thermometer every 15 minutes could.
Setting Up for High-Heat Searing
For a hard sear above 500°F, open both the top and bottom vents fully and let the coals fully ash over first (15–20 minutes after lighting a full chimney). Pile coals directly under where you'll place food for maximum direct heat. This is the simplest vent setup on this list — full airflow, full heat, minimal adjustment needed during the cook itself since sears are typically only a few minutes per side.
Setting Up for Low-and-Slow Smoking
The Two-Zone Setup
For long cooks like ribs or pork shoulder, arrange coals on one side of the grill only, leaving the other side empty, and place food over the empty (indirect) side. This keeps food away from direct flame while still benefiting from the ambient heat and smoke, and gives you a cooler zone to move food to if it's cooking too fast.
The Minion Method
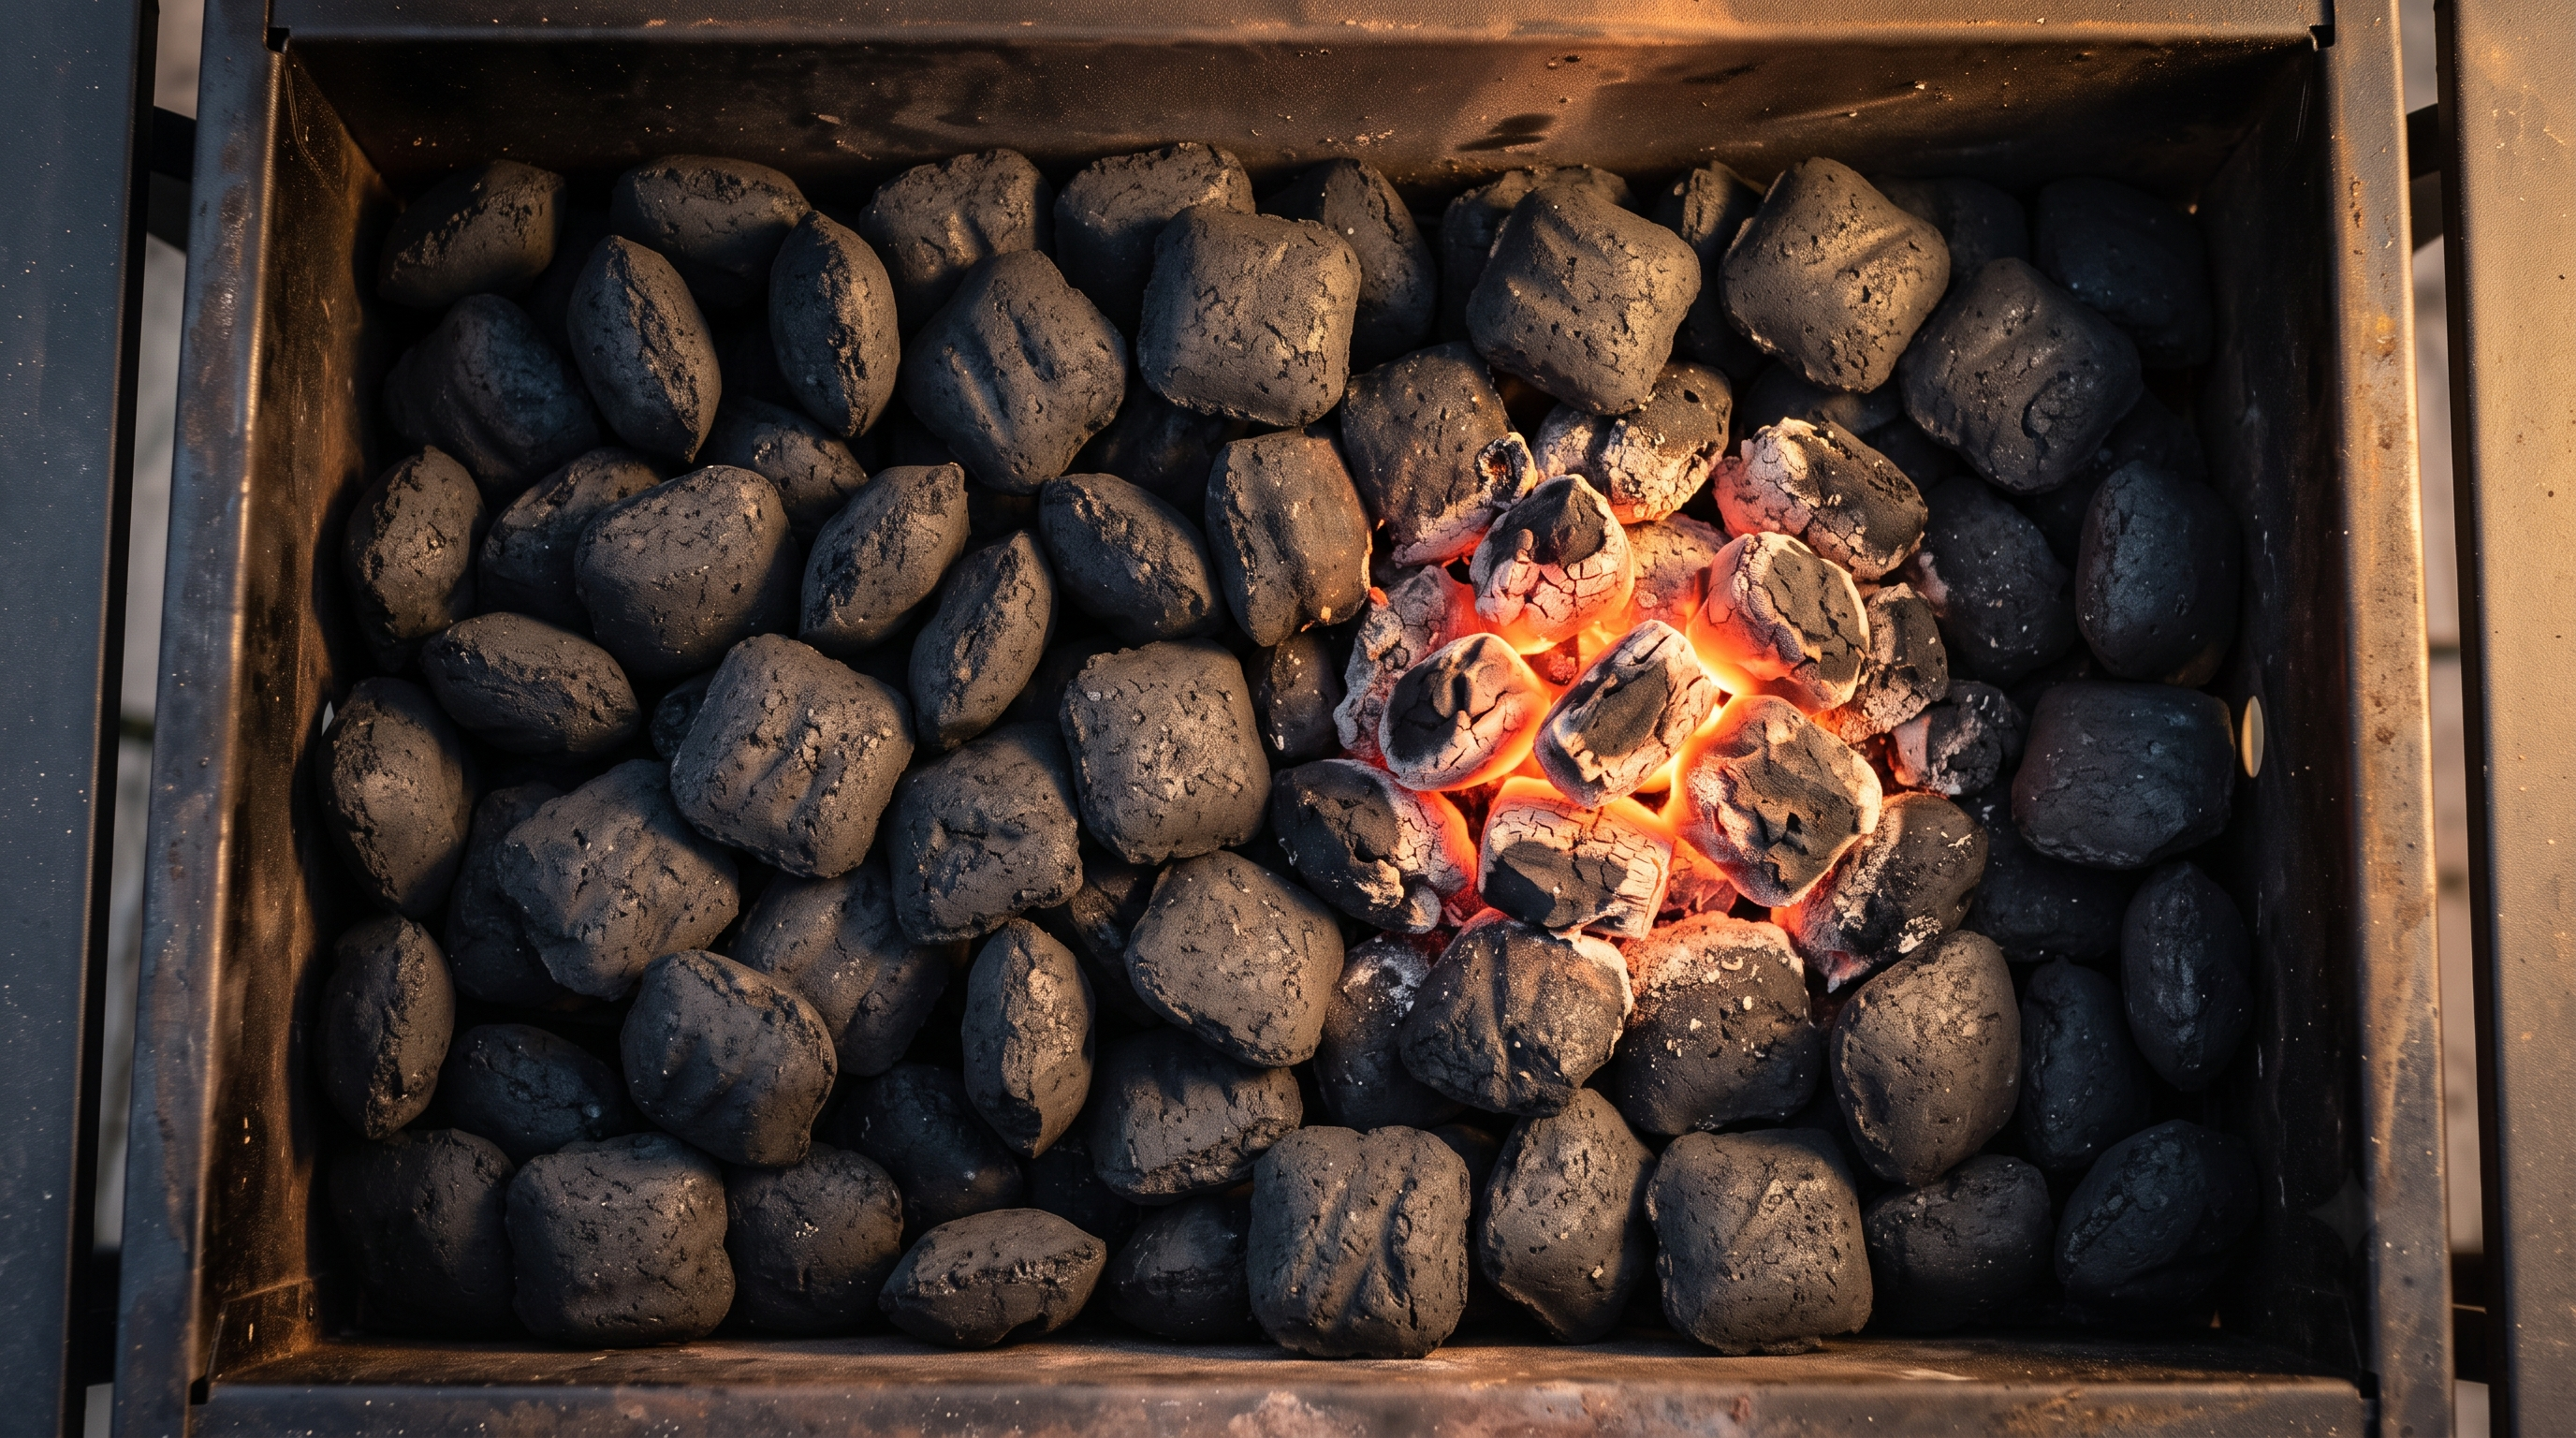
Fill the charcoal chamber with mostly unlit charcoal, then add a small amount of fully lit coals on top or to one side. The lit coals gradually ignite the surrounding unlit charcoal over hours rather than all at once, producing a much longer, steadier burn than lighting a full load at once. This is the standard technique behind the extended run times we've measured on dedicated smokers like the Weber Smokey Mountain 18-Inch, which held a steady 225°F for over 9 hours on a single charcoal load using this method.
The Snake Method
Arrange charcoal briquettes in a curving line around the perimeter of the grill, so they burn slowly and sequentially rather than all at once — each briquette ignites the next as the "snake" progresses. This works well on standard kettle grills like the Original Kettle that don't have a dedicated smoker's separate fuel chamber, and our testing held a steady 250°F for over 4 hours using this setup on a single load.
Making Real-Time Adjustments
If Temperature Is Too High
Close the bottom vent partway first — this is the fastest, most direct way to bring temperature down. Give it 10–15 minutes to take effect before adjusting again; charcoal grills respond slower than a gas burner, and overcorrecting by closing vents too aggressively too quickly is the most common mistake we see.
If Temperature Is Too Low
Open the bottom vent further to increase airflow. If the fire has burned down significantly on a long cook, you may need to add fresh charcoal (lit, if you need heat back quickly, or unlit if you're feeding an already-established Minion Method burn) rather than relying on vents alone — vents can only control the burn rate of the fuel that's actually there.
Why Patience Matters
Charcoal fires respond to vent changes over minutes, not seconds, because you're changing the rate a physical fire burns, not flipping an electronic switch. Making a vent adjustment and immediately judging it by the thermometer 30 seconds later almost always leads to overcorrection. Wait at least 10–15 minutes after any vent change before deciding whether a further adjustment is needed.
Factors That Affect Charcoal Temperature Beyond Vents
Charcoal Type
Lump charcoal burns hotter and faster than briquettes, with more variability between pieces, while briquettes burn more slowly and predictably due to their uniform size and manufactured composition. Briquettes are generally the more forgiving choice for beginners learning temperature control, since their burn rate is more consistent and easier to predict.
Ambient Temperature and Wind
Cold weather and wind both pull heat away from the grill and can require more open vents than usual to hold the same target temperature — our cold-weather testing consistently showed this effect across every charcoal grill and smoker we've tested. Wind specifically can also cause uneven burning if it hits the vents directly; positioning the grill to shield the vents from direct wind helps maintain more stable readings.
Grill Size and Build Quality
Heavier-gauge steel and tighter lid seals hold heat more consistently and resist wind and cold better than thinner, budget construction. The porcelain-enameled bowl and lid on the Weber Original Kettle 22-Inch is a good example of build quality translating directly into more predictable vent response versus a thinner, less insulated grill.
Reading Your Thermometer Correctly
Lid Thermometer vs. Grate-Level Reading
A built-in lid thermometer measures air temperature near the top of the dome, which can read 15–25°F higher than the actual temperature at grate level where your food sits, since heat rises and stratifies inside a closed kettle. For precise low-and-slow work, a separate oven-safe probe thermometer clipped near the grate gives a far more reliable target than trusting the lid gauge alone — our testing on the Original Kettle consistently showed this gap, and treating the lid reading as gospel is a common reason beginners think their vent adjustments aren't working when the fire is actually behaving as expected.
Why a Second Thermometer Pays for Itself
Beyond correcting for the lid-gauge gap, a second thermometer lets you confirm a vent adjustment actually worked before making another change, rather than guessing. This directly supports the patience principle covered above — you need an accurate, grate-level number to judge whether 10–15 minutes was actually enough time for a change to take effect.
Recovering From a Fire That's Gone Out or Stalled
If the Fire Is Struggling to Stay Lit
A fire that keeps dying down despite open vents usually means the charcoal bed itself has burned too low or is smothered under ash. Rake existing coals together to concentrate remaining heat, then add a small batch of freshly lit charcoal directly on top rather than unlit charcoal, which would need to catch from an already weak fire.
If You Need to Extend a Long Cook
For smokes running longer than a single charcoal load can sustain, plan the addition of a fresh partial chimney of lit charcoal before the existing fire drops too far — reactive additions after temperature has already crashed take longer to recover than a planned, proactive top-off. This is standard practice on extended cooks with the Weber Smokey Mountain 18-Inch and similar dedicated smokers, where overnight cooks routinely outlast a single load.
Common Mistakes That Throw Off Temperature Control
- Adjusting both vents at once. Makes it hard to isolate which change actually affected temperature. Adjust the bottom vent first, wait, then fine-tune with the top vent if needed.
- Judging results too quickly. Charcoal fires take 10–15 minutes to respond to a vent change — checking the thermometer immediately after adjusting and overcorrecting is the most common beginner mistake.
- Closing vents completely to "turn off" the grill mid-cook. This can smother the fire and produce thick, bitter smoke right before it goes out, rather than a clean, controlled decrease in temperature.
- Not accounting for wind. A gust hitting an open vent directly can spike temperature unexpectedly — position the grill with some wind shielding if you're cooking in an exposed spot.
- Using lump charcoal without adjusting for its faster burn. Lump charcoal needs more frequent, smaller vent adjustments than briquettes due to its less predictable, faster combustion.
Frequently Asked Questions
Which vent controls charcoal grill temperature — top or bottom?
The bottom vent has the biggest direct effect on temperature, since it controls airflow reaching the coals directly. The top vent plays more of a supporting role, fine-tuning temperature slightly and directing smoke flow across the food.
How long does it take for a vent adjustment to change the temperature?
Typically 10–15 minutes. Charcoal grills respond much slower than gas burners, and judging a vent change too quickly is the most common cause of overcorrection.
What's the best vent setting for low-and-slow smoking?
Roughly a quarter open on the bottom vent and half open on top, adjusted from there based on your actual thermometer reading — this combined with the Minion Method or snake method typically holds 225–275°F for several hours on a single charcoal load.
Should I ever close both vents completely?
Only to extinguish the fire after cooking, not as a way to lower temperature mid-cook. Closing vents fully while food is still cooking can smother the fire and produce bitter, smothered smoke rather than a clean temperature decrease.
Does charcoal type affect temperature control?
Yes. Lump charcoal burns hotter and less predictably, requiring more frequent small adjustments, while briquettes burn more slowly and uniformly, making them easier to control precisely for beginners.
Why is my charcoal grill temperature dropping even with vents fully open?
Usually means the charcoal itself is running low — vents control the burn rate of existing fuel but can't compensate once there isn't enough charcoal left to sustain the target temperature. Add more charcoal rather than continuing to adjust vents.
Final Takeaway
Charcoal temperature control comes down to understanding that the bottom vent does most of the real work, top vent adjustments are for fine-tuning, and every change takes 10–15 minutes to show its real effect. Combine that with the Minion Method or snake method for long cooks, and you have the same fundamental toolkit that holds a dedicated smoker at 225°F for 9+ hours or a kettle grill at 500°F+ for a hard sear.
For more technique guidance, see our or best charcoal grills of 2026.
Ready to shop? Browse our top-rated grill picks to find your perfect match.