How to Grill the Perfect Steak (Technique Guide)
How to grill the perfect steak: cut selection, sear timing, flip technique, doneness temperatures, and resting, with real targets from our testing team.
The Technique Matters More Than the Cut
A great steak grilled badly is still a mediocre dinner, and a modest cut grilled with real technique can genuinely outperform it. This guide covers the technique itself — heat setup, timing, flipping, and resting — using the doneness targets and results from our own hands-on grilling tests, so you can apply it to whatever grill and cut you already have.
Quick Answer: Doneness Temperature Targets
| Doneness | Pull Temperature | Final Temperature (After Resting) | Center Color |
|---|---|---|---|
| Rare | 120°F | 125°F | Bright red center |
| Medium-Rare | 125°F | 130–135°F | Warm red center |
| Medium | 135°F | 140–145°F | Pink center |
| Medium-Well | 145°F | 150–155°F | Slight pink |
| Well Done | 155°F+ | 160°F+ | No pink |
If you take away one number from this guide: pull the steak roughly 5°F below your target doneness. Carryover cooking — the steak continuing to cook from residual heat after it leaves the grill — accounts for that final rise during resting, and pulling exactly at your target temperature almost always results in an overcooked steak by the time you cut into it. See our meat and grilling temperature chart for pull temps across every other cut, from chicken to brisket.
Choosing the Right Cut
Best Cuts for Grilling
Ribeye, New York strip, and T-bone all have enough fat marbling to stay juicy through direct high heat without much technique required to avoid drying them out. Filet mignon is leaner and more forgiving of technique errors in flavor but less forgiving of overcooking, since it has little fat to fall back on if you push past your target temperature.
Thickness Matters More Than Cut Choice
A thin steak under an inch thick cooks through almost entirely by the time you get a real sear, leaving little room for a true medium-rare center. For genuine control over doneness and crust separately, look for cuts at least 1 to 1.5 inches thick — thinner cuts are still fine for a quick weeknight cook, but thick-cut steaks are what let you actually execute a hard sear without overshooting the interior.
Setting Up Your Grill for a Steak
Direct High Heat Is the Starting Point
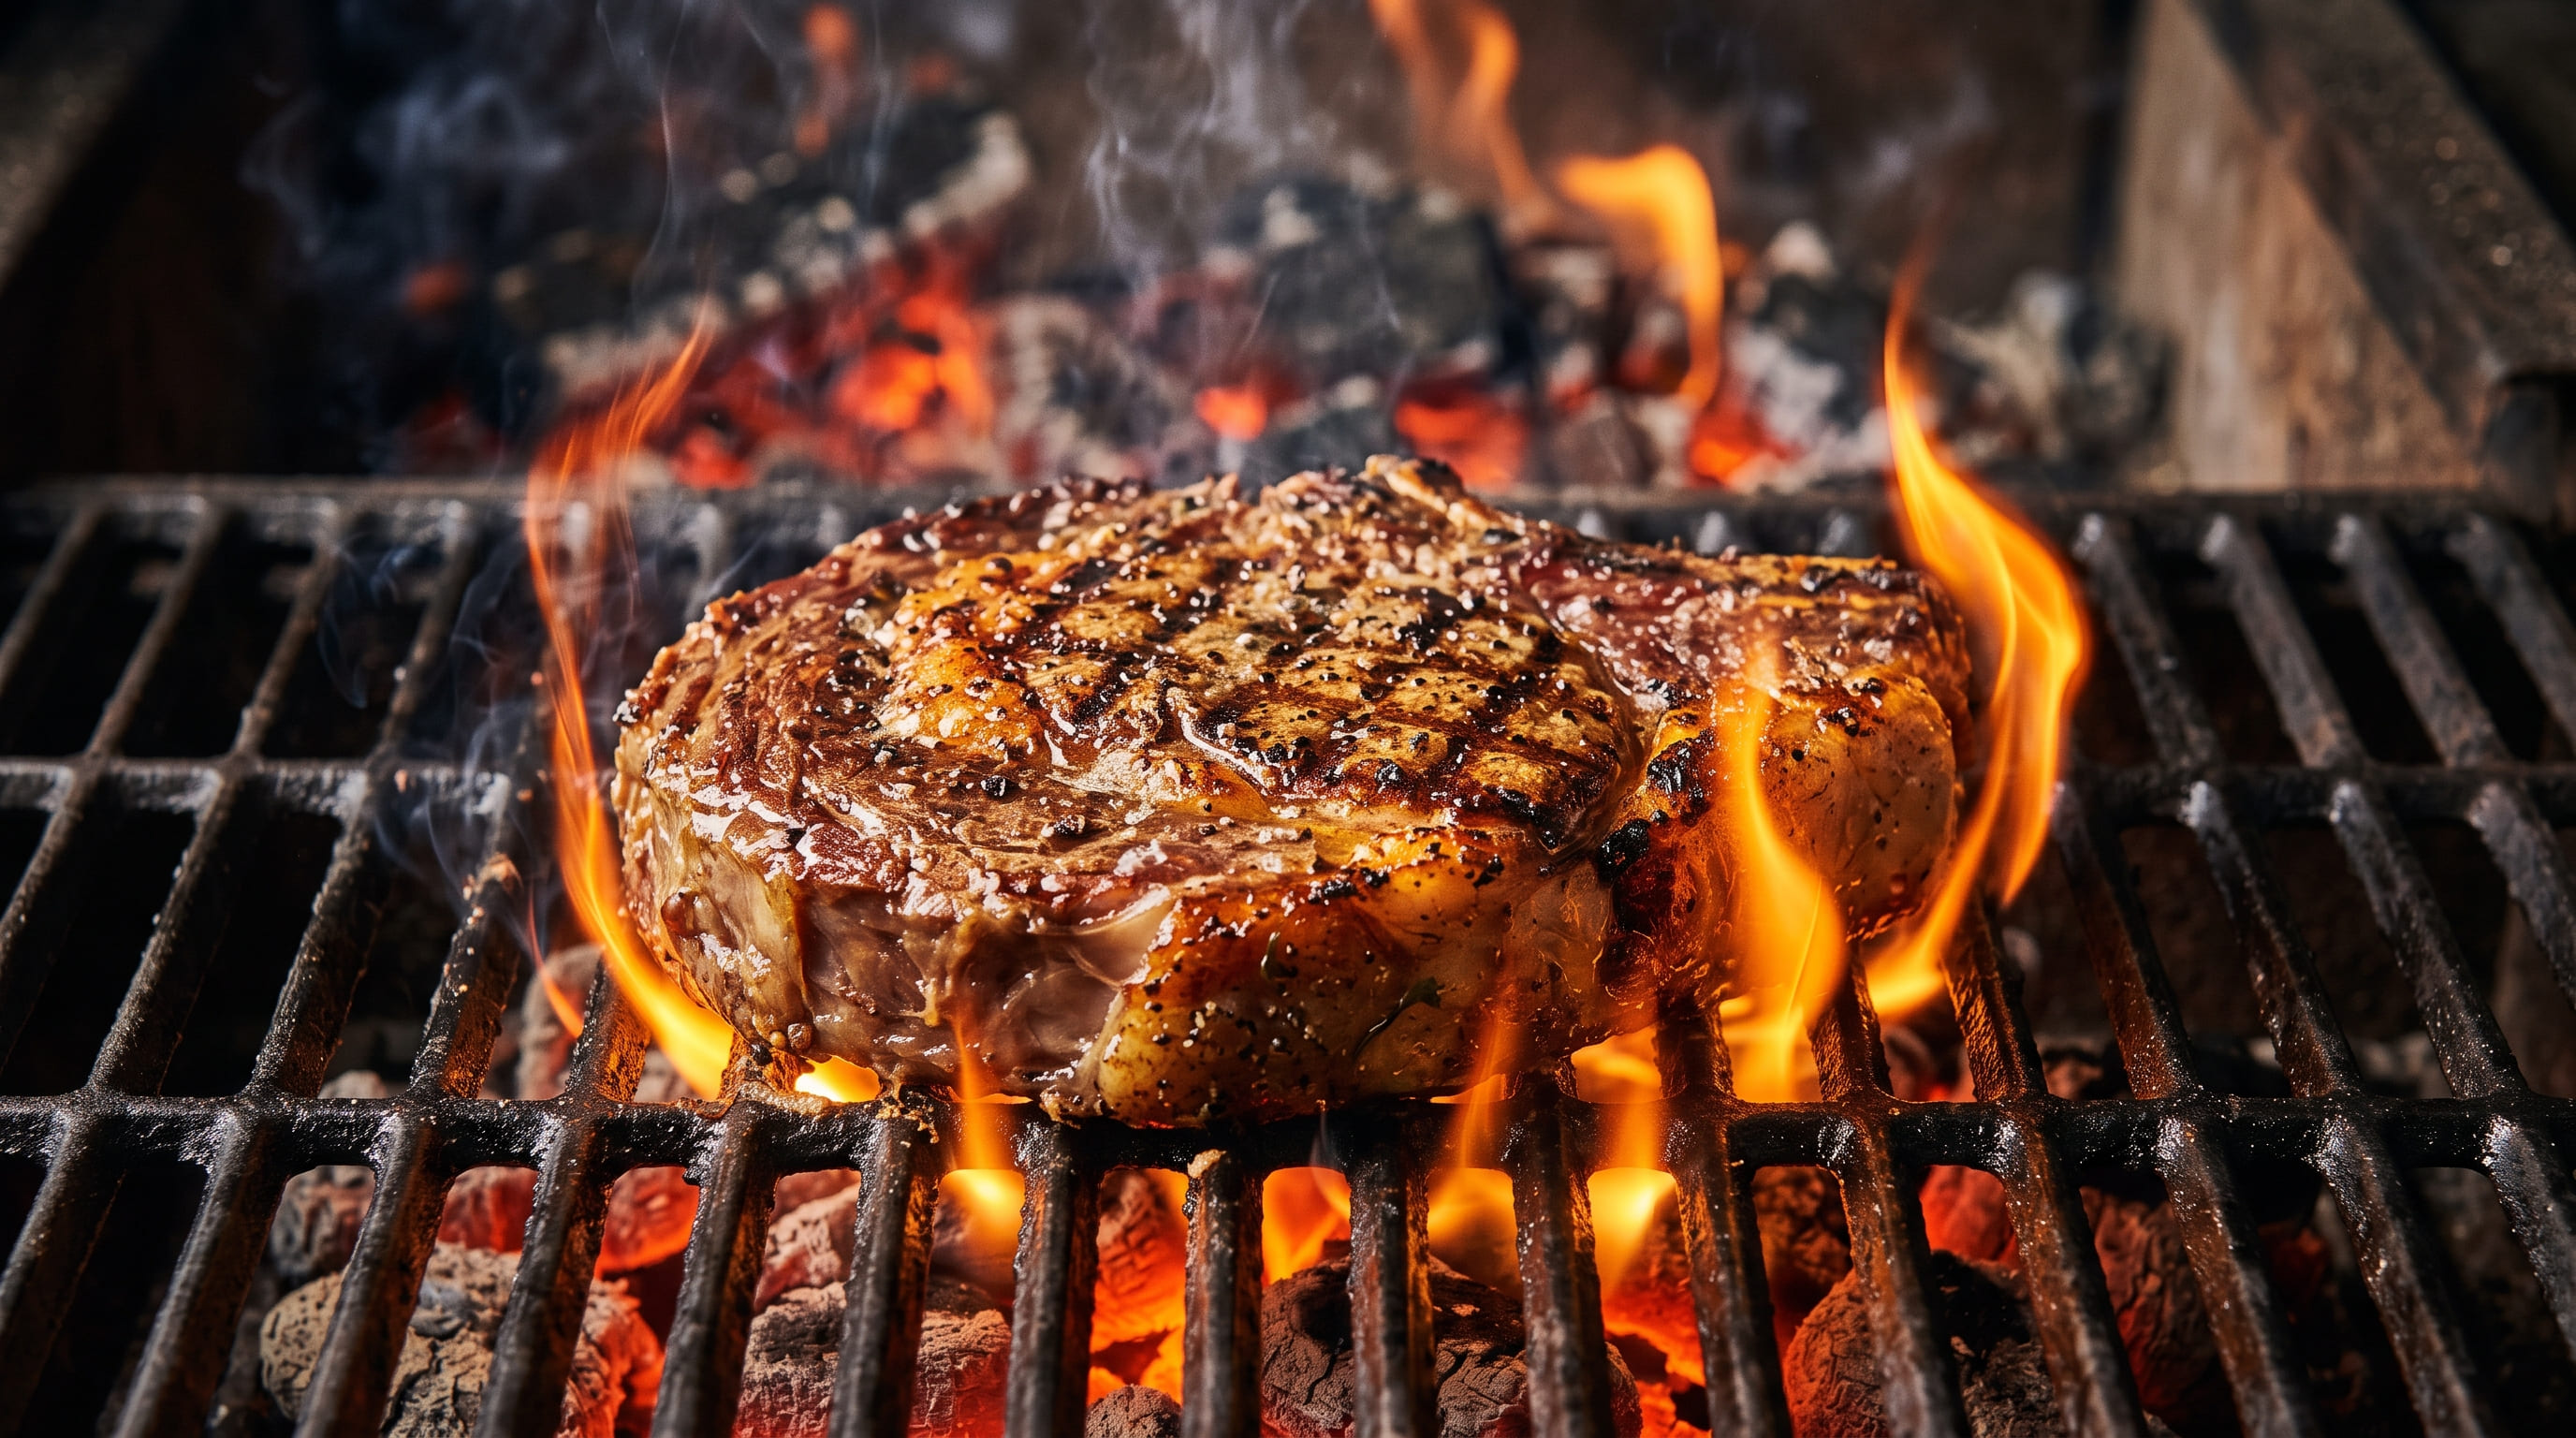
Regardless of fuel type, steak grilling starts with the hottest zone your grill can produce. Our tested Weber Spirit E-325 produced a genuine steakhouse-quality crust on a ribeye in under 3 minutes per side using its dedicated Sear Zone, and a mounded charcoal pile on the Weber Original Kettle 22-Inch delivered comparably strong results using live coals instead. If you want premium searing capability, the Broil King Regal S 420 Pro offers four independent burners for zone cooking and genuine 500°F+ searing temperatures, or the Char-Broil Pro Series 4-Burner delivers visible caramelization in under 2 minutes per side through its Amplifire infrared zone. Whatever grill you're using, make sure it's genuinely preheated — see our how long to preheat a grill guide for fuel-specific minimums, since a partially preheated grill is one of the most common causes of a weak, grey sear.
Two-Zone Setup for Thicker Cuts
For steaks over 1.5 inches thick, set up two zones — one hot side for searing, one cooler side for finishing the interior without burning the crust. This is standard two-zone technique; see our direct vs indirect grilling guide for the full zone-setup walkthrough on any grill type.
Preparing the Steak Before It Hits the Grate
Bring It to Room Temperature
Pulling a steak straight from the fridge means the outside sears while the center is still cold, producing an uneven doneness gradient from edge to center. Let it sit out for 30–45 minutes before grilling so the interior starts closer to an even temperature throughout.
Dry the Surface Thoroughly
Surface moisture steams instead of searing, which is one of the most common reasons a steak comes out grey rather than crusted. Pat the steak dry with paper towels immediately before it goes on the grill, even if it's been sitting out and appears dry already.
Season Simply, and Early Enough
Salt draws moisture to the surface initially, then reabsorbs it along with the salt over time — season at least 40 minutes before grilling (or right before, both work; the problematic middle ground is 5–15 minutes ahead, which leaves the surface wet with drawn-out moisture). Coarse kosher salt and freshly cracked pepper are enough; a thick steak with good marbling doesn't need much beyond that to taste excellent.
Grilling Technique: The Sear
How Long to Sear Each Side
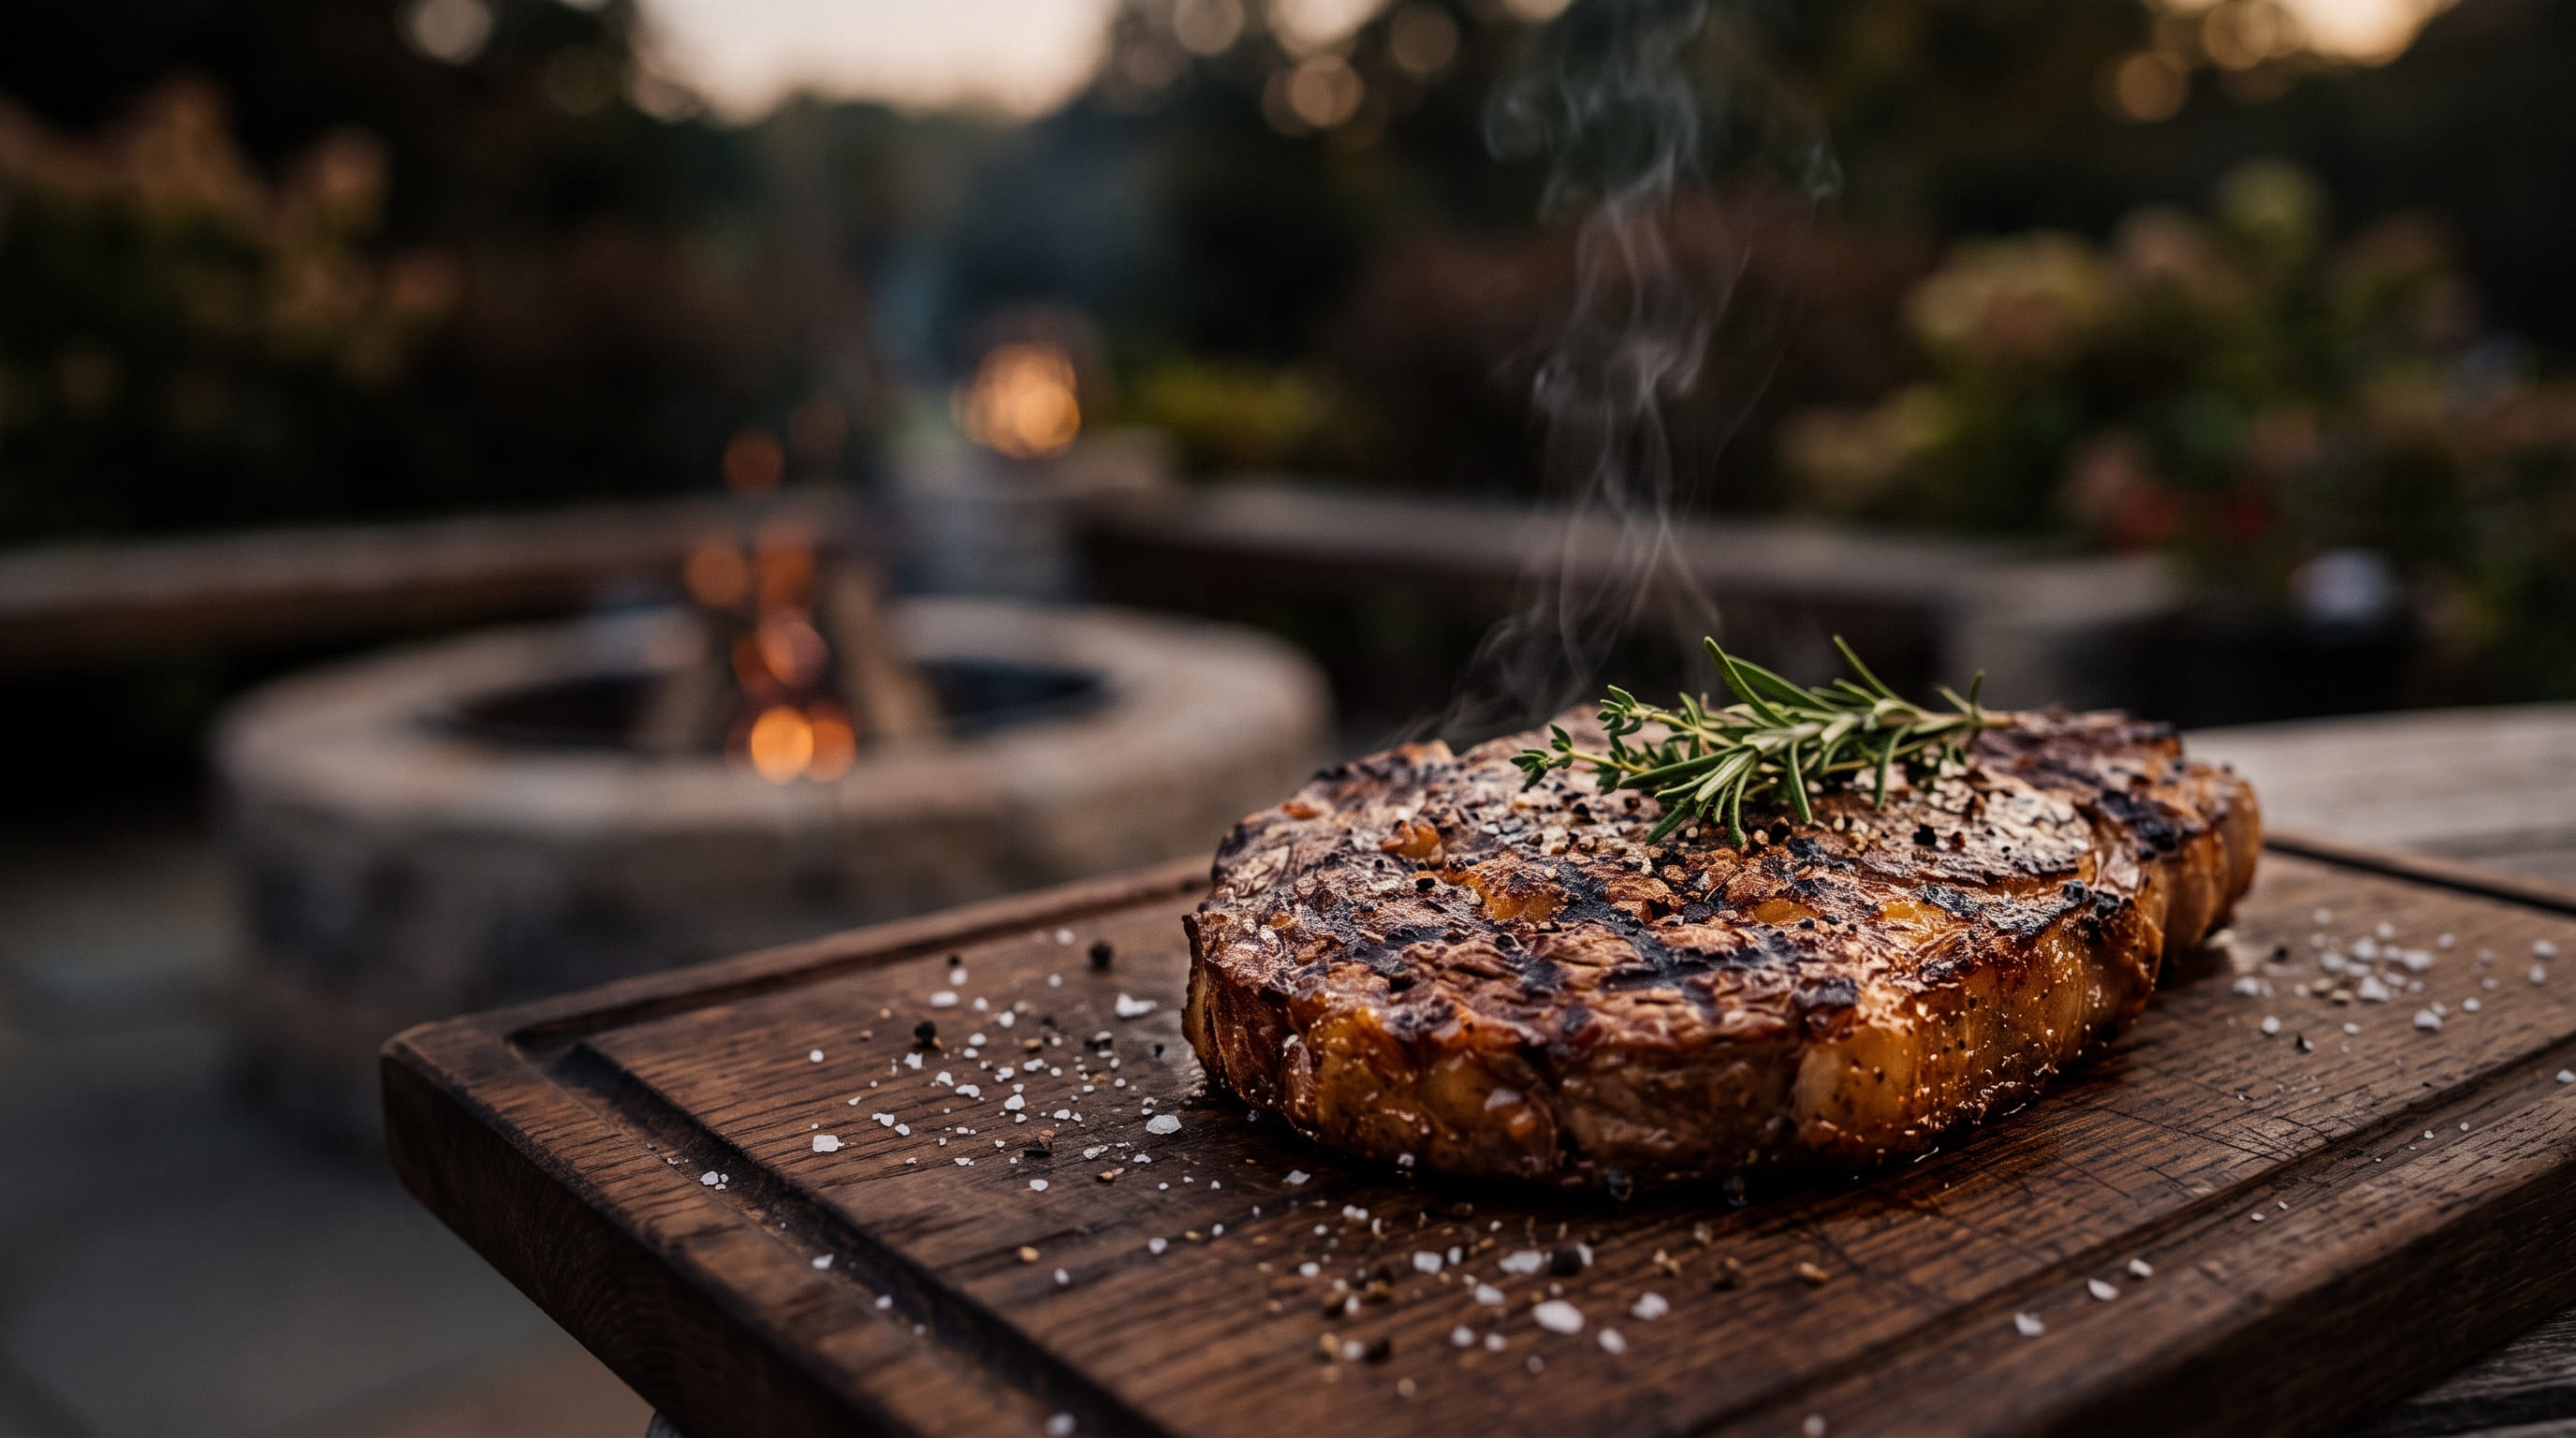
For a 1 to 1.5 inch steak over genuine high heat, 2–4 minutes per side typically produces a solid crust without pushing the interior past medium-rare. Our testing on the Weber Genesis E-325's dedicated sear burner consistently landed in this window for medium-rare on ribeyes of that thickness. Thinner or thicker cuts adjust proportionally — use the doneness table above and a thermometer rather than a fixed clock, since grill-to-grill heat output varies enough that timing alone isn't reliable.
How Many Times to Flip
A single flip partway through is enough for most steaks and produces the cleanest, most even crust on each side. Flipping repeatedly (every 30 seconds, for instance) doesn't ruin the steak, but it also doesn't improve the result — it mostly just extends total cook time without a meaningful searing benefit. If you want defined crosshatch grill marks, rotate the steak 90 degrees halfway through each side's cook time rather than flipping more often.
Using the Two-Zone Finish
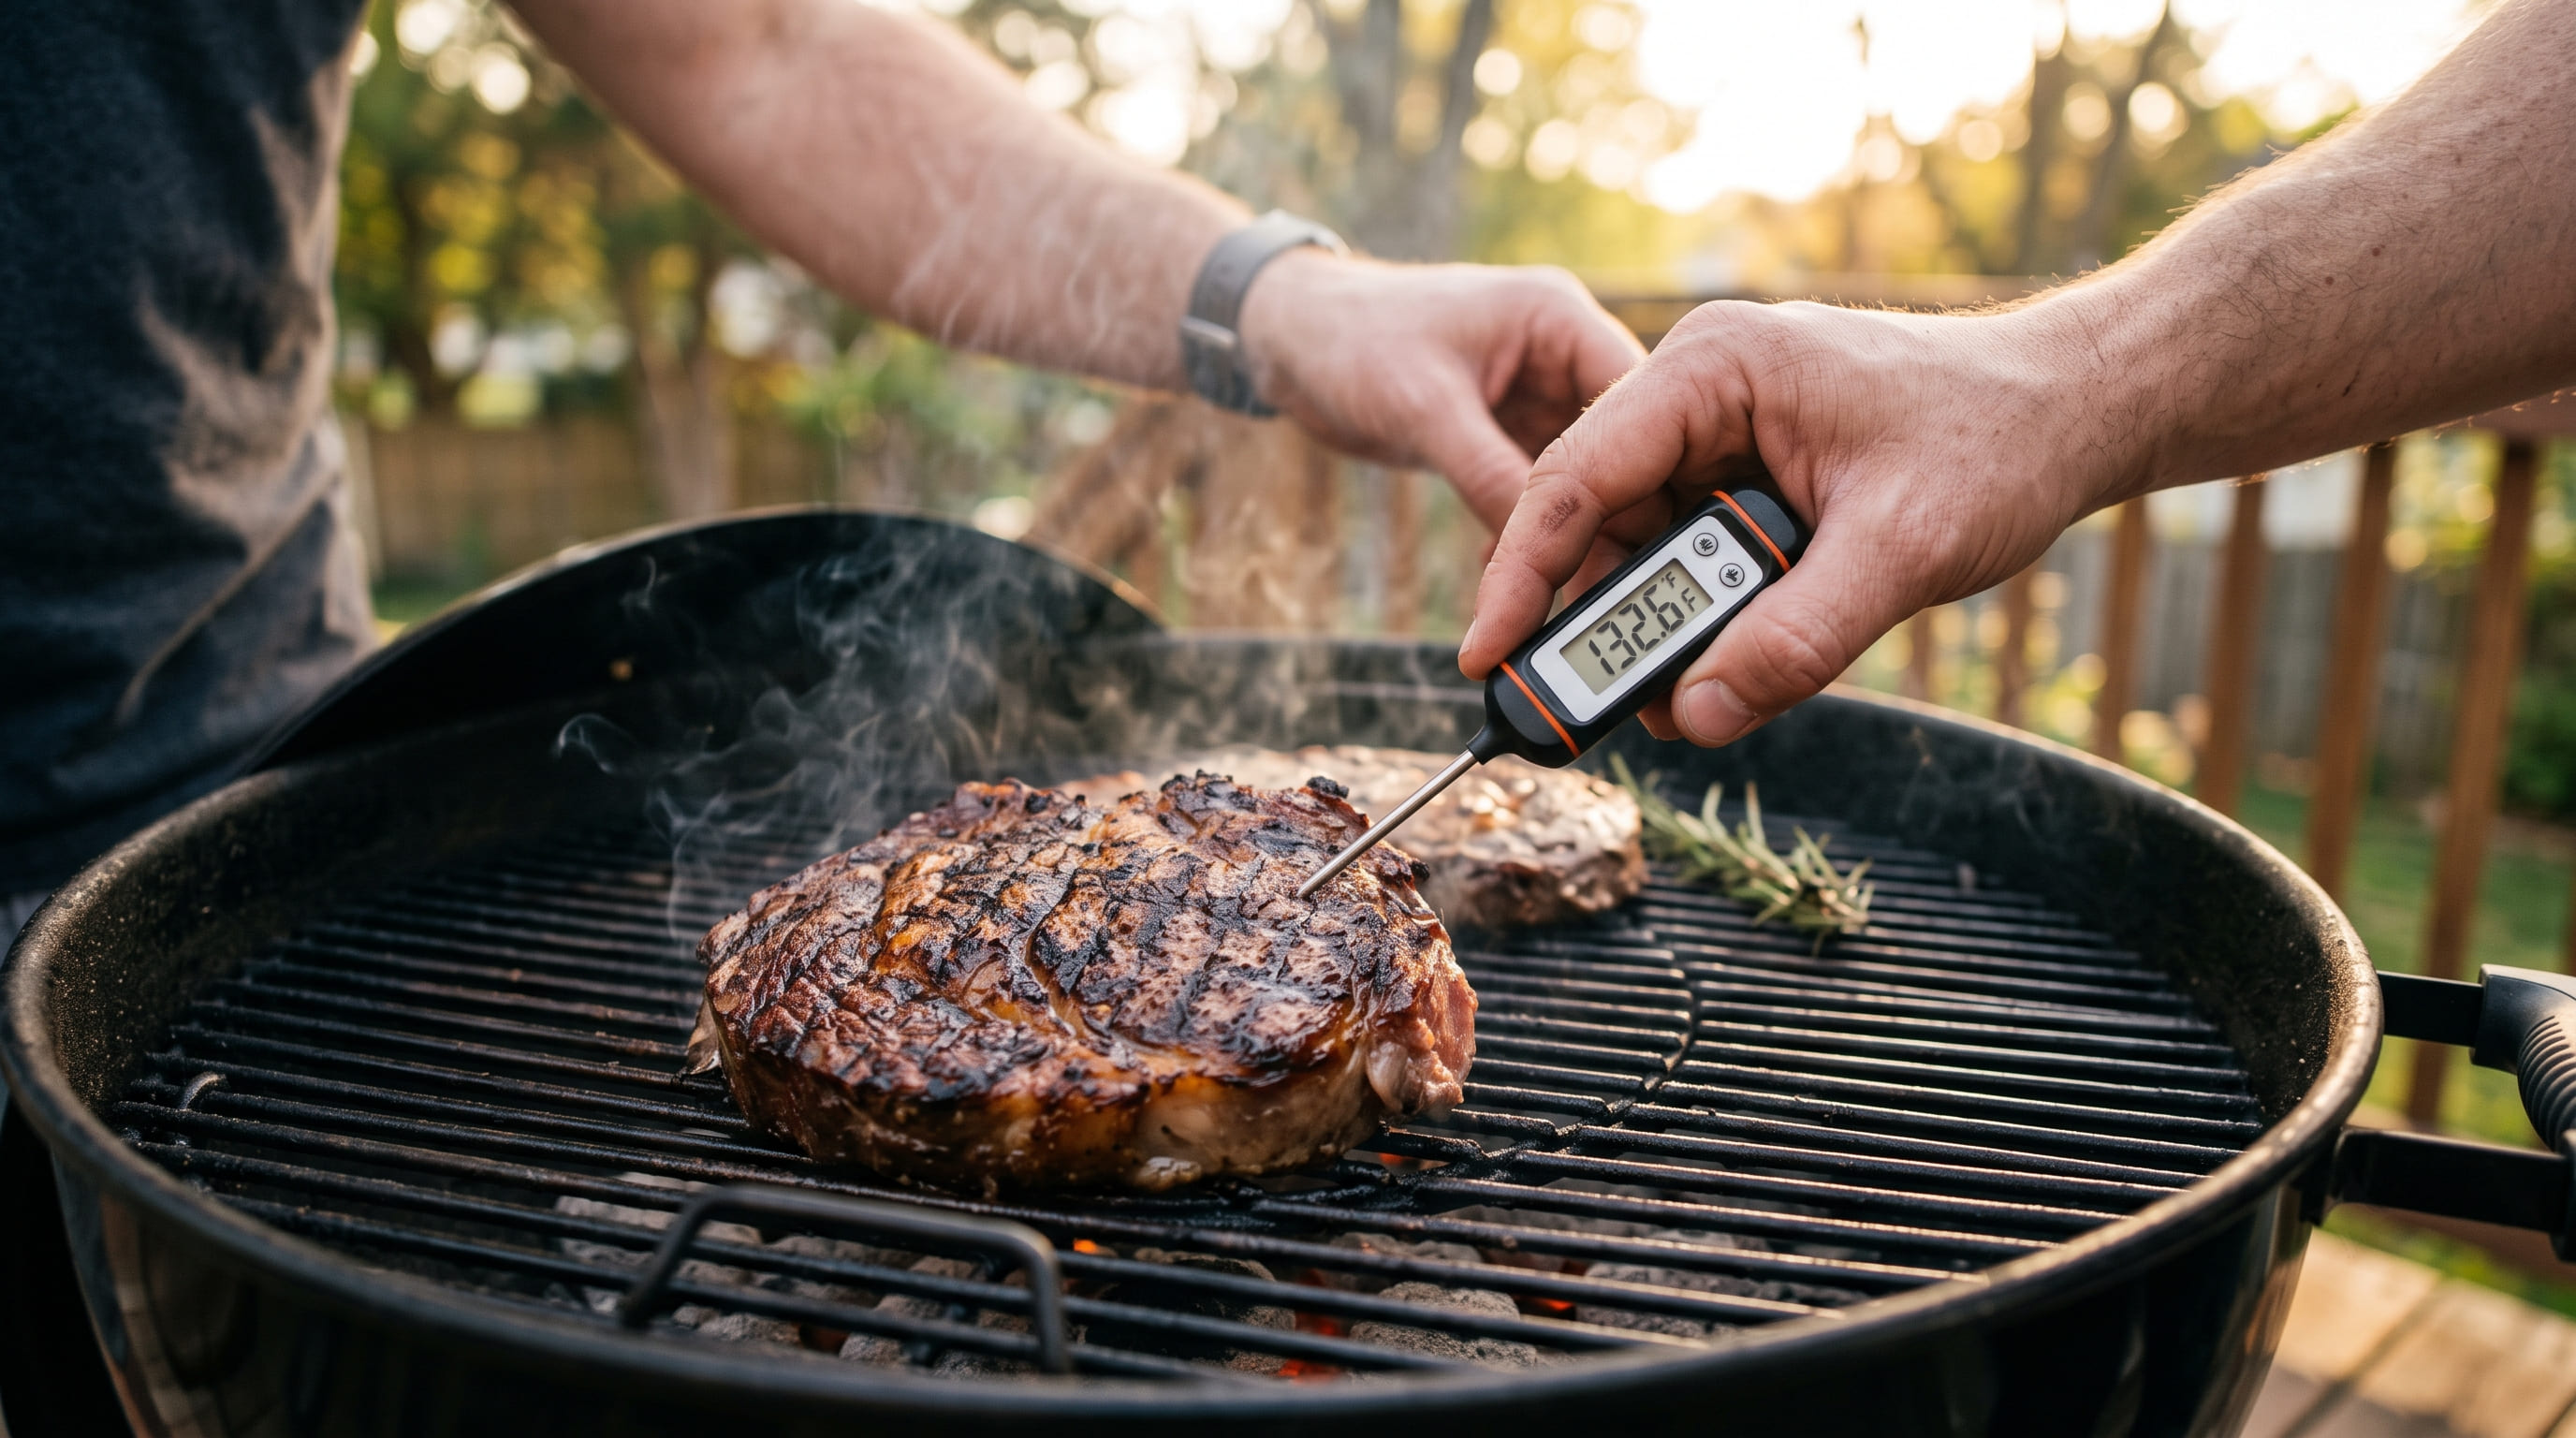
For thicker cuts, once the sear is set on both sides, move the steak to the cooler indirect zone to finish reaching your target internal temperature without further darkening the crust. This is where a reliable thermometer matters most — judging doneness by touch or time alone gets meaningfully less accurate as steak thickness increases.
The Reverse Sear: An Alternative for Thick Cuts
How It Works
Reverse searing flips the standard order: cook the steak low and slow first (on the indirect zone, or in an oven) until it's close to your target internal temperature, then finish with a hard, fast sear at the very end. This produces more even doneness edge to edge on thick cuts than sear-first methods, since the interior isn't racing to catch up while the exterior risks overcooking.
When to Use It
Reverse searing is most worth the extra step on steaks 1.5 inches or thicker, where sear-first methods have the most room to overshoot the interior before the crust develops fully. For thinner steaks, the standard direct-sear method above is simpler and produces comparable results with less total process.
Resting the Steak
Why Resting Isn't Optional
Cutting into a steak immediately after it comes off the grill releases much of its juice onto the cutting board instead of staying in the meat. Resting for 5–10 minutes lets the muscle fibers relax and reabsorb that moisture, producing a noticeably juicier result when you finally slice into it.
How Long to Rest
A good rule of thumb is roughly 1 minute of rest per 100 grams of meat, or more simply: 5 minutes for a thinner steak, up to 10 minutes for a very thick cut. Tenting loosely with foil during this time keeps it warm without trapping enough steam to soften the crust you just built.
Common Mistakes That Ruin a Good Steak
Skipping the Thermometer
Judging doneness by touch or cut-and-peek both work with enough practice, but a genuine instant-read or leave-in thermometer removes the guesswork entirely and is the single fastest way to consistently hit your target doneness, especially on thicker cuts where visual cues are least reliable.
Grilling Straight From the Fridge
A cold center combined with a hot sear produces an uneven doneness gradient — well-done at the edges fading to underdone at the very center on a thick cut. Thirty to forty-five minutes at room temperature before grilling closes most of that gap.
Not Preheating Fully
A partially preheated grill produces a weaker, greyer sear regardless of technique afterward — this is one of the most common root causes behind a disappointing steak that had nothing to do with the cut or seasoning. See our grill not heating up properly guide if your grill consistently struggles to reach real searing heat.
Overcrowding the Hot Zone
Placing too much food on the direct-heat zone at once drops the surface temperature and slows searing across everything on it. Sear in batches if you're cooking for a crowd rather than crowding multiple steaks onto a zone sized for one or two.
Frequently Asked Questions
What temperature should I pull a steak off the grill for medium-rare?
Pull at 125°F internal temperature. Carryover cooking during the rest will bring it up to the final 130–135°F medium-rare range, so pulling exactly at 130–135°F usually results in overcooking by the time it's rested.
How long should I grill a steak per side?
For a 1 to 1.5 inch steak over genuine high heat, 2–4 minutes per side is typical for medium-rare, but rely on an internal thermometer rather than a fixed time, since grill heat output varies enough between units that timing alone isn't reliable.
Should I flip my steak multiple times or just once?
A single flip partway through produces the cleanest, most even crust and is sufficient for most steaks. Flipping repeatedly doesn't damage the result, but it also doesn't improve it — it mainly extends total cook time.
Do I really need to rest a steak after grilling?
Yes. Cutting into it immediately releases much of the juice that resting lets the meat reabsorb. Rest 5 minutes for a thinner steak, up to 10 minutes for a very thick cut, tented loosely with foil.
What's the difference between reverse searing and regular grilling?
Regular grilling sears first, then finishes cooking to temperature. Reverse searing cooks low and slow first, then finishes with a hard sear at the end — it produces more even doneness edge to edge on thick cuts, at the cost of a longer, more involved process.
Why does my steak come out grey instead of having a crust?
Usually one of two causes: surface moisture that wasn't dried off before grilling, or a grill that wasn't fully preheated to genuine searing temperature. Pat the steak completely dry immediately before grilling, and confirm your grill has reached real high heat first.
Final Takeaway
Grilling a great steak comes down to a handful of controllable steps: choose a cut with real thickness, dry and season it properly, sear over genuine high heat with a single flip, pull it 5°F below your target doneness, and rest it before cutting. None of this depends on an expensive grill — our testing found strong sear results on both a budget charcoal kettle and a premium gas sear zone, because the technique matters more than the equipment once you're above a baseline of real high heat.
If you're shopping specifically for sear performance, see our best grills for steaks guide for grills ranked by measured searing temperature and speed. For the technique behind setting up hot and cool zones on any grill, see our direct vs indirect grilling guide.
Ready to shop? Browse our top-rated grill picks to find your perfect match.