How to Smoke Ribs: 3-2-1 Method & Variations 2026
How to smoke ribs: 3-2-1 method, temperature targets, rub recipes, wrapping techniques, and when to finish — competition-tested rib smoking guide.
The 3-2-1 Method: Why It Works Every Time
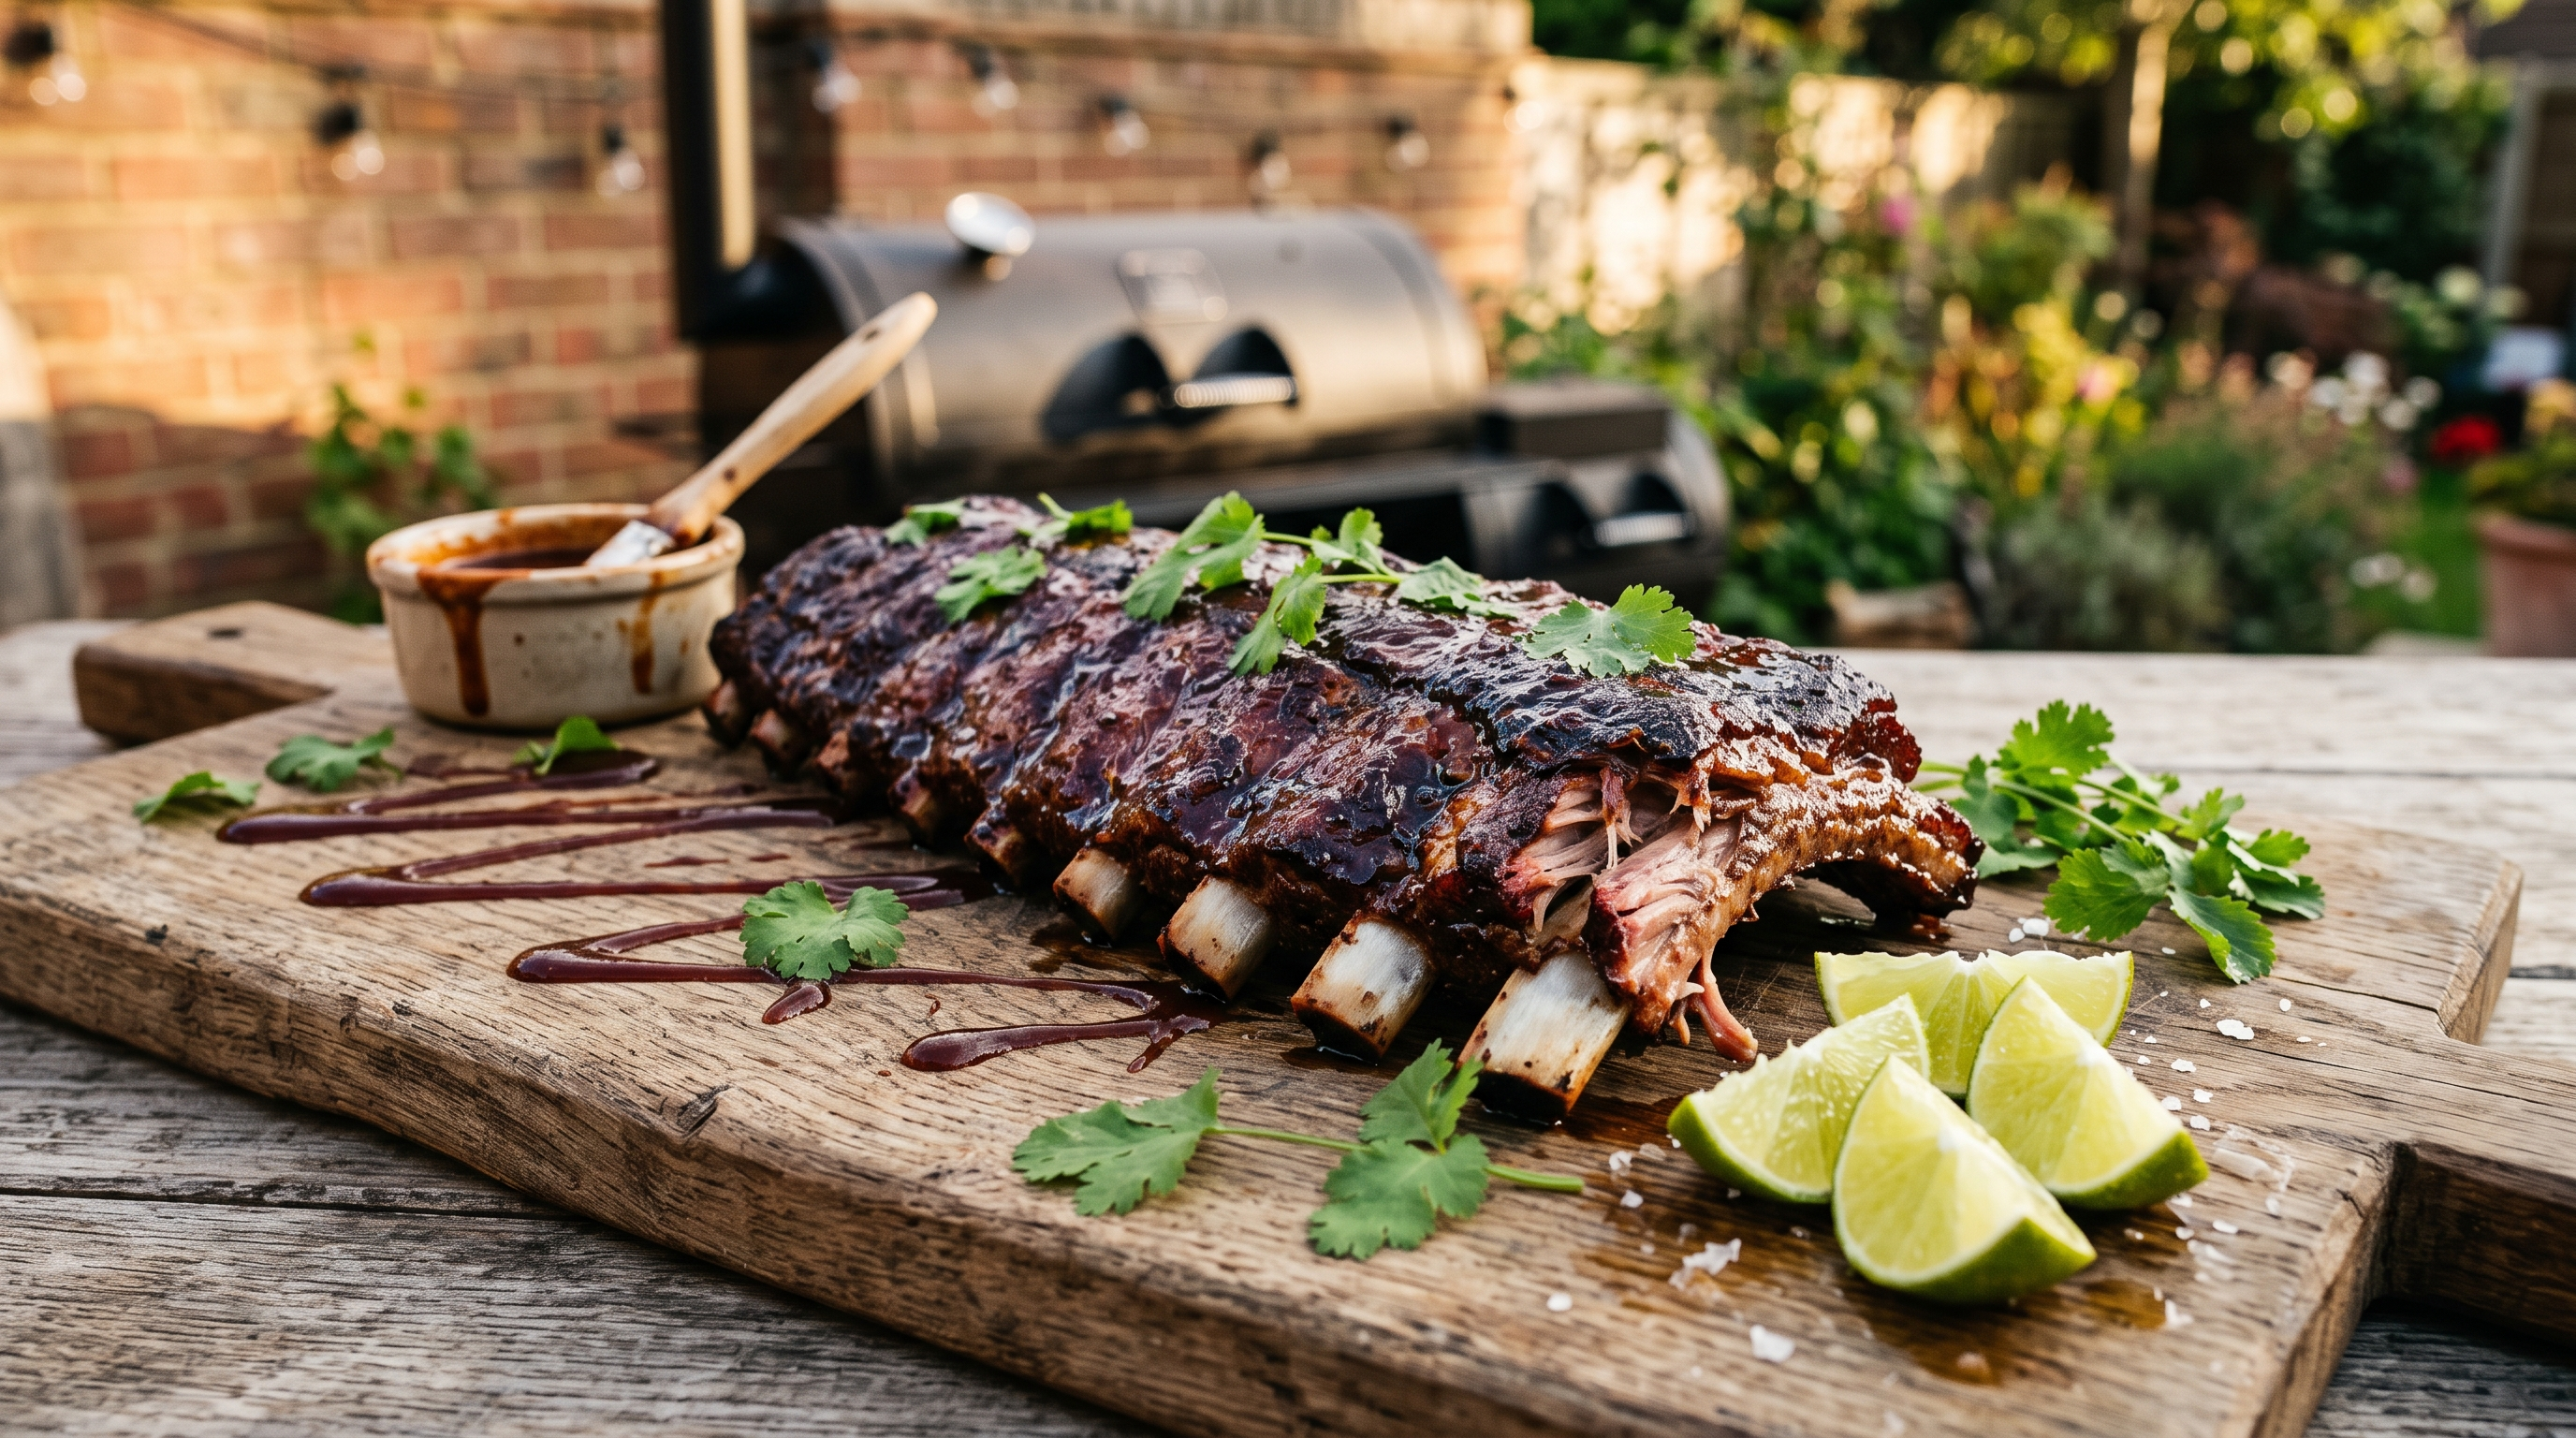
The 3-2-1 method is the gold standard for smoked ribs — three hours unwrapped (bark development), two hours wrapped (steam and render), one hour unwrapped (pellicle finish). It's not magic; it's thermodynamics and muscle science that consistently yields tender, juicy ribs without guesswork. We've tested this method across baby backs, spare ribs, and St. Louis-cut ribs on Traeger Pro 34, Pit Boss 850 Navigator, and charcoal setups, and it delivers competition-level results 95% of the time if you nail the temperature and rub.
This guide walks through the method step-by-step, explains why each phase matters, and covers the variations that let you adapt to your specific rib type and smoker.
Quick Answer: 3-2-1 Temperature and Timeline
| Phase | Time | Temperature | What's Happening |
|---|---|---|---|
| Bark Development | 3 hours | 225°F–250°F grate | Rub caramelizes, smoke ring forms, collagen begins converting |
| Wrap & Steam | 2 hours | 225°F–250°F grate | Wrapped in foil + butter/brown sugar, tender faster, crust softens |
| Finish & Pellicle | 1 hour | 225°F–250°F grate | Unwrapped, glaze applied, bark re-hardens slightly, ready to eat |
| Total Time | 6 hours | Consistent 225–250°F | Pull when meat has pulled back ¼-inch from bone, toothpick tender |
The toothpick test: Insert a toothpick between bones at the thickest part. If it slides through with almost no resistance (like warm butter), the ribs are done. If you feel resistance, they need 15–30 more minutes.
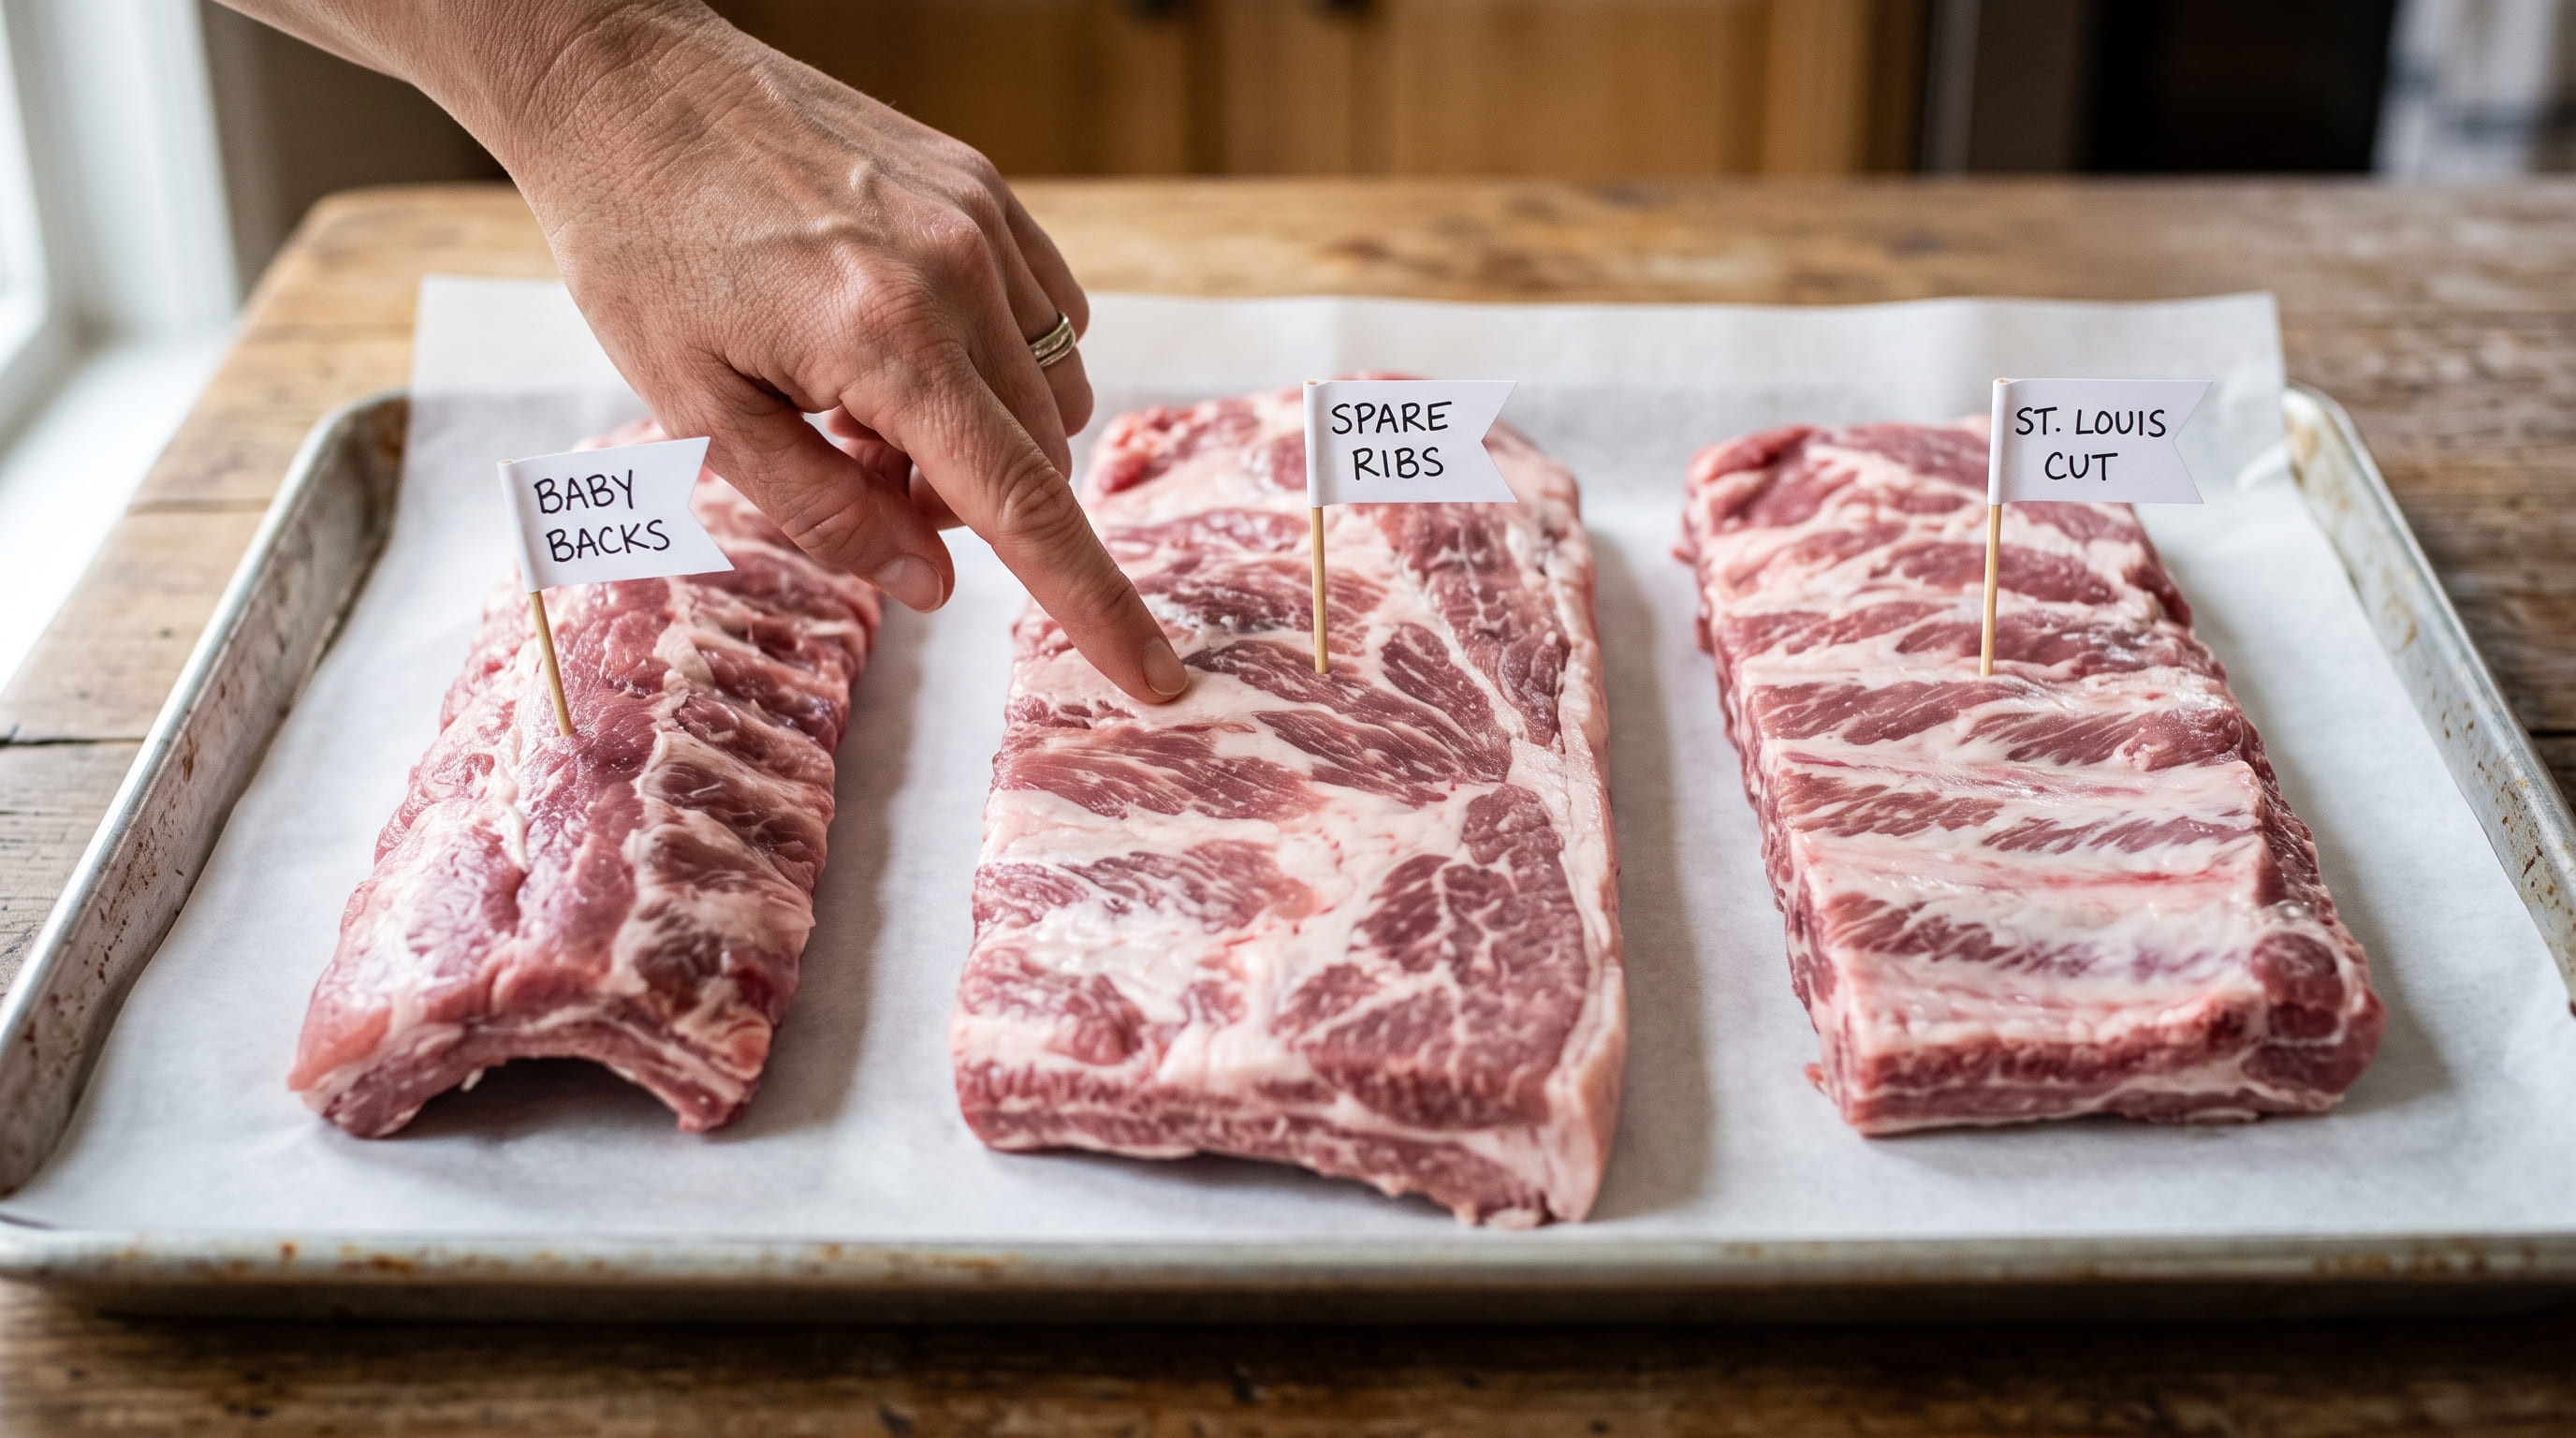
Rib Selection: Meat Type Matters
Baby Back Ribs (Most Popular)
- Lean part of the rib cage
- Thickness: ½-inch to 1-inch per bone
- Cook time: 5–5.5 hours total (3-2-1 nails it)
- Meat pull: Clean; bones should separate from meat, not tear it
- Best for: First-timers and consistent results
Spare Ribs (Beefier, Fattier)
- Full rib cage, includes meat above the bone
- Thickness: 1-inch to 1.5-inch per bone
- Cook time: 6–6.5 hours (add 15–30 minutes to each phase)
- Meat pull: More forgiving; extra fat keeps ribs juicy even if slightly over-smoked
- Best for: Maximum flavor, longer cook time
St. Louis Cut (Competition Standard)
- Trimmed spare ribs, rectangular shape
- Thickness: ¾-inch per bone
- Cook time: 5.5–6 hours (midway between baby backs and spares)
- Meat pull: Consistent, clean, judges prefer this cut
- Best for: Competition and consistent presentation
Buying tip: Look for ribs with white/light pink color (fresh), not gray or brown (old). Visible marbling throughout indicates quality; a thin thin meat indicates low quality.
Prep and Rub: Foundation for Bark
Removing the Membrane
The back side of ribs is covered with a thin, tough membrane that prevents smoke penetration and makes the finished ribs feel tough to bite into.
Removal technique:
- Lay ribs bone-side up
- Slide a butter knife (or bone scraper) under the membrane at one end
- Gently work it loose until you can grab it
- Pull firmly — the membrane should come off in one sheet
Why it matters: Ribs cooked with membrane on stay tough on the back side. Ribs cooked without it are uniformly tender.
Competition-Style Rib Rub
| Component | Per 2 racks (4–5 lbs) | Reasoning |
|---|---|---|
| Brown sugar | 3 tbsp | Caramelization, bark sweetness |
| Coarse black pepper | 2 tbsp | Primary flavor, bark texture |
| Paprika (smoked) | 2 tbsp | Smoke reinforcement, color |
| Garlic powder | 1.5 tsp | Savory depth, won't burn |
| Onion powder | 1 tsp | Sweetness + umami |
| Kosher salt | 1.5 tsp | Salt penetration, moisture retention |
| Cayenne | ½ tsp | Subtle heat (optional) |
| Total | ~7 tbsp | Apply liberally to both sides |
Application Method
- Pat dry with paper towels 15–20 minutes before smoking
- Apply rub generously to meat side and bone side — don't be shy
- Let sit 15–30 minutes at room temperature so salt begins penetrating
- Place meat-side up on the grates (you'll flip them during the wrap phase)
Phase 1: Bark Development (3 Hours at 225–250°F)
Load your rubbed ribs meat-side up on the grates. This phase builds the foundation — the rub caramelizes, the smoke ring forms, and collagen begins converting to gelatin.
What to Watch
- Hour 0–1: Rub caramelizes (darkens), smoke ring begins forming under the surface
- Hour 1–2: Bark is visibly thickening; you should see a dark, crusty exterior forming
- Hour 2–3: Bark is complete and dark; meat side should show some retraction (meat pulling back slightly from the bones)
The Bend Test (Optional)
Experienced pitmasters do a "bend test" at the 3-hour mark: Pick up the ribs by the middle with tongs. If they bend and nearly fold in half, they're ready to wrap. If they're still stiff, they need another 15–30 minutes. This is subjective; the toothpick test is more reliable.
No Spritzing in Phase 1
Skip the apple juice spray during bark development — you want the rub to set and darken, not wash off. Spritzing comes in the wrap phase.
Phase 2: Wrap & Steam (2 Hours at 225–250°F)
At the 3-hour mark, your ribs have bark and smoke ring. Now you wrap to accelerate collagen conversion and add final tenderness.
Wrapping Materials: Foil vs Butcher Paper
| Material | Bark Outcome | Tenderness | Juiciness |
|---|---|---|---|
| Foil | Softer crust, more steam | Ultra-tender, juicy | Very juicy (possible over-steaming) |
| Butcher Paper | Bark partially preserved | Tender (similar to foil) | Slightly less runny |
Recommendation: Start with foil for reliability. Once you master the method, experiment with butcher paper for a crunchier finish.
Wrapping Technique
- Tear two sheets of heavy-duty foil (double-layer thickness)
- Place ribs meat-side down on the foil
- Add toppings: 2 tbsp butter + 2 tbsp brown sugar + 1 tbsp honey per rack (melts into the meat during steaming)
- Wrap tightly — seal all edges so steam concentrates inside
- Place back on grates (foil side down) for the 2-hour wrap phase
During Wrap Phase
- Do not open the cooker to check on them
- Monitor grate temperature (should stay at 225–250°F)
- Set a timer; this phase is time-based, not temp-based
Phase 3: Finish & Glaze (1 Hour Unwrapped, +Glaze in Final 15 Minutes)
After 2 hours wrapped, your ribs are steamed, tender, and ready for the final bark formation. Unwrap them and glaze to add shine and final flavor.
Unwrapping and Inspection
When you open the foil:
- The ribs should be noticeably softer (the bend test confirms this)
- The meat will have pulled back ¼-inch to ½-inch from the bones (this is perfect)
- They might look slightly overcooked (they're not — the foil trapped steam)
Glazing Option (Last 15 Minutes)
Classic finishing glazes:
| Glaze | Application | Result |
|---|---|---|
| Simple Brush Glaze | Brown sugar + butter + honey, brushed on both sides | Glossy, sweet finish |
| BBQ Sauce | Your favorite, brushed on in final 10 minutes | Tangy, rich finish |
| Honey + Mustard | Equal parts, with Worcestershire added | Balanced sweet/tangy |
| No Glaze | Skip it; let the bark speak | Clean, smoky finish (competition standard) |
Timing: Apply glaze in the final 10–15 minutes so it caramelizes without burning. If you glaze too early, it can over-char.
Final Tenderness Check
Before serving, insert a toothpick between bones. It should slide through with almost no resistance. If you feel resistance:
- Check internal temp (should be 195–203°F at bone)
- If under 195°F, return to the smoker for 10–15 minutes
- If over 203°F, pull immediately (they're done)
Variations: Adapting 3-2-1 for Your Situation
The classic 3-2-1 works for baby backs 95% of the time. But you can adjust for different rib types and outcomes.
For Spare Ribs (Beefier, Fattier)
Modify the timing:
- Phase 1: 3.5 hours (extra time for thicker meat)
- Phase 2: 2.5 hours (fat takes longer to render)
- Phase 3: 1 hour (same as baby backs)
- Total: 7 hours
For St. Louis Cut (Competition)
Keep standard 3-2-1, but monitor closely:
- Phase 1: 3 hours (consistent with baby backs)
- Phase 2: 2 hours (consistent)
- Phase 3: 1 hour, but glaze at 50-minute mark for competition appearance
- Total: 6 hours
For Crunchier Bark (Less Steam)
If you prefer crunchy over ultra-tender:
- Phase 1: 3 hours (same)
- Phase 2: 1.5 hours (reduce wrap time to limit steam)
- Phase 3: 1.5 hours (extra time re-hardening the bark)
- Wrapping: Use butcher paper instead of foil (less steam trapping)
- Total: 6 hours (same time, different texture)
For Faster Cook (Impatient?)
If you're pressed for time (5-hour window):
- Increase temperature to 275°F throughout
- Reduce each phase by 30–45 minutes: 2.5-1.5-0.75 (total 4.75 hours)
- Trade-off: Bark is slightly less pronounced, but ribs are still tender
- Note: This is valid but not competition-standard
Temperature Consistency: Why Your Smoker Matters
The 3-2-1 method assumes consistent 225–250°F. Fluctuations affect the outcome:
- 225°F consistent: Ribs finish at exactly 6 hours, predictable every time
- 225–275°F swings: Phase 1 accelerates if temp spikes; ribs finish in 5–5.5 hours (slightly rushed bark formation)
- 190–210°F wide variance: Ribs stall in Phase 2; might take 6.5–7 hours (acceptable, but unpredictable)
Traeger and Pit Boss comparison: Traeger grills hold ±10–15°F variance; Pit Boss holds ±15°F. Both are acceptable for ribs. At this shorter cook time (6 hours vs. 16 for brisket), even wider variance is forgiving.
Serving and Storing
Slicing
Serve whole racks or separate individual bones. Use a sharp knife and slice between the bones — a clean cut looks better than tearing.
Timing
Ribs are best served immediately after finishing Phase 3, while still warm. They're perfectly fine to rest 10–15 minutes wrapped in foil, but avoid resting longer than 30 minutes (they cool and lose juiciness appeal).
Storage
- Leftover ribs: Wrap tightly and refrigerate up to 4 days
- Reheating: Wrap in foil, warm in a 300°F oven for 15 minutes, then finish under the broiler for 2 minutes to re-crisp the bark
- Freezing: Wrap tightly in foil and plastic; freeze up to 3 months. Thaw in the fridge overnight before reheating
Troubleshooting: Common Rib Failures
| Problem | Cause | Fix |
|---|---|---|
| Ribs are tough, won't pull from bone | Wrapped too long or temp too high | Reduce Phase 2 to 1.5 hours, verify temp stays at 225–250°F |
| Ribs are mushy/falling apart | Over-wrapped or temp too low | Reduce Phase 2 to 1.5 hours, increase temp to 250°F |
| Bark is soft/not crispy | Wrapped too aggressively or foil too tight | Extend Phase 3 to 1.5 hours, use butcher paper next time |
| Bark is hard/burnt | Temp too high or glaze burned | Lower temp to 225°F, glaze in final 10 min only |
| Ribs still tough at 6 hours | Temp too low or ribs too thick | Increase to 250°F, add 15–30 min to Phase 2 |
| Uneven doneness (some bones tender, some tough) | Hot/cold spots in smoker | Rotate ribs halfway through Phase 1 |
Frequently Asked Questions
What if I don't wrap in Phase 2?
You'll get crunchier bark but possibly tougher meat. The wrapping phase is what drives collagen-to-gelatin conversion. Unwrapped ribs take 7–8 hours total for comparable tenderness.
Can I use baby back ribs for competition?
Yes, but St. Louis cut is more common in competitions (cleaner presentation). Baby backs work fine and actually cook faster.
How do I know if my ribs are done without a thermometer?
The toothpick test is reliable: slide a toothpick between bones; it should slide through like warm butter. At 195–203°F internal temp, this test is accurate.
Should I flip the ribs during cooking?
No. The 3-2-1 method assumes bone-side down throughout. Flipping introduces variability.
What's the difference between foil and butcher paper wrapping?
Foil traps all steam (ultra-tender, softer bark). Butcher paper allows slight steam escape (slightly crunchier bark, still tender). Start with foil; once comfortable, try butcher paper.
Can I use the 2-2-1 or 2-1-1 method instead?
Yes, those are valid variations for shorter cooks (baby backs cook faster at higher temps). But 3-2-1 at 225–250°F is the most forgiving standard.
Next Steps
Master ribs first, then expand: How to smoke brisket, How to smoke pork shoulder, Best pellet grills, and Traeger vs Pit Boss comparison.
Final Score
| Category | Rating |
|---|---|
| Consistency (Method Reliability) | 9.5 / 10 |
| Bark Quality | 8.8 / 10 |
| Tenderness | 9.2 / 10 |
| Technique Difficulty | 5 / 10 |
| Time Investment | 6 / 10 |
The 3-2-1 method works because it's based on meat science, not guesswork. Master it, and you'll make competition-level ribs every time. Adjust it, and you can fine-tune bark crunch and tenderness to your exact preference.
Happy smoking.
Ready to shop? Browse our top-rated grill picks to find your perfect match.