If none of the picks matched you exactly, these are the features that decide whether a cheap gas grill lasts, in the order they matter for most buyers.
Where cheap grills cut corners
Budget grills save money with thin painted steel, flimsy igniters, burners that rust and grates that lose their coating. Spend your money on the parts that wear out: stainless burner tubes, heavy grates and a warranty that covers the cookbox and burners.
Shiny stainless side panels tell you nothing about the burners underneath. Look at what the burners and cookbox are made of first.
 Stainless burner tubes are the part worth paying for on a budget grill.
Two burners is the minimum for real cooking
With two or more independent burners you can sear on one side and finish on the other, or cook bone-in chicken away from the flame. A one-burner grill only does direct heat, which is fine for burgers and hot dogs but limits everything else. Our guide to direct vs indirect grilling shows how to set up both zones.
Grates: the part you touch every cook
Porcelain-enameled cast iron holds the most heat and leaves the best sear marks, but chips can rust, so don't attack it with a metal scraper. Stainless steel resists rust and needs little upkeep, though it holds less heat and discolors over time.
Thin porcelain-coated steel is the cheapest option. It's easy to clean but wears through sooner than either of the others.
Ignore the BTU arms race
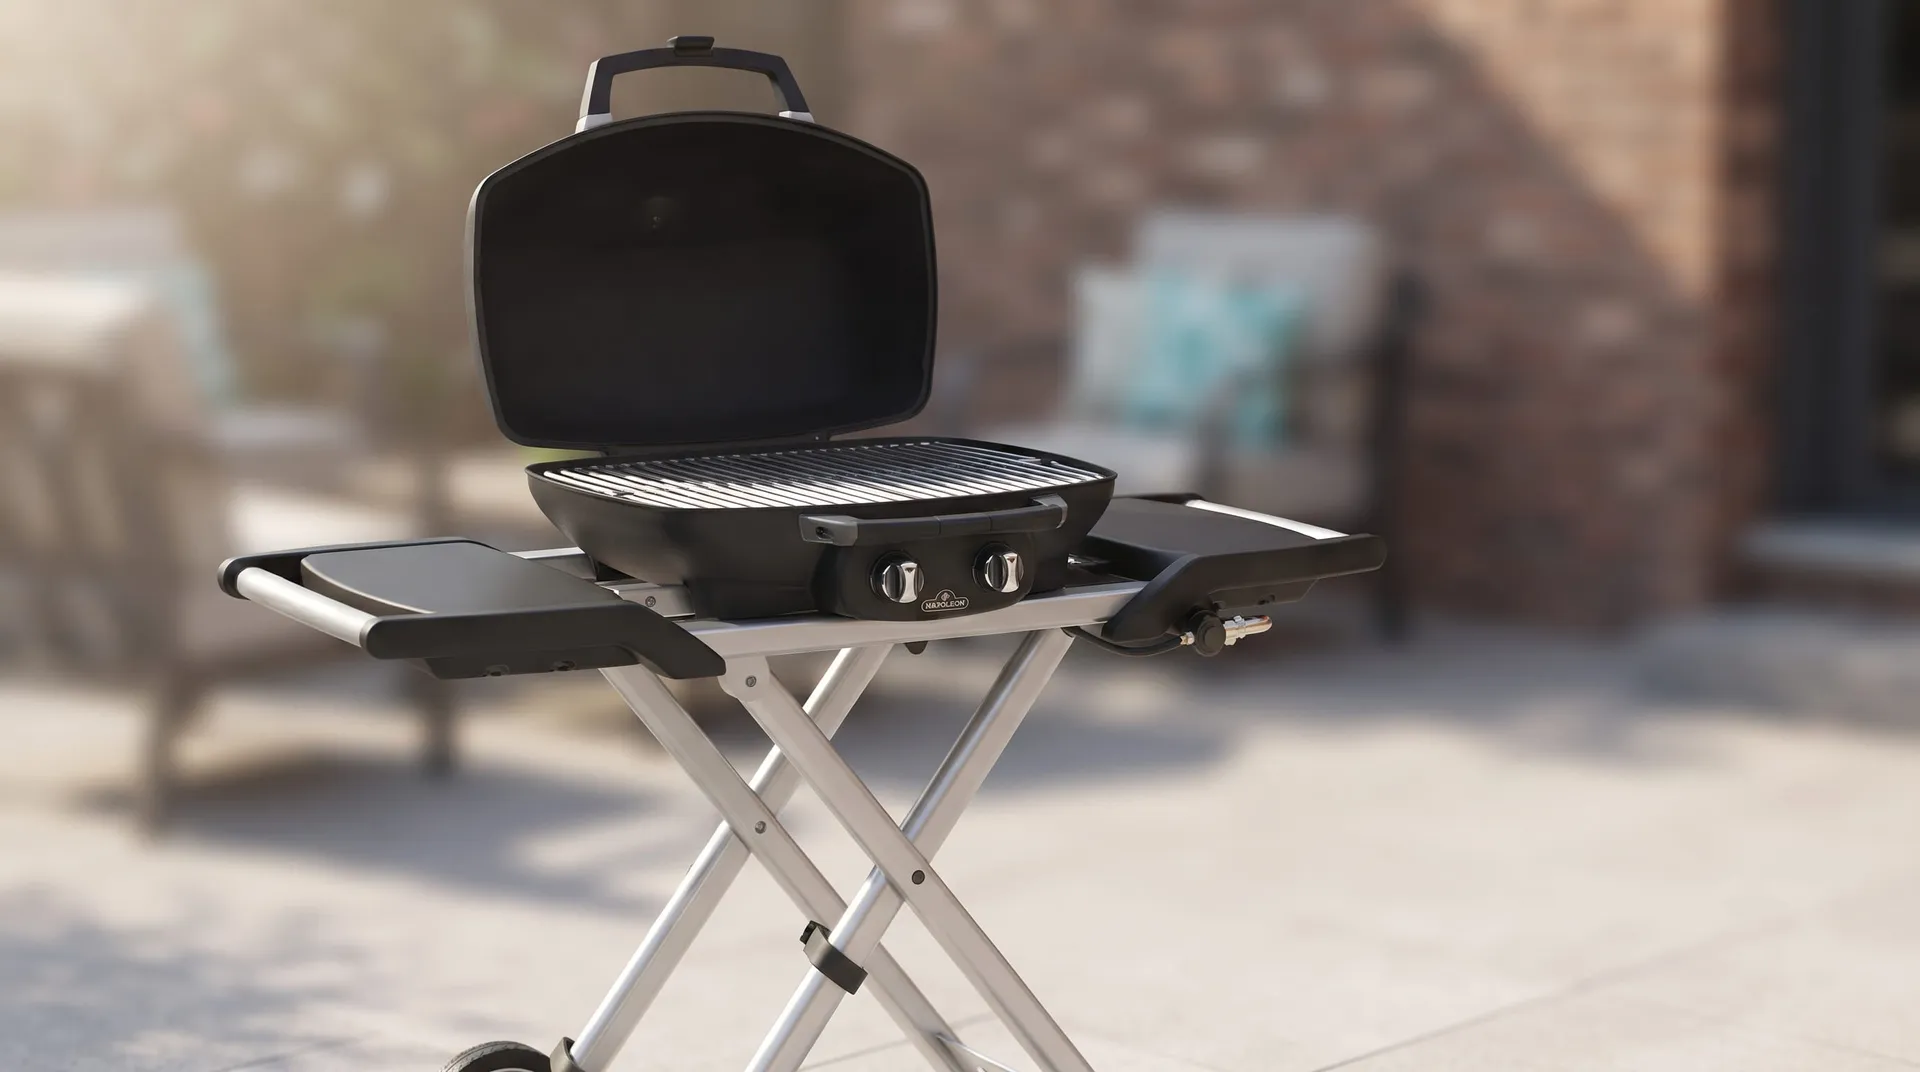
More BTUs mean more gas burned, not better cooking. A heavy grate, a tight lid and even burner spacing matter more. A small grill with modest output, like the TravelQ, simply needs a full lid-closed preheat before you sear.
Check the warranty by part
Budget warranties look decent on the box and thin out in the details. Read how long the burners, cookbox, grates and igniter are each covered, since those are the parts you'd actually replace.
Monument covers the Mesa's stainless burners for 8 years but its grids and flame tamers for 2, and it excludes rust from humidity, salt or chlorine. Cuisinart covers the Petite Gourmet for 3 years on parts, but enamel damage has to be reported within 30 days and only the original buyer is covered. Register the grill when it arrives and keep the receipt.
Look at parts availability
Even a good budget grill eventually needs new grates, a burner or an igniter, and a grill igniter replacement is a cheap fix if parts exist. Before you choose, check that the maker sells parts for that model. A grill you can repair for a small cost is cheaper over time than one you have to replace.
Portables: think about the whole trip
For a grill that travels, weight is only part of the story. Check how it latches shut, whether the lid locks for carrying, where the grease tray goes in transit and whether you'll need a table at the site. Our best portable grills picks go deeper on camping and RV use.
If you live in an apartment, check the rules before choosing any propane grill. Fire codes in many cities limit propane on multifamily balconies to small 1 lb cylinders, and many leases ban it outright. Our best grills for small patios covers the options that fit.
How long does propane last on each grill?
Propane holds about 21,500 BTU per pound, so a 1 lb cylinder holds about 21,500 BTU and a 20 lb tank about 430,000 BTU. Here's what that means at full burn.
| Grill | Output at full | 1 lb cylinder | 20 lb tank |
|---|
| Cuisinart Petite Gourmet | 5,500 BTU/hr | About 4 hours | About 78 hours |
| Megamaster Tabletop | 11,000 BTU/hr | About 2 hours | About 39 hours |
| Napoleon TravelQ PRO285X | 12,000 BTU/hr | About 1.8 hours | About 36 hours |
| Cuisinart Portable Propane | 20,000 BTU/hr | Uses 20 lb tank | About 21 hours |
These are maximum-burn estimates. Cooking at medium stretches them, while cold and wind shorten them, and propane vaporizes more slowly as it gets colder, so small cylinders lose pressure fast on winter cooks. Disposable 1 lb cylinders cost far more per pound than a refilled 20 lb tank, so an adapter hose pays for itself quickly at home. Our guide on how long a propane tank lasts covers refills and gauges.
Assembly and first use
Tabletop grills need little or no assembly. Cart grills like the Mesa take longer and go easier with two people, so plan an afternoon and sort the hardware by step before you start.
Leak-test every connection before the first light and after every tank swap. Brush a mix of one part dish soap to three parts water on the joints with the knob off; bubbles mean a leak to fix before you cook. Then run the grill on high with the lid closed for a short burn-off to clear manufacturing oils, and wipe a thin coat of high-heat oil onto cast-iron grates.
Watch out: never run any gas grill indoors, in a garage or under a low overhang, whatever its size.
Keeping a budget grill alive
A cheap grill fails from grease, moisture and neglect long before it wears out, and NFPA data names failure to clean as the leading contributing factor in home grill fires. Burn off for 10–15 minutes on high after cooking, then brush the grates while warm.
 A few strokes on warm grates after every cook prevents the buildup that causes flare-ups.
Empty the grease tray every few cooks, and brush the burner ports each season, since yellow, lazy flames mean they're clogged. Keep the grill covered and dry, and store portables indoors once cool with the cylinder removed. Our how to clean grill grates guide covers the right brush for each grate type.
Accessories worth having on day one
Budget a little beyond the grill price for these. Each one solves a problem you'll otherwise hit in the first month.
- A fitted cover. Budget grills have the least margin against rust, and a cover is the cheapest protection.
- An instant-read thermometer. Lid gauges on cheap grills read the air near the lid, not the food, so judge doneness by the meat.
- A brush that suits your grates. Use a softer brush on porcelain so you don't chip it.
- An adapter hose. On portables that take one, it lets you cook at home on a refillable 20 lb tank.
- A metal camp table. Tabletop grills need a sturdy, non-flammable surface, and many plastic folding tables soften under heat.
Mistakes first-time buyers make
- Choosing by burner count. Four thin burners under a thin lid cook worse than two good ones under a heavy one.
- Not measuring the spot. Measure the patio with the lid open and side shelves out, and leave clearance from walls and railings.
- Leaving it uncovered. A season in the rain undoes most of what you saved.
- Cooking before learning the hot spots. Toast a grate full of bread slices on your first cook to see where the grill runs hot, then sear there.
When it pays to spend more
Stretching past $500 makes sense if you grill several times a week, since heavy use wears out burners and grates faster and longer warranties start paying for themselves. It also makes sense if you cook for big groups often or live somewhere wet or coastal, where better materials last longer.
If none of those fit, spend less and put the difference toward a good thermometer, a cover and better meat.
Gas or something else at this price?
A charcoal kettle gives you a hotter sear and real smoke flavor for less money, at the cost of more time and cleanup. A flat-top griddle is great for breakfasts and smash burgers, but it can't cook indirectly under a lid. If you're still deciding on fuel, read gas vs charcoal vs pellet grills first.