How to Replace Grill Igniters (Step-by-Step)
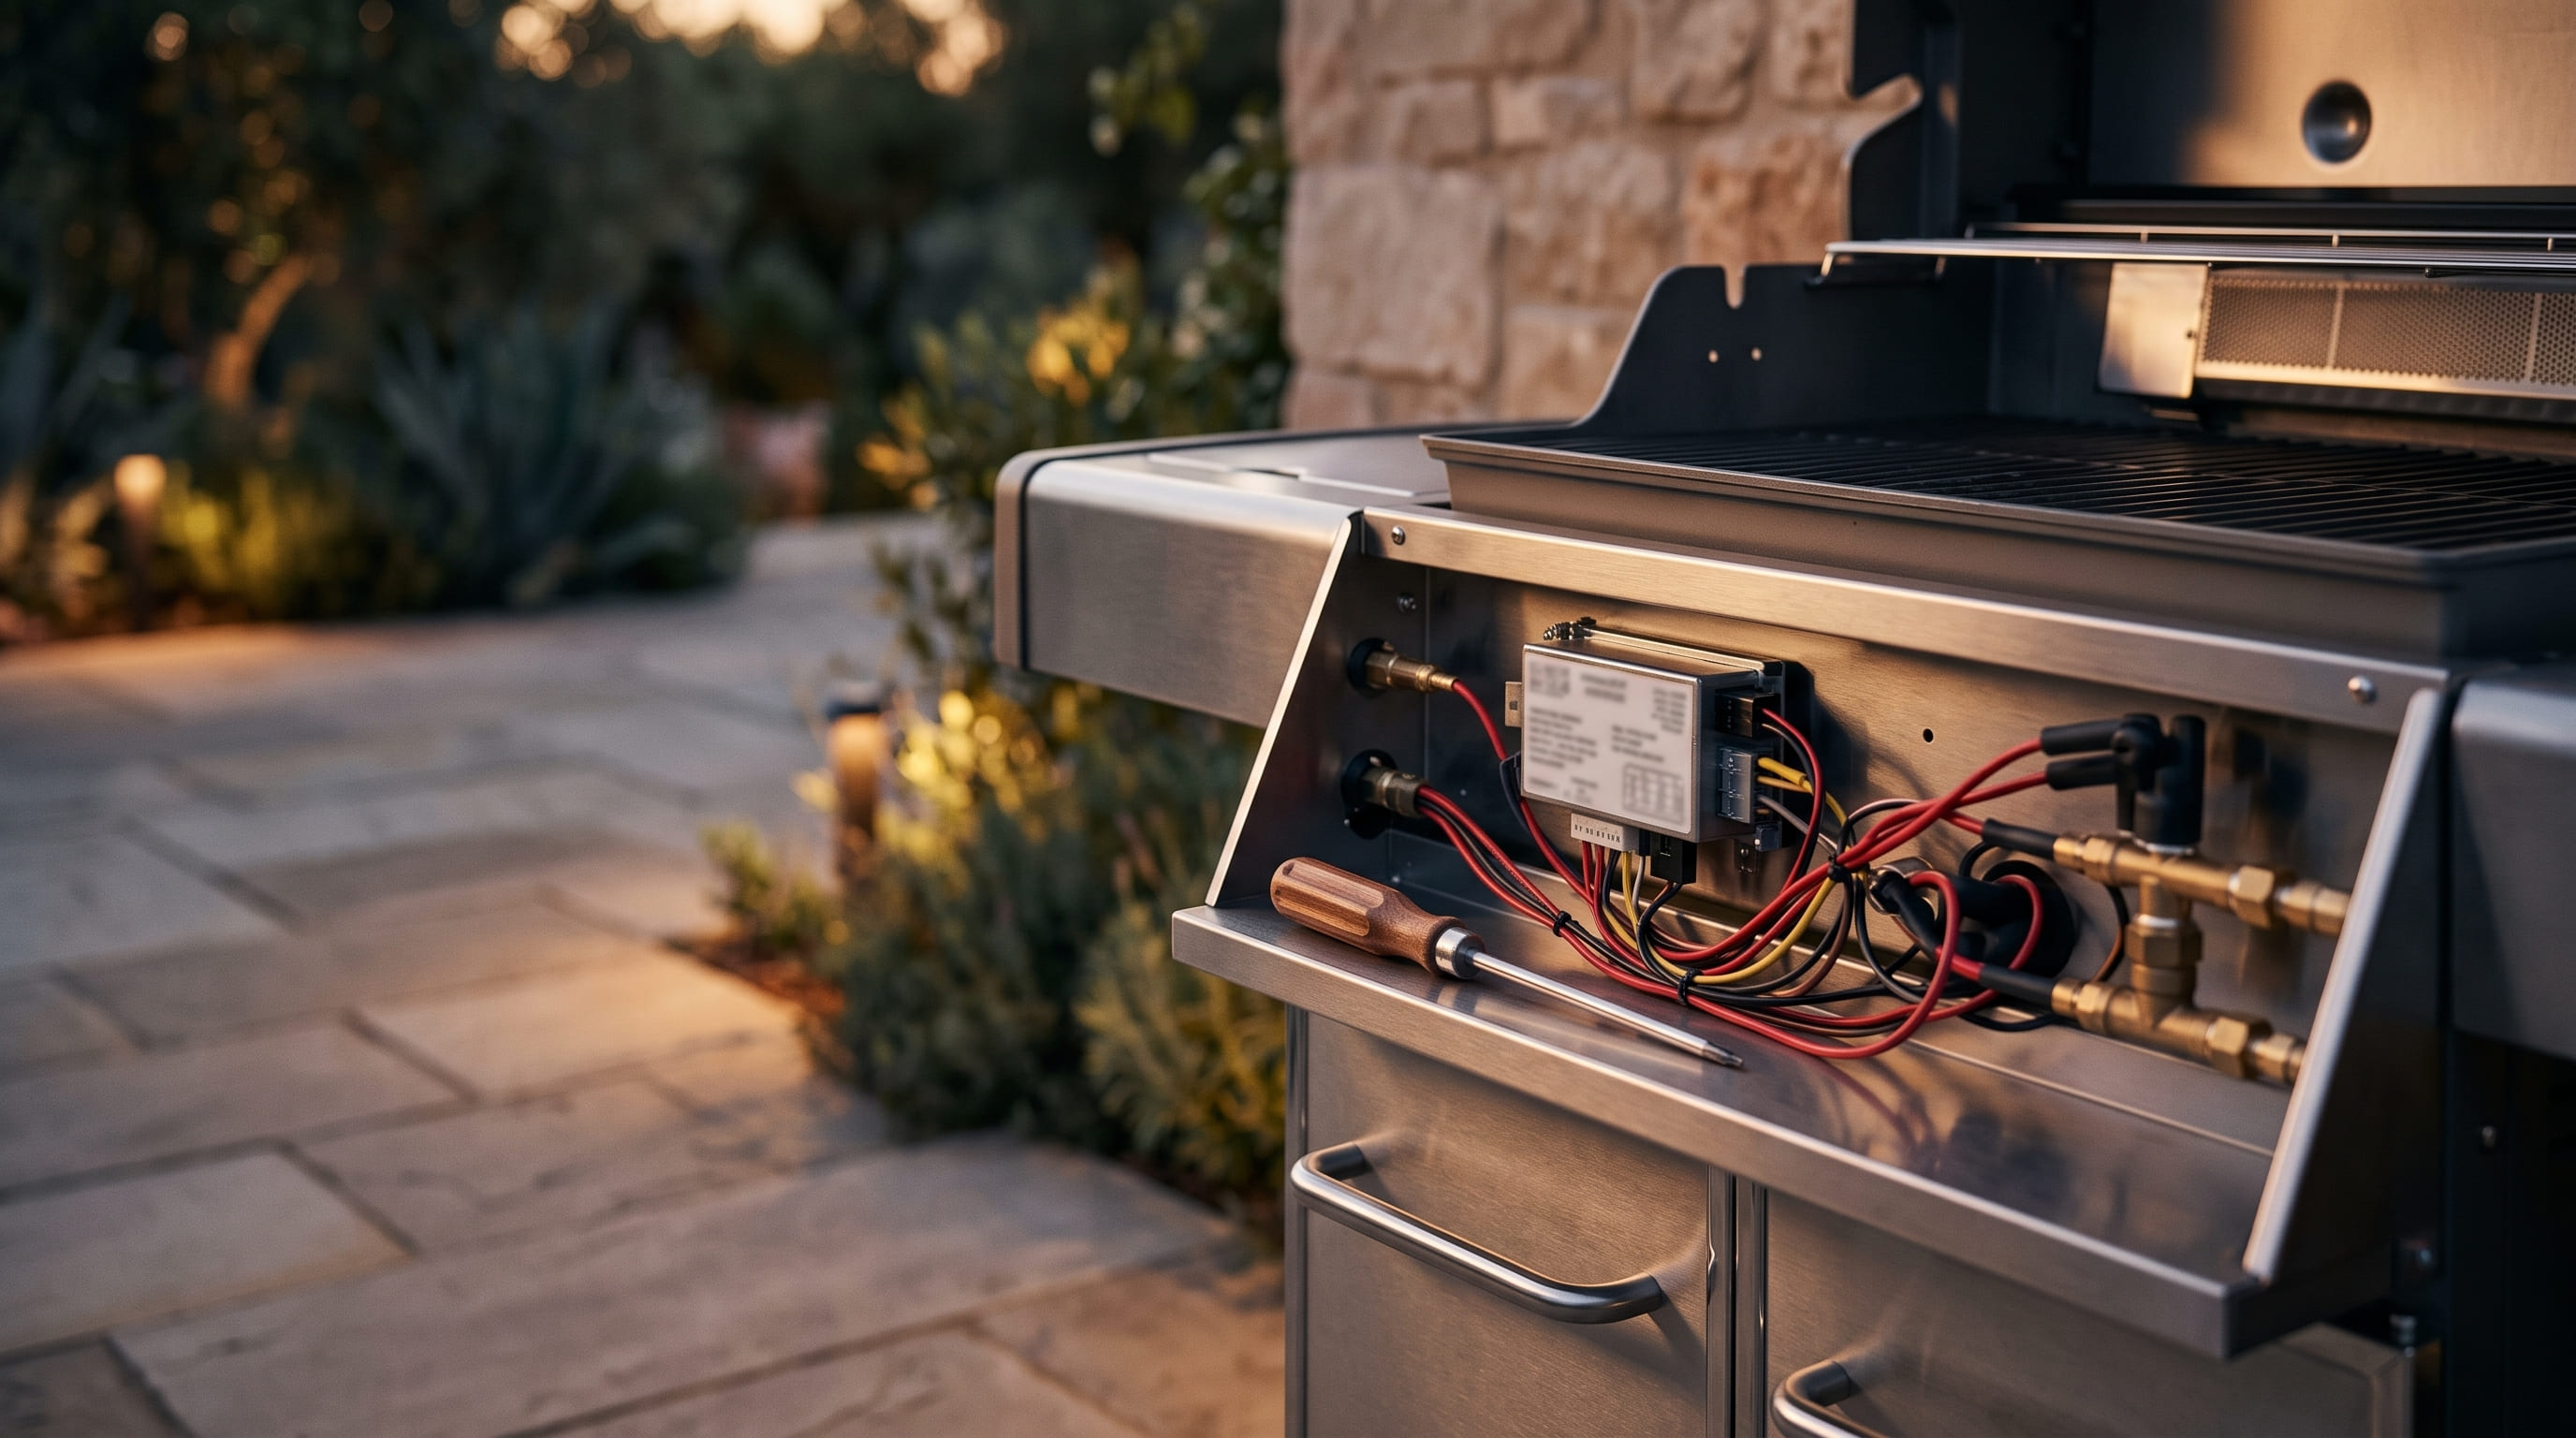
How to replace a grill igniter, from diagnosing which part failed to installing a new electrode or module, with the exact tools and steps our team uses.
When Cleaning and Battery Swaps Aren't Enough
Most ignition problems are cleaning or battery issues, not a failed part — our gas grill ignition troubleshooting guide covers those first. But after a few seasons, the igniter itself sometimes genuinely fails: a cracked electrode, a dead push-button module, or corroded wiring that no amount of cleaning fixes. This guide walks through diagnosing which specific igniter component failed and replacing it, using the same process our team uses when a grill's ignition system is actually due for a hardware swap.
Quick Answer: Igniter Replacement at a Glance
| Step | What You Do | Time |
|---|---|---|
| 1. Diagnose | Confirm it's the igniter, not the battery, gas, or burner | 5–10 minutes |
| 2. Identify the part | Match your igniter type to the correct replacement part | 5 minutes |
| 3. Disconnect gas | Turn off and disconnect the propane tank or gas line | 1 minute |
| 4. Remove the old igniter | Unscrew the module and disconnect the electrode wire | 10–15 minutes |
| 5. Install the new igniter | Connect the wire, mount the module, route the electrode | 15–20 minutes |
| 6. Test | Reconnect gas and test ignition on every burner | 5 minutes |
If you take away one thing from this guide: confirm the igniter is actually the failed part before ordering a replacement. A dead battery or a fouled electrode looks identical to a genuinely broken igniter module from the outside, and the fix for each is completely different.
Step 1: Confirm the Igniter Is Actually the Problem
Rule Out the Battery First
Most push-button igniters run on a single AA or 9V battery. A fresh battery swap takes 30 seconds and rules out the single most common cause of "no click, no spark at all" before you buy any replacement parts.
Check for a Visible Spark
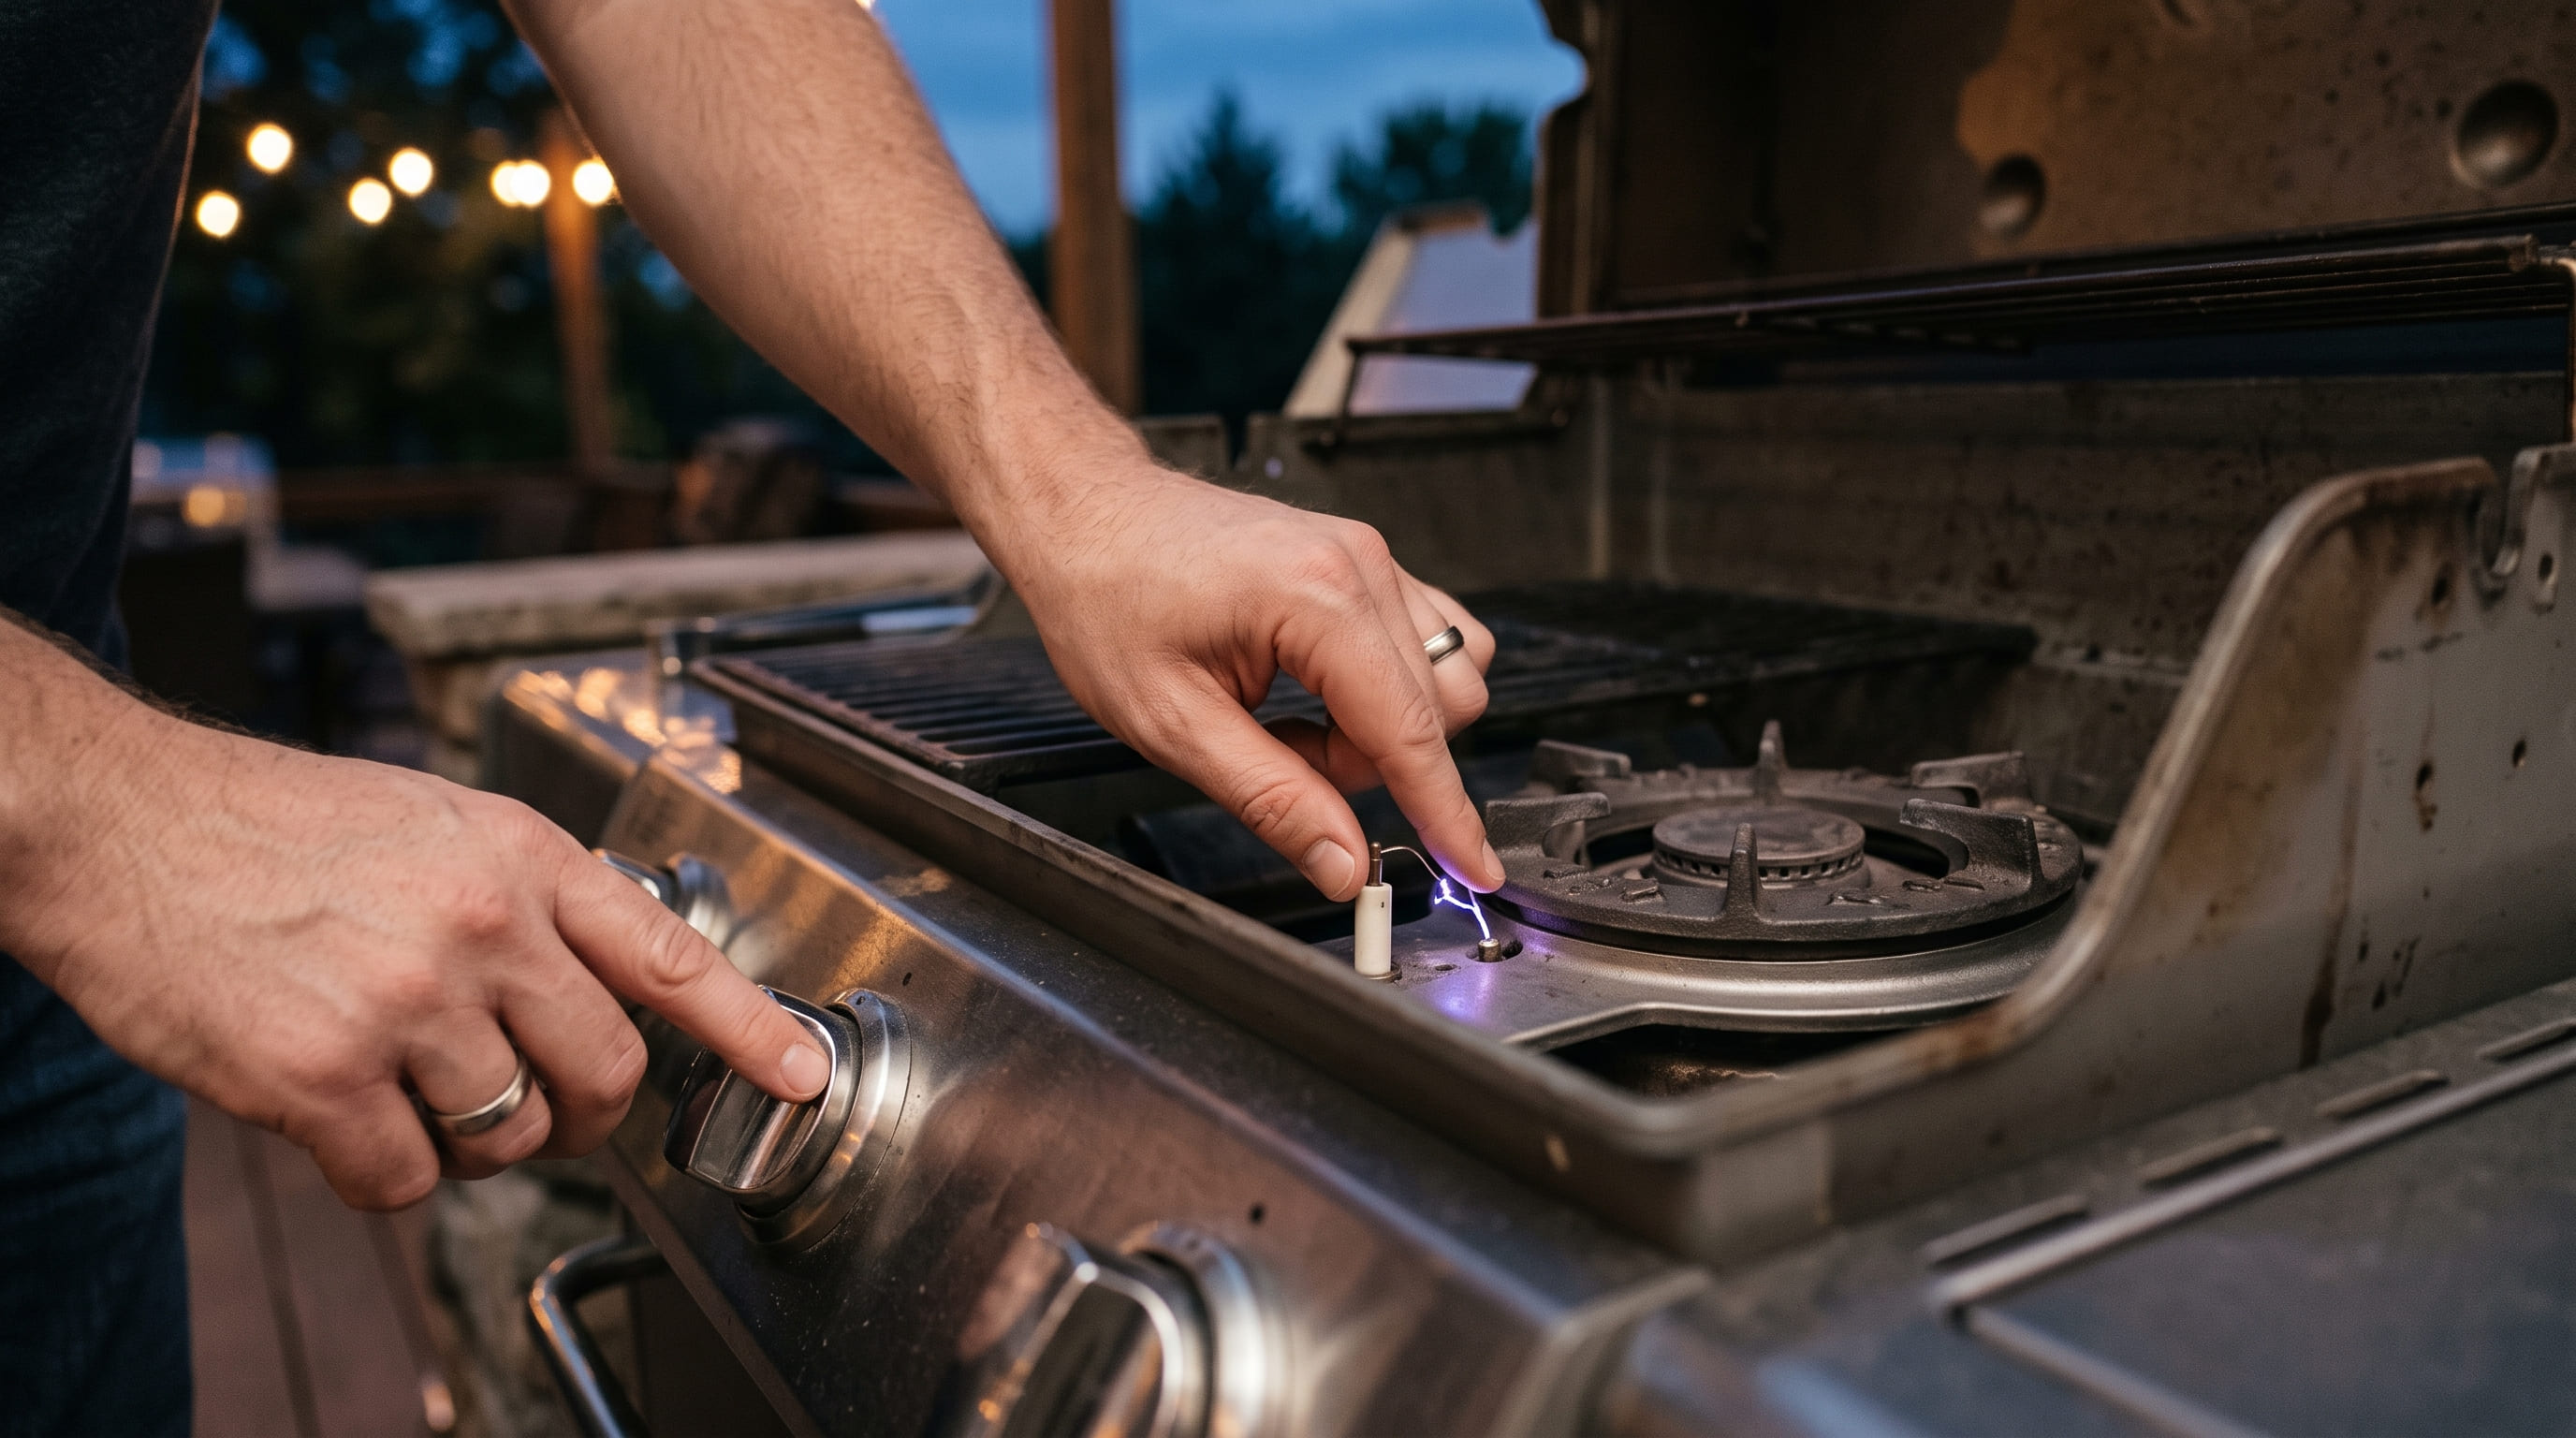
With the burner controls off, press the igniter button and watch the electrode tip near the burner in low light. A visible blue spark jumping across the gap means the igniter module and battery are both working — the problem is more likely a fouled electrode or a gas delivery issue, not the igniter itself. No spark at all, even with a fresh battery, points to a failed igniter module or a broken wire connection.
Rule Out a Fouled Electrode
Grease and debris buildup on the electrode tip can prevent a visible spark even with a fully functional igniter module. A cotton swab and a light cleaning of the electrode tip, plus confirming the gap between the electrode and burner hasn't shifted, resolves this without needing any replacement part. Only move on to replacement once cleaning genuinely doesn't restore a spark.
Step 2: Identify Your Igniter Type
Push-Button (Piezo) Igniters
The most common type on mid-range and budget gas grills — pressing a button mechanically generates a spark with no battery required. These fail less often electrically but are prone to the internal mechanism wearing out after thousands of presses over several seasons.
Battery-Powered Electronic Igniters
Use a small battery to generate a spark via an electronic module, often paired with a rotary knob or push-button activation. These are common on grills with individual per-burner ignition, like Weber's Snap-Jet system on the Weber Spirit E-325 — our own long-term monitoring flagged some owner reports of ignition reliability dropping off after several months on this style of system, which is exactly the kind of wear this guide addresses.
Matching the Replacement Part
Igniter kits are sold by grill brand and model, since electrode length, wire routing, and module mounting all vary between manufacturers. Check your grill's model number (usually on a sticker inside the lid or on the control panel) before ordering, rather than assuming a universal kit will fit — a mismatched electrode length is a common and avoidable installation headache.
Step 3: Disconnect the Gas Supply
Safety First
Turn off all burner control knobs, then disconnect the propane tank or shut off the natural gas line at the source before touching any ignition components. Never work on igniter wiring or the electrode with gas still connected, even if you don't plan to light the grill during the repair.
Give the Grill Time to Cool
If you've cooked recently, let the grill cool completely before starting. Working around a warm burner box adds unnecessary burn risk to what's otherwise a straightforward repair.
Step 4: Remove the Old Igniter
Access the Igniter Module
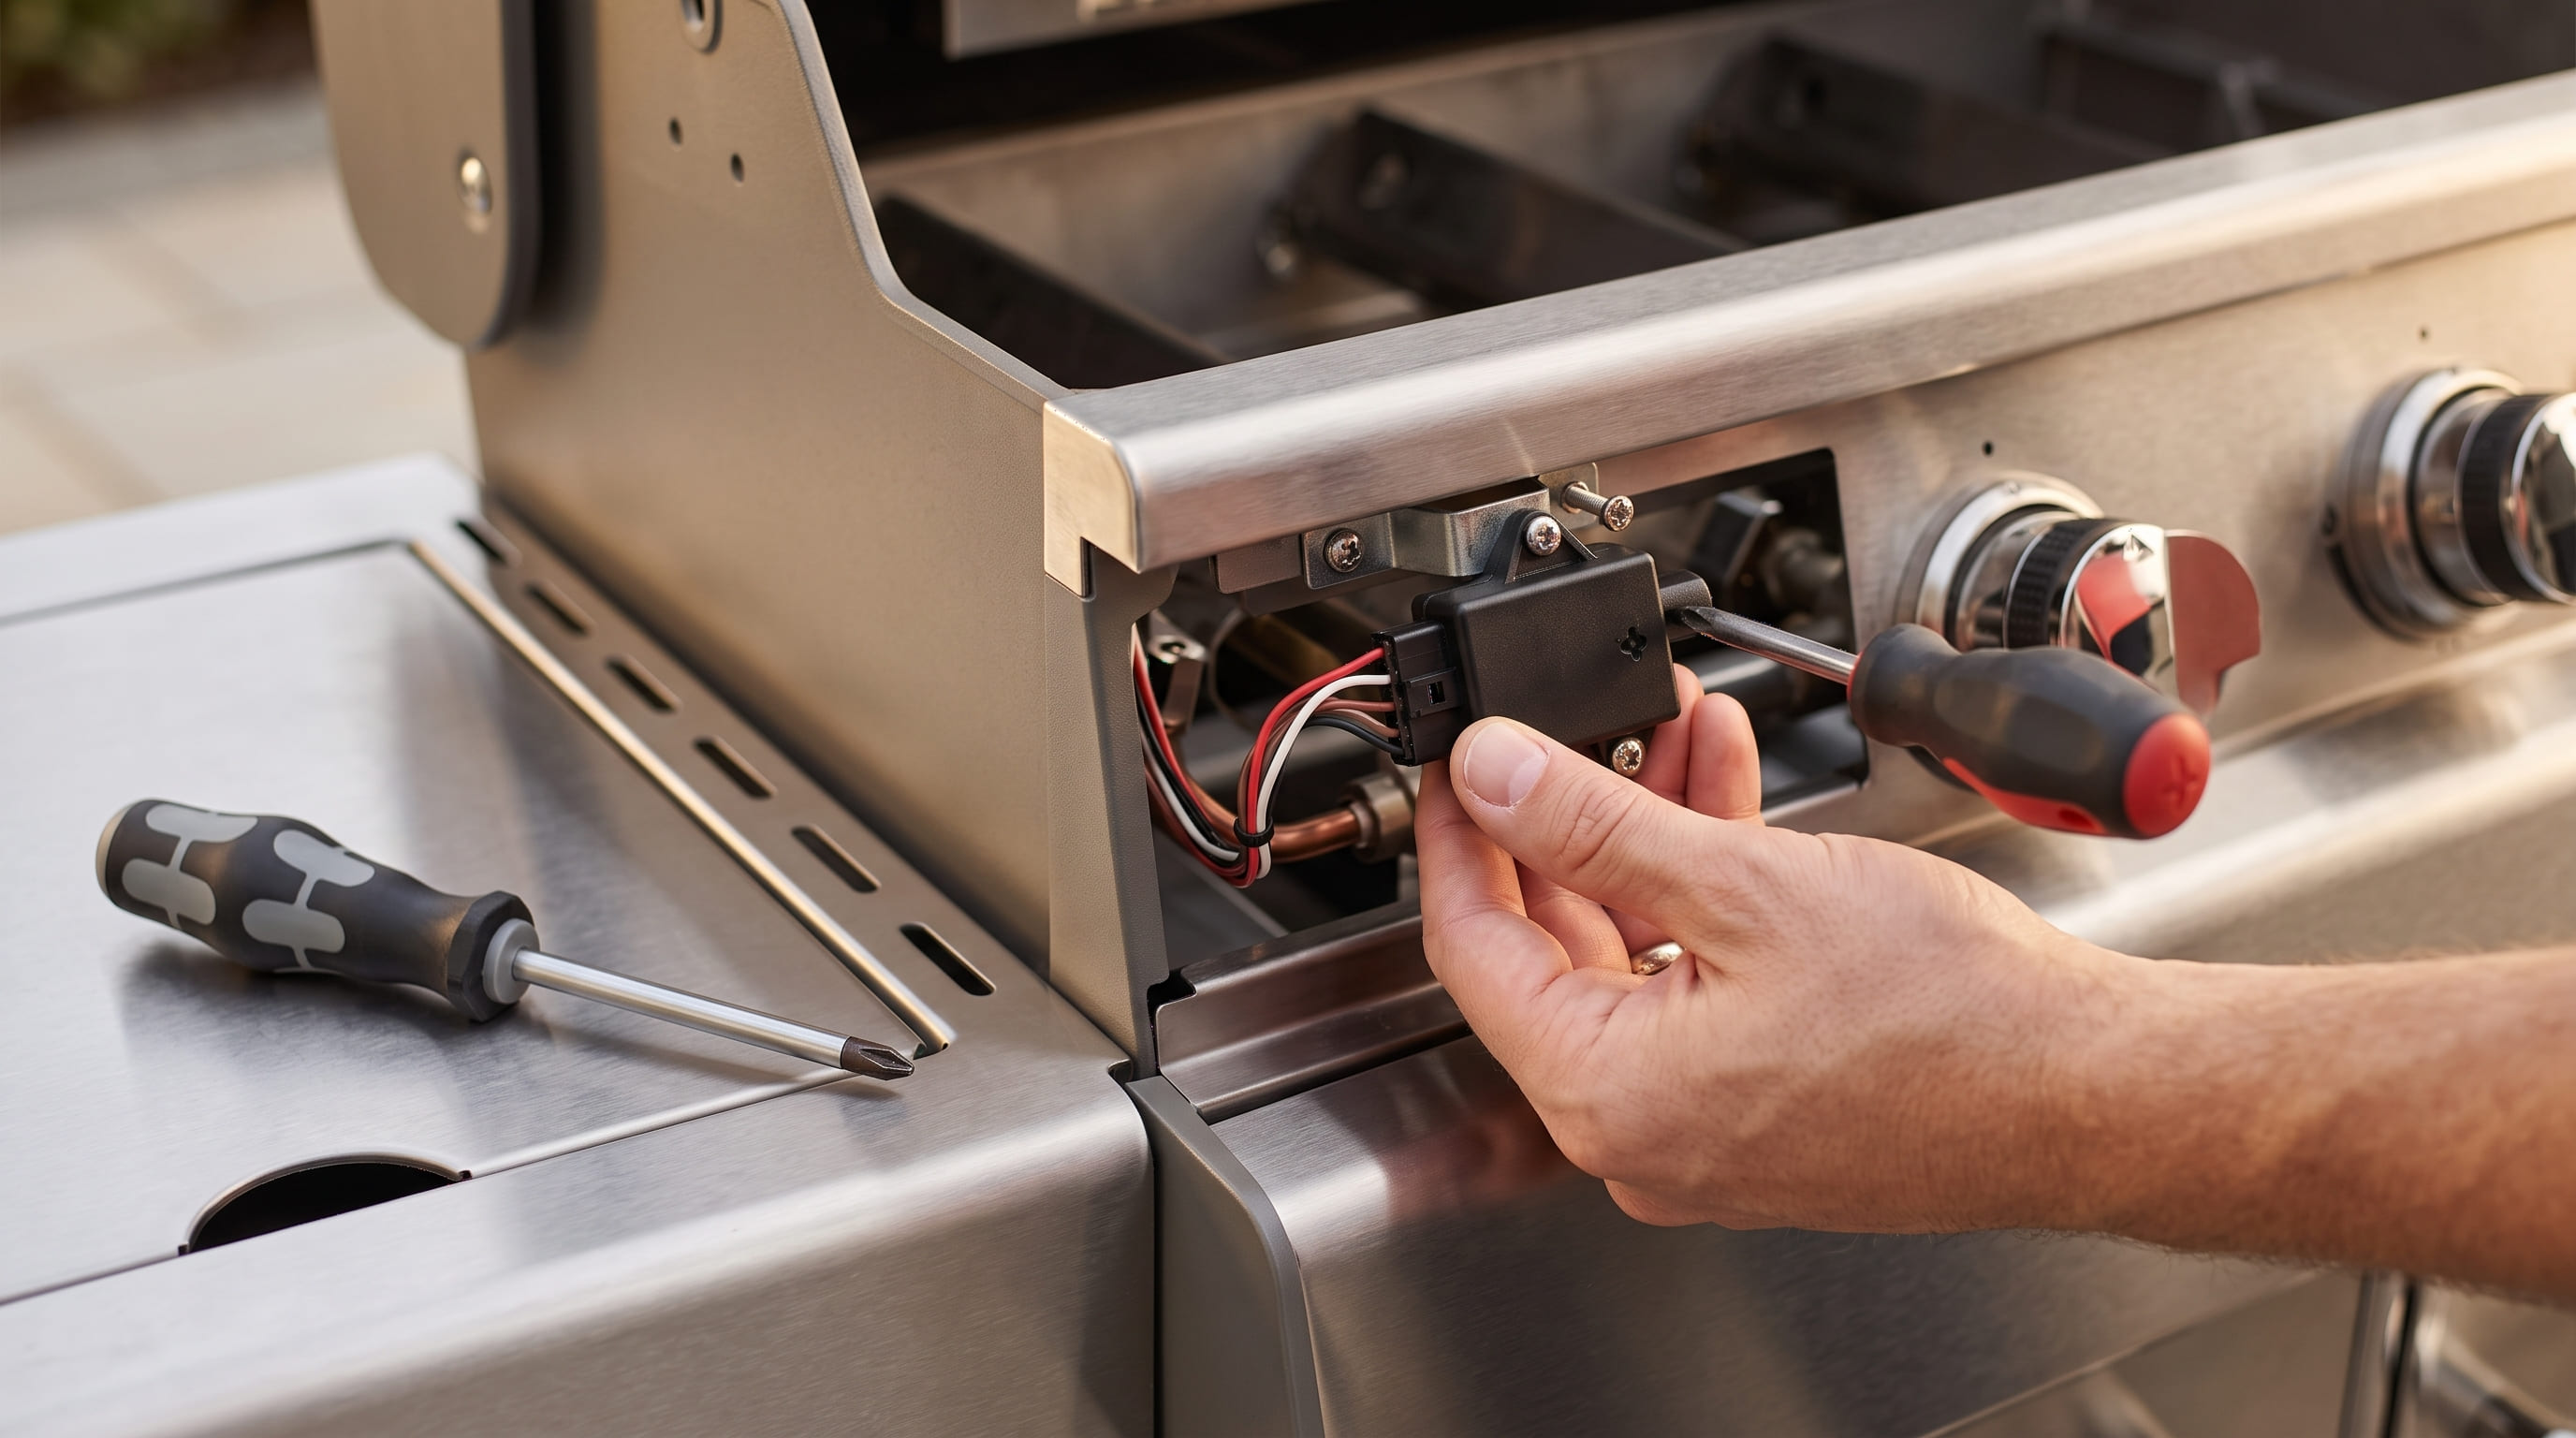
On most grills, the igniter module mounts behind the control panel or inside the front of the cart, accessible by removing a few screws or a small access panel. Consult your grill's manual for the exact location, since this varies meaningfully between brands.
Disconnect the Electrode Wire
Trace the wire from the igniter module to the electrode near the burner, and disconnect it at the connector point — most use a simple push-fit or spade connector rather than a soldered joint, so this shouldn't require any special tools.
Remove the Mounting Hardware
Unscrew the igniter module from its mounting bracket, and remove the electrode from its clip near the burner if you're replacing that component as well. Keep the screws and hardware together in one place — you'll reuse most of them for the new igniter.
Step 5: Install the New Igniter
Mount the New Module
Position the new igniter module in the same mounting bracket the old one used, and secure it with the same hardware you removed earlier. Most replacement kits are designed as a direct swap for the original part on a matching model.
Connect the Electrode Wire
Route the new electrode wire along the same path the original followed, avoiding contact with the burner tubes or any surface that gets hot during cooking — a wire routed too close to a burner can melt or short out prematurely, causing a repeat failure.
Position the Electrode Correctly
The electrode tip needs to sit close to the burner, typically within about 1/8 to 1/4 inch, without touching it directly. Too far apart and the spark won't reliably jump the gap; touching the burner risks a short. Most replacement electrodes include a mounting clip that positions this distance correctly by design — check it against the original electrode's position before finalizing.
Step 6: Test the New Igniter
Reconnect and Test Each Burner
Reconnect the propane tank or gas line, turn the tank valve on slowly, and test ignition on every burner individually. A successful repair should light every burner reliably on the first or second press, matching the performance of a healthy factory igniter.
If It Still Doesn't Spark
Double-check the wire connection at both ends first — a loose connector is the most common reason a freshly installed igniter still doesn't work. If connections are solid and it still won't spark, confirm you're using a fresh battery (for battery-powered types) and that the electrode gap matches the manufacturer's spec.
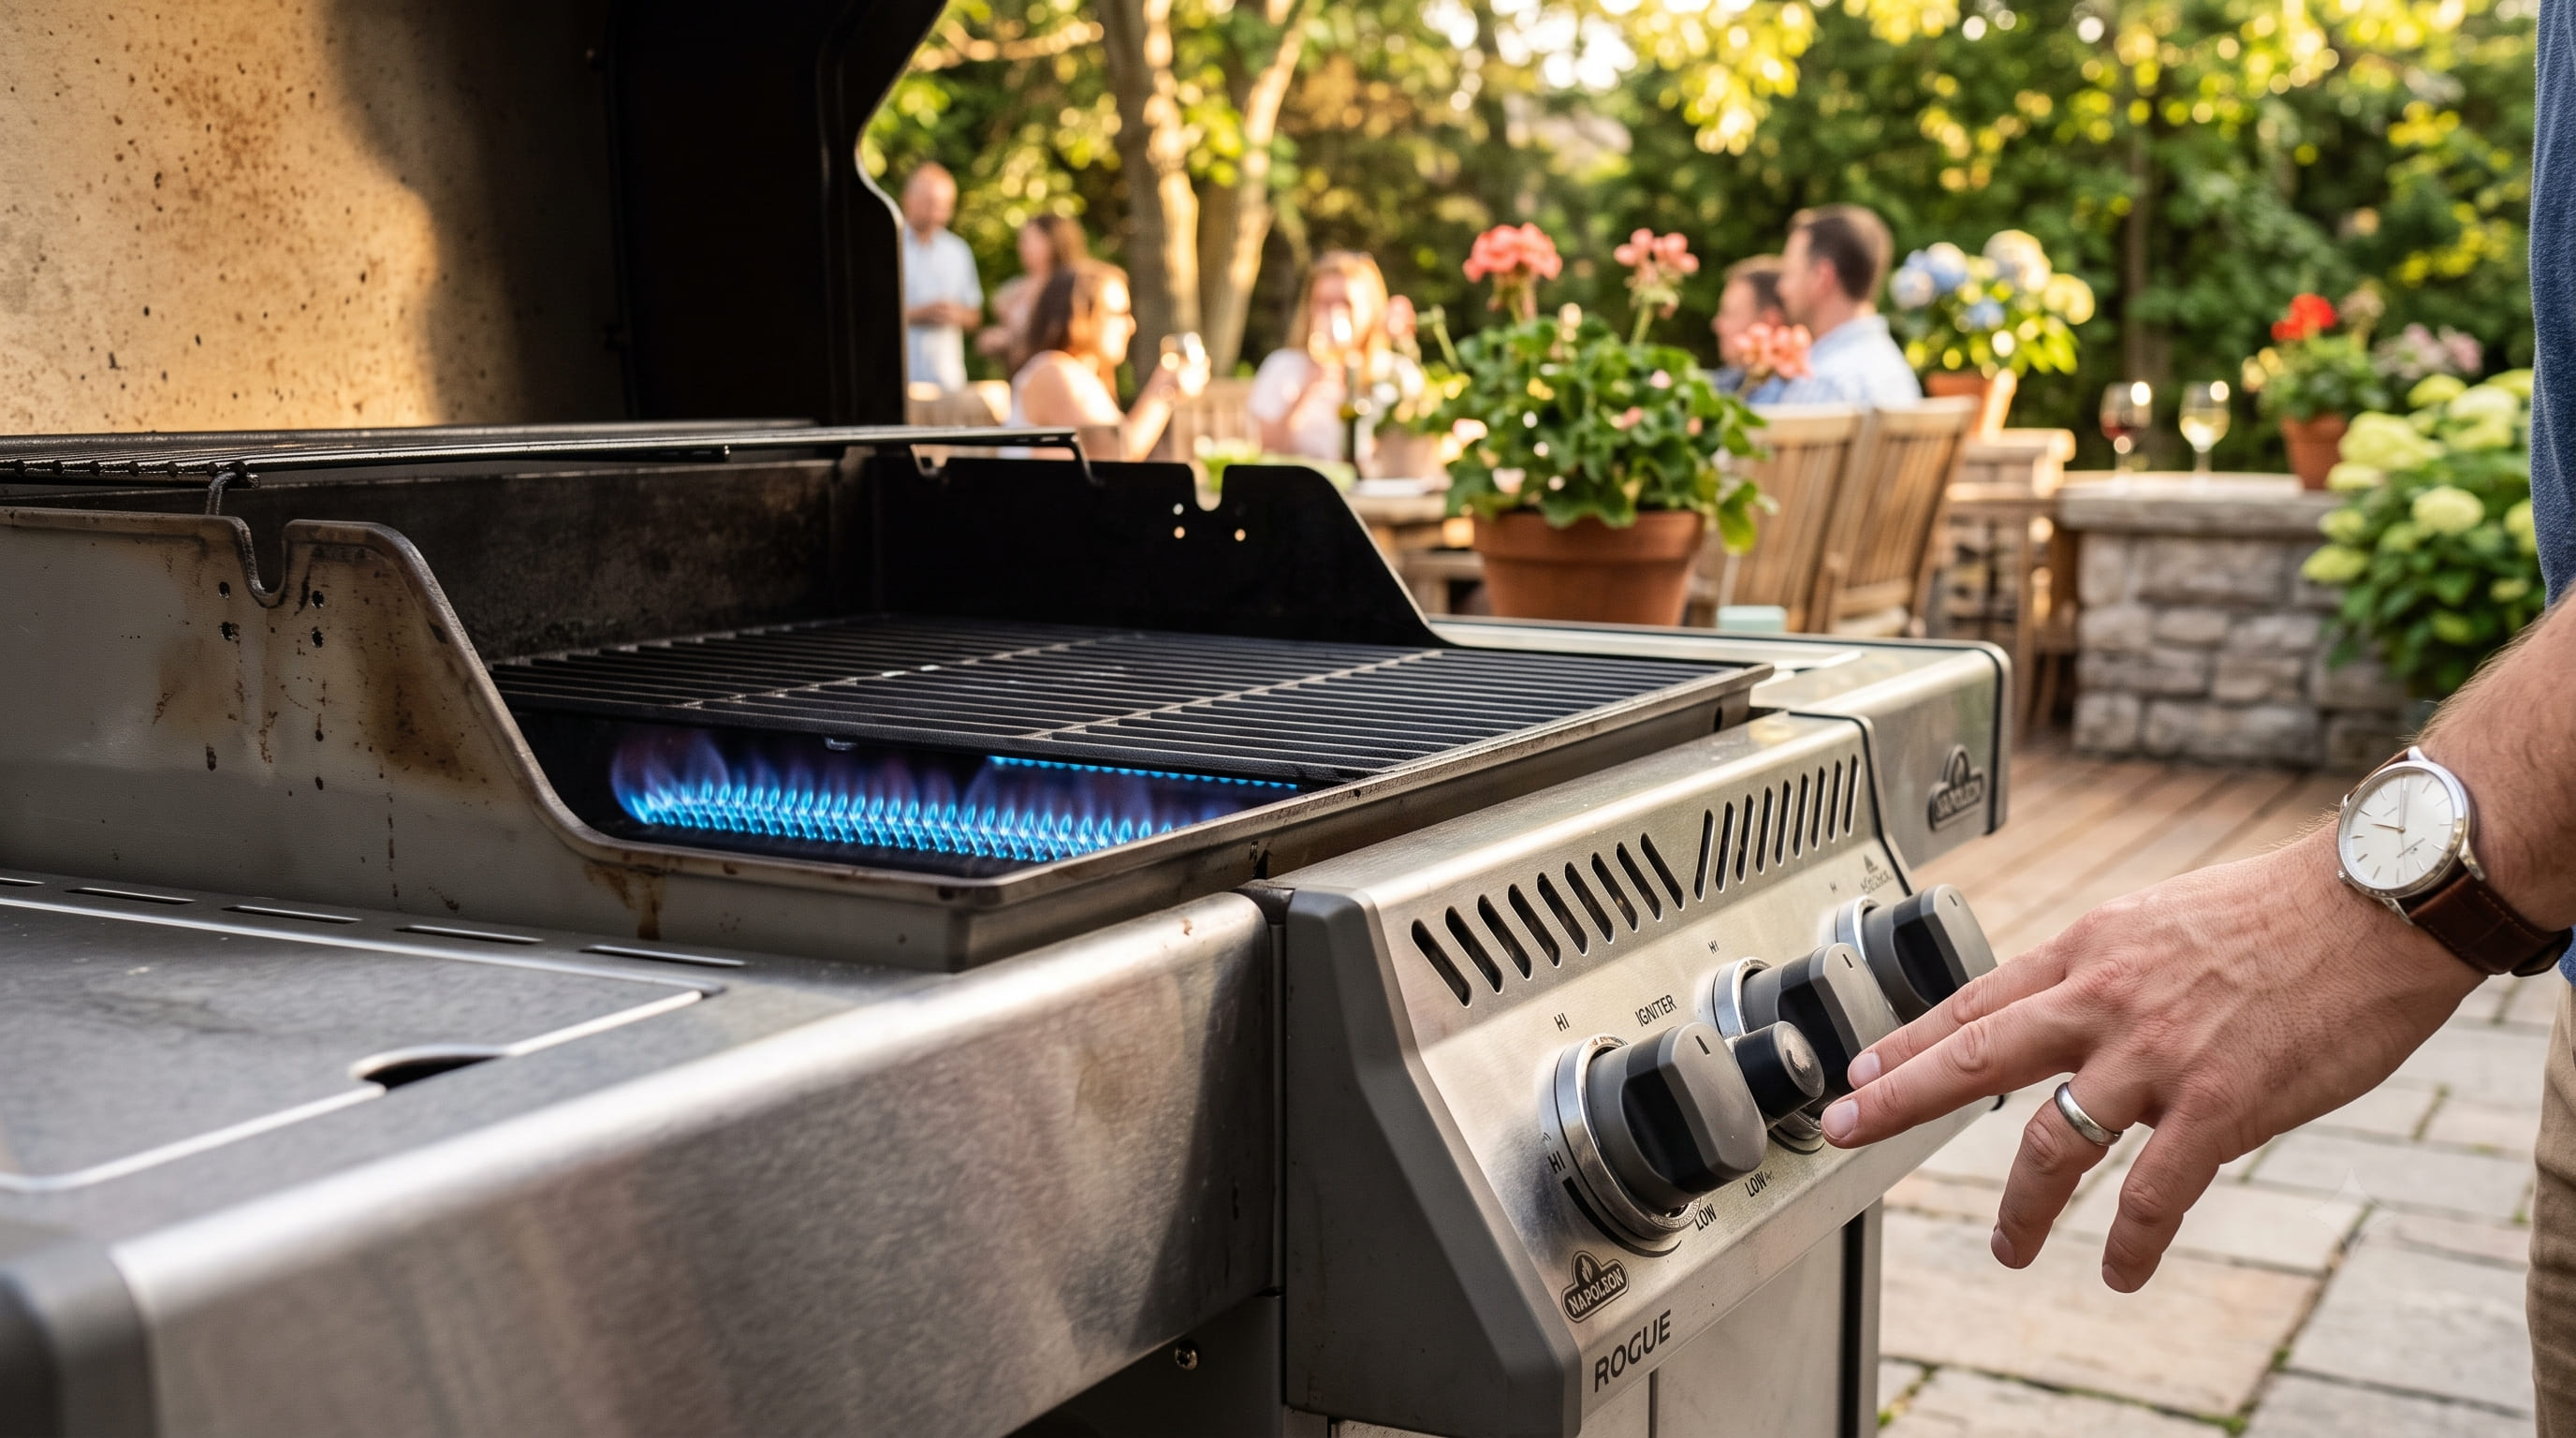
Tools You'll Need
The Basics
A Phillips or flathead screwdriver (check your grill's specific hardware), the replacement igniter kit matched to your grill's model, and a fresh battery if your igniter type requires one cover nearly every replacement job. A small flashlight helps when working in the tighter spaces behind a control panel.
Optional but Useful
Needle-nose pliers make disconnecting tight wire connectors easier without straining the wire itself, and a small notepad or your phone's camera to photograph the original wire routing before disconnecting anything gives you a reliable reference when installing the replacement.
When to Replace the Whole Igniter System vs. Just One Part
Electrode-Only Failure
If the module still produces a spark when tested directly but nothing happens at the burner, the electrode or its wire is the likely failure point, and often the cheaper, simpler part to replace on its own.
Module Failure
If pressing the button produces no spark anywhere, even at the module itself, the igniter module has failed and needs replacement — the electrode is likely still fine and doesn't need swapping alongside it.
When Full Replacement Makes More Sense
If your grill is old enough that individual parts are hard to source, or if multiple components (module, electrode, and wiring) are all showing wear, a complete igniter kit that replaces everything at once is often more reliable and barely more expensive than sourcing individual parts separately.
When It's Time to Consider a New Grill Instead
If the grill itself is showing other age-related issues beyond the igniter — rusted-through burner tubes, a warped body, or a cookbox that's outlived its warranty — replacing just the igniter on an otherwise failing grill isn't always the best use of your time or money. Our tested Weber Spirit E-325 uses a Snap-Jet ignition system that lit every burner on the first push across all 8 of our test sessions, including cold and windy conditions, and carries a 10-year cookbox warranty if reliable ignition long-term is a priority for your next grill.
Price may vary. We earn a commission at no extra cost to you.
For larger households who also want that same ignition reliability with more cooking area, our tested Weber Genesis E-325 uses Weber's GS4 system with individual burner ignition and showed no ignition failures across our full testing period.
Price may vary. We earn a commission at no extra cost to you.
Frequently Asked Questions
How do I know if I need to replace my grill's igniter or just clean it?
Test for a visible spark at the electrode with the burner controls off. If you see a spark but the burner still won't light, the issue is likely gas delivery, not the igniter. If cleaning the electrode and confirming a fresh battery still produces no spark at all, the igniter module or electrode itself has likely failed and needs replacement.
Can I use a universal igniter kit on any grill?
Not reliably. Electrode length, wire routing, and mounting hardware vary by brand and model, so a mismatched universal kit often requires modification to fit properly. Check your grill's model number and order a kit matched to it when possible.
Do I need to turn off the gas before replacing an igniter?
Yes, always. Disconnect the propane tank or shut off the gas line at the source before touching any ignition wiring or the electrode, even if the grill has been off and cool for a while.
Why does my new igniter still not spark after installation?
Check the wire connections at both ends first — a loose connector is the most common cause of a freshly installed igniter not working. Also confirm the electrode gap matches spec and, for battery-powered types, that you're using a fresh battery.
How often do grill igniters need to be replaced?
There's no fixed schedule — a well-maintained igniter can last many years, while heavy year-round use or exposure to moisture can shorten that meaningfully. Replace it reactively when troubleshooting confirms a genuine hardware failure, rather than on a preventive schedule.
Is replacing a grill igniter a difficult repair?
Not for most home cooks — it's primarily a matter of accessing the module behind the control panel, matching wire connections, and confirming correct electrode placement. Budget 30–45 minutes total including diagnosis, and no specialized tools beyond a basic screwdriver are typically required.
Final Takeaway
Replacing a grill igniter comes down to correctly diagnosing which specific part failed — battery, electrode, or module — before ordering a replacement, then swapping that component with the gas disconnected and testing every burner afterward. Most of what looks like a "broken igniter" is actually a battery or cleaning fix covered in our gas grill ignition troubleshooting guide; this guide is for the smaller share of cases where the hardware itself genuinely needs replacing.
For broader upkeep beyond ignition specifically, see our grill cleaning and maintenance guide, or if your grill lights fine but never reaches proper temperature, our grill not heating up properly guide covers that separately.
Ready to shop? Browse our top-rated grill picks to find your perfect match.