How to Use a Charcoal Grill (Beginner Guide)
How to use a charcoal grill for your first cookout: lighting charcoal, setting up zones, grilling, and cleanup, from our hands-on charcoal testing team.
Your First Charcoal Cookout, Step by Step
Charcoal grilling looks more intimidating than it is — the whole process comes down to lighting charcoal reliably, arranging it correctly for what you're cooking, and knowing when it's actually ready. This guide walks through a complete first cookout from unboxing to cleanup, using the exact steps and timing we rely on in our own testing, so your first charcoal cook goes smoothly instead of turning into a frustrating guessing game.
Quick Answer: The Whole Process at a Glance
| Step | What You Do | Time |
|---|---|---|
| 1. Fill the chimney | Load charcoal into a chimney starter | 1 minute |
| 2. Light it | Ignite newspaper or a starter cube underneath | 1 minute |
| 3. Wait for ash-over | Let coals turn light grey throughout | 15–20 minutes |
| 4. Arrange coals | Pour into a direct pile, two-zone, or snake setup | 2 minutes |
| 5. Set grates and vents | Place grate, open vents to target heat | 1 minute |
| 6. Preheat the grate | Close lid, let grate heat up | 5 minutes |
| 7. Cook | Grill your food, monitoring vents and temperature | Varies |
| 8. Clean up | Close vents to extinguish, dispose of ash safely | Next day |
If you take away one thing from this guide: use a chimney starter, not lighter fluid. It lights charcoal reliably in about 15–20 minutes with zero chemical taste risk, and it's the method every experienced charcoal griller we know actually uses.
What You Need Before You Start
Essential Equipment
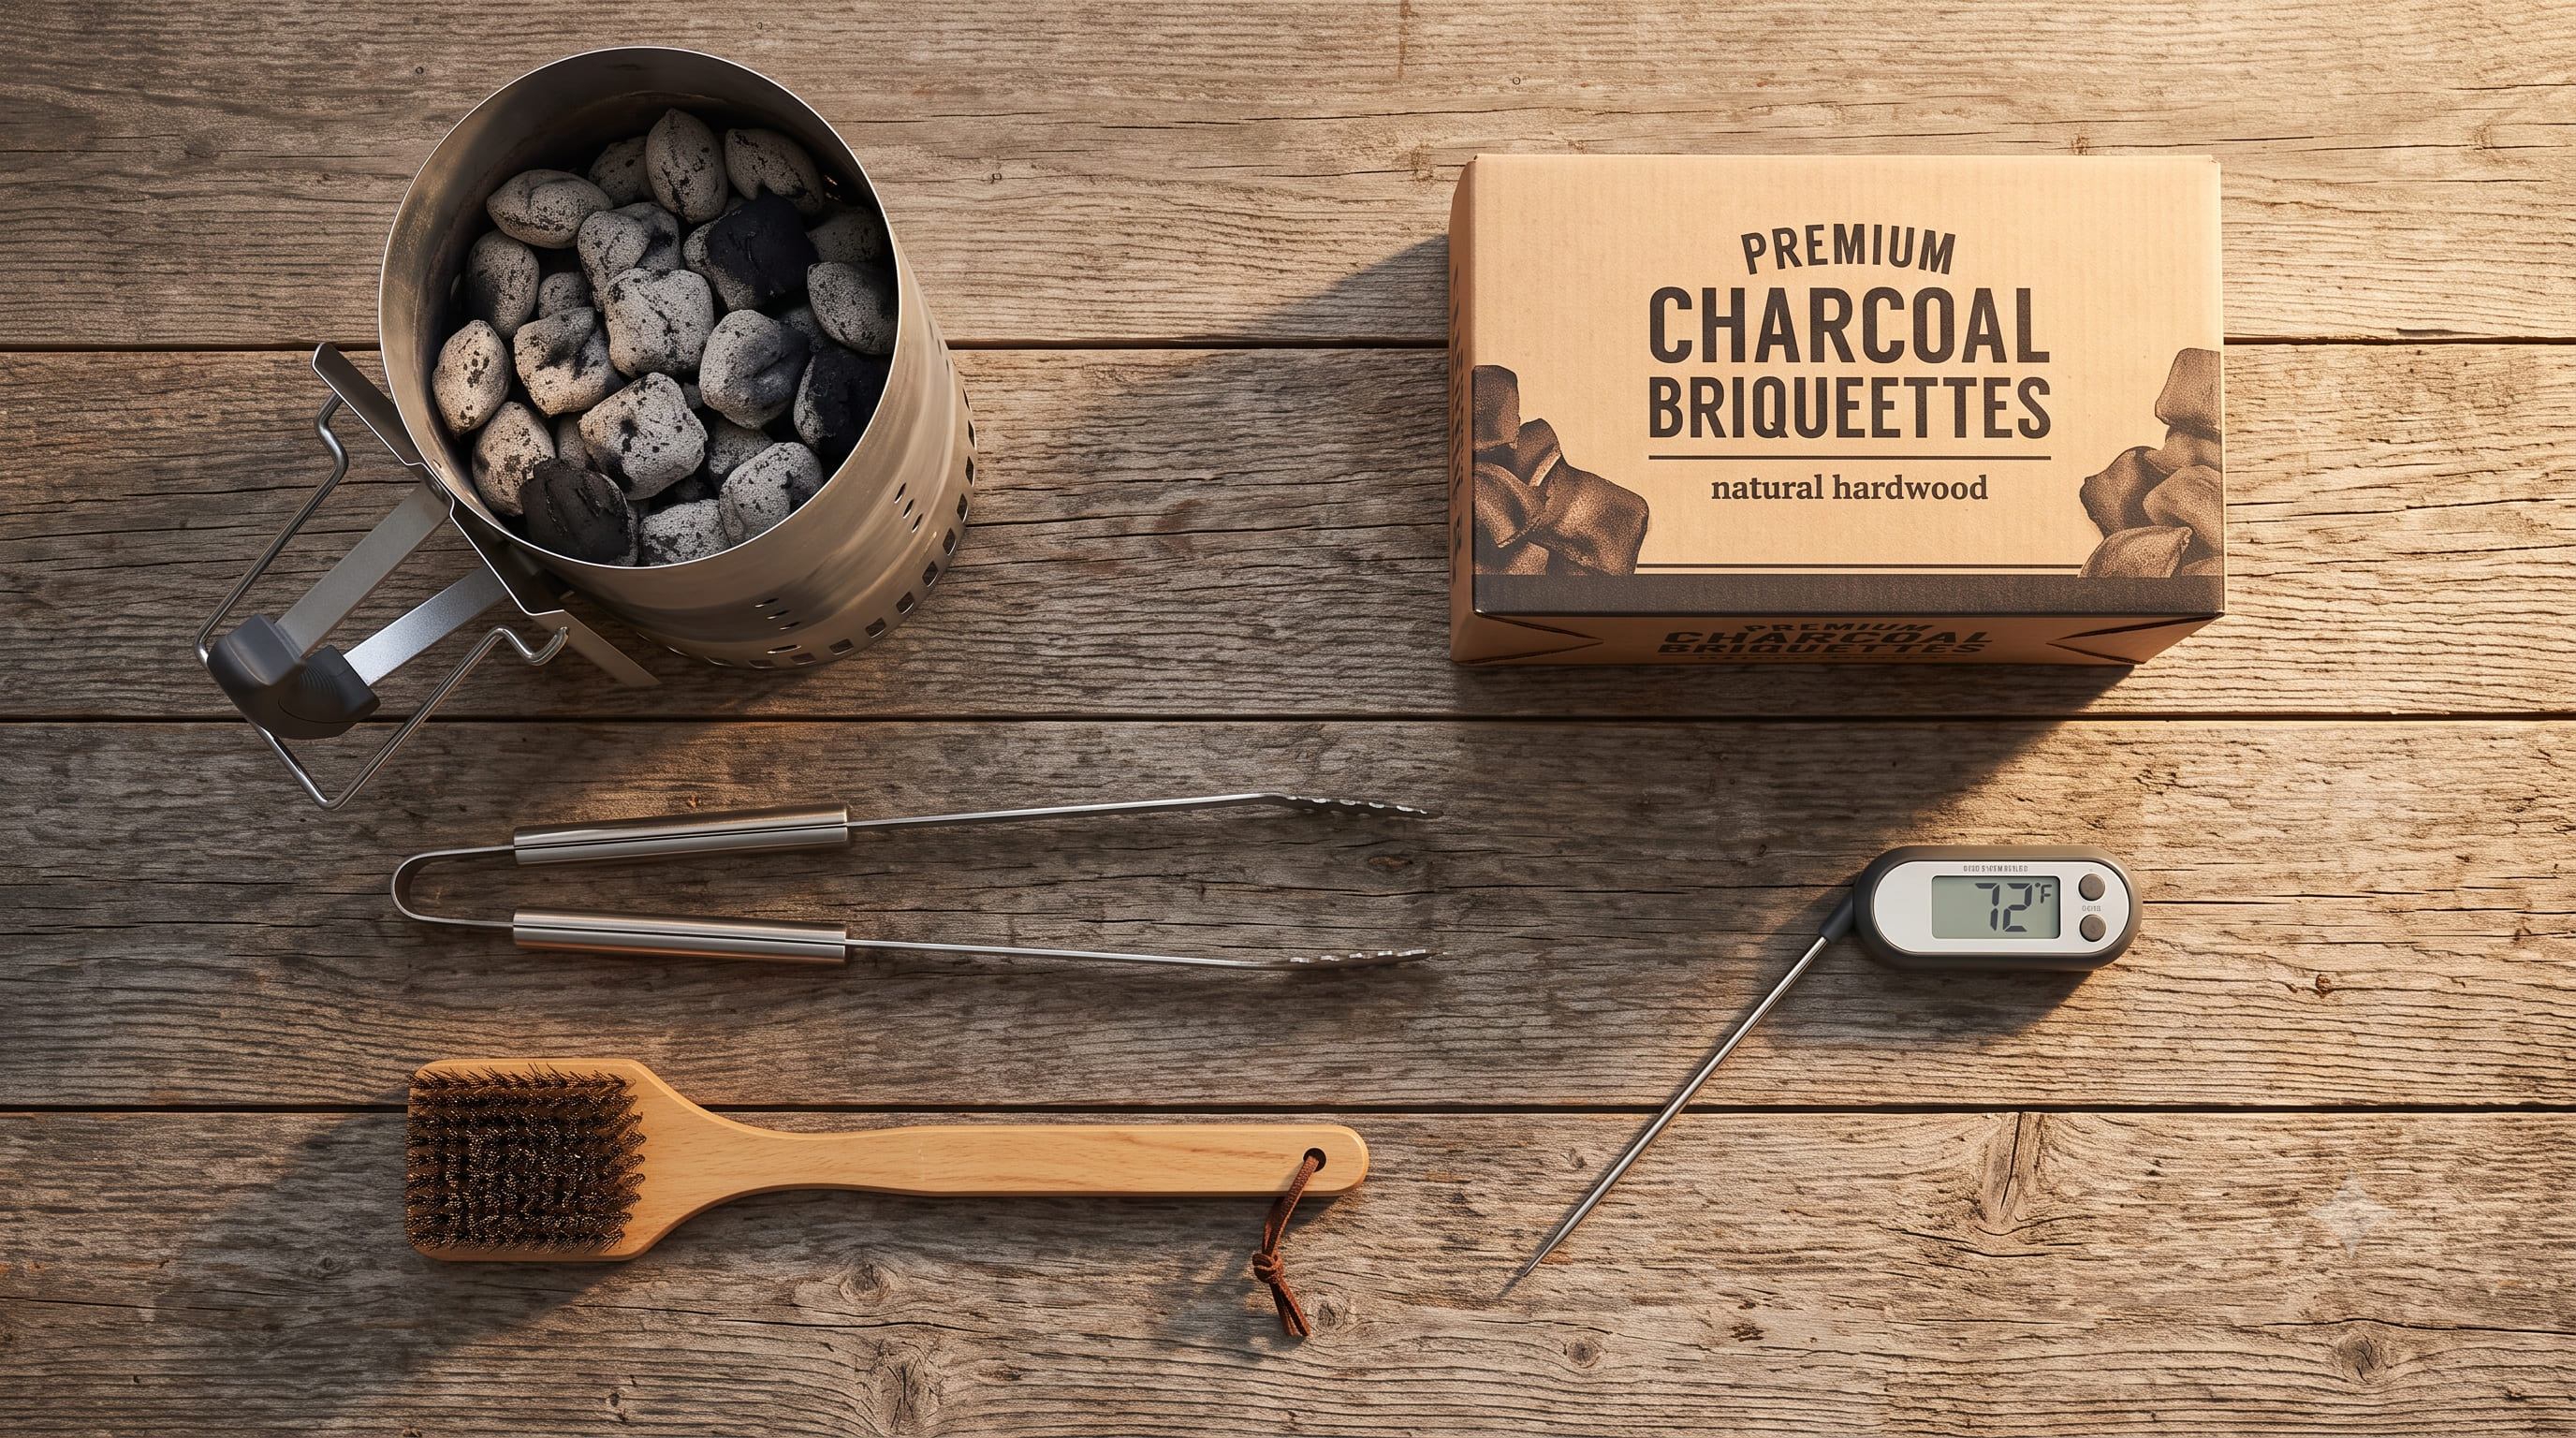
A charcoal grill, a chimney starter, charcoal (briquettes or lump), newspaper or starter cubes, and long-handled tongs are genuinely all you need for a first cook. A grill brush for cleanup and an instant-read thermometer round out the basics — see our meat and grilling temperature chart for target internal temperatures once food is on the grate.
Briquettes vs. Lump Charcoal for Beginners
Briquettes burn more slowly and predictably than lump charcoal, thanks to their uniform manufactured size — a real advantage while you're still learning to judge heat by eye. Lump charcoal burns hotter and lights faster but with more piece-to-piece variability, which asks for more experience to manage confidently. Start with briquettes for your first several cooks.
Step 1: Light the Charcoal With a Chimney Starter
Why a Chimney Starter Beats Lighter Fluid
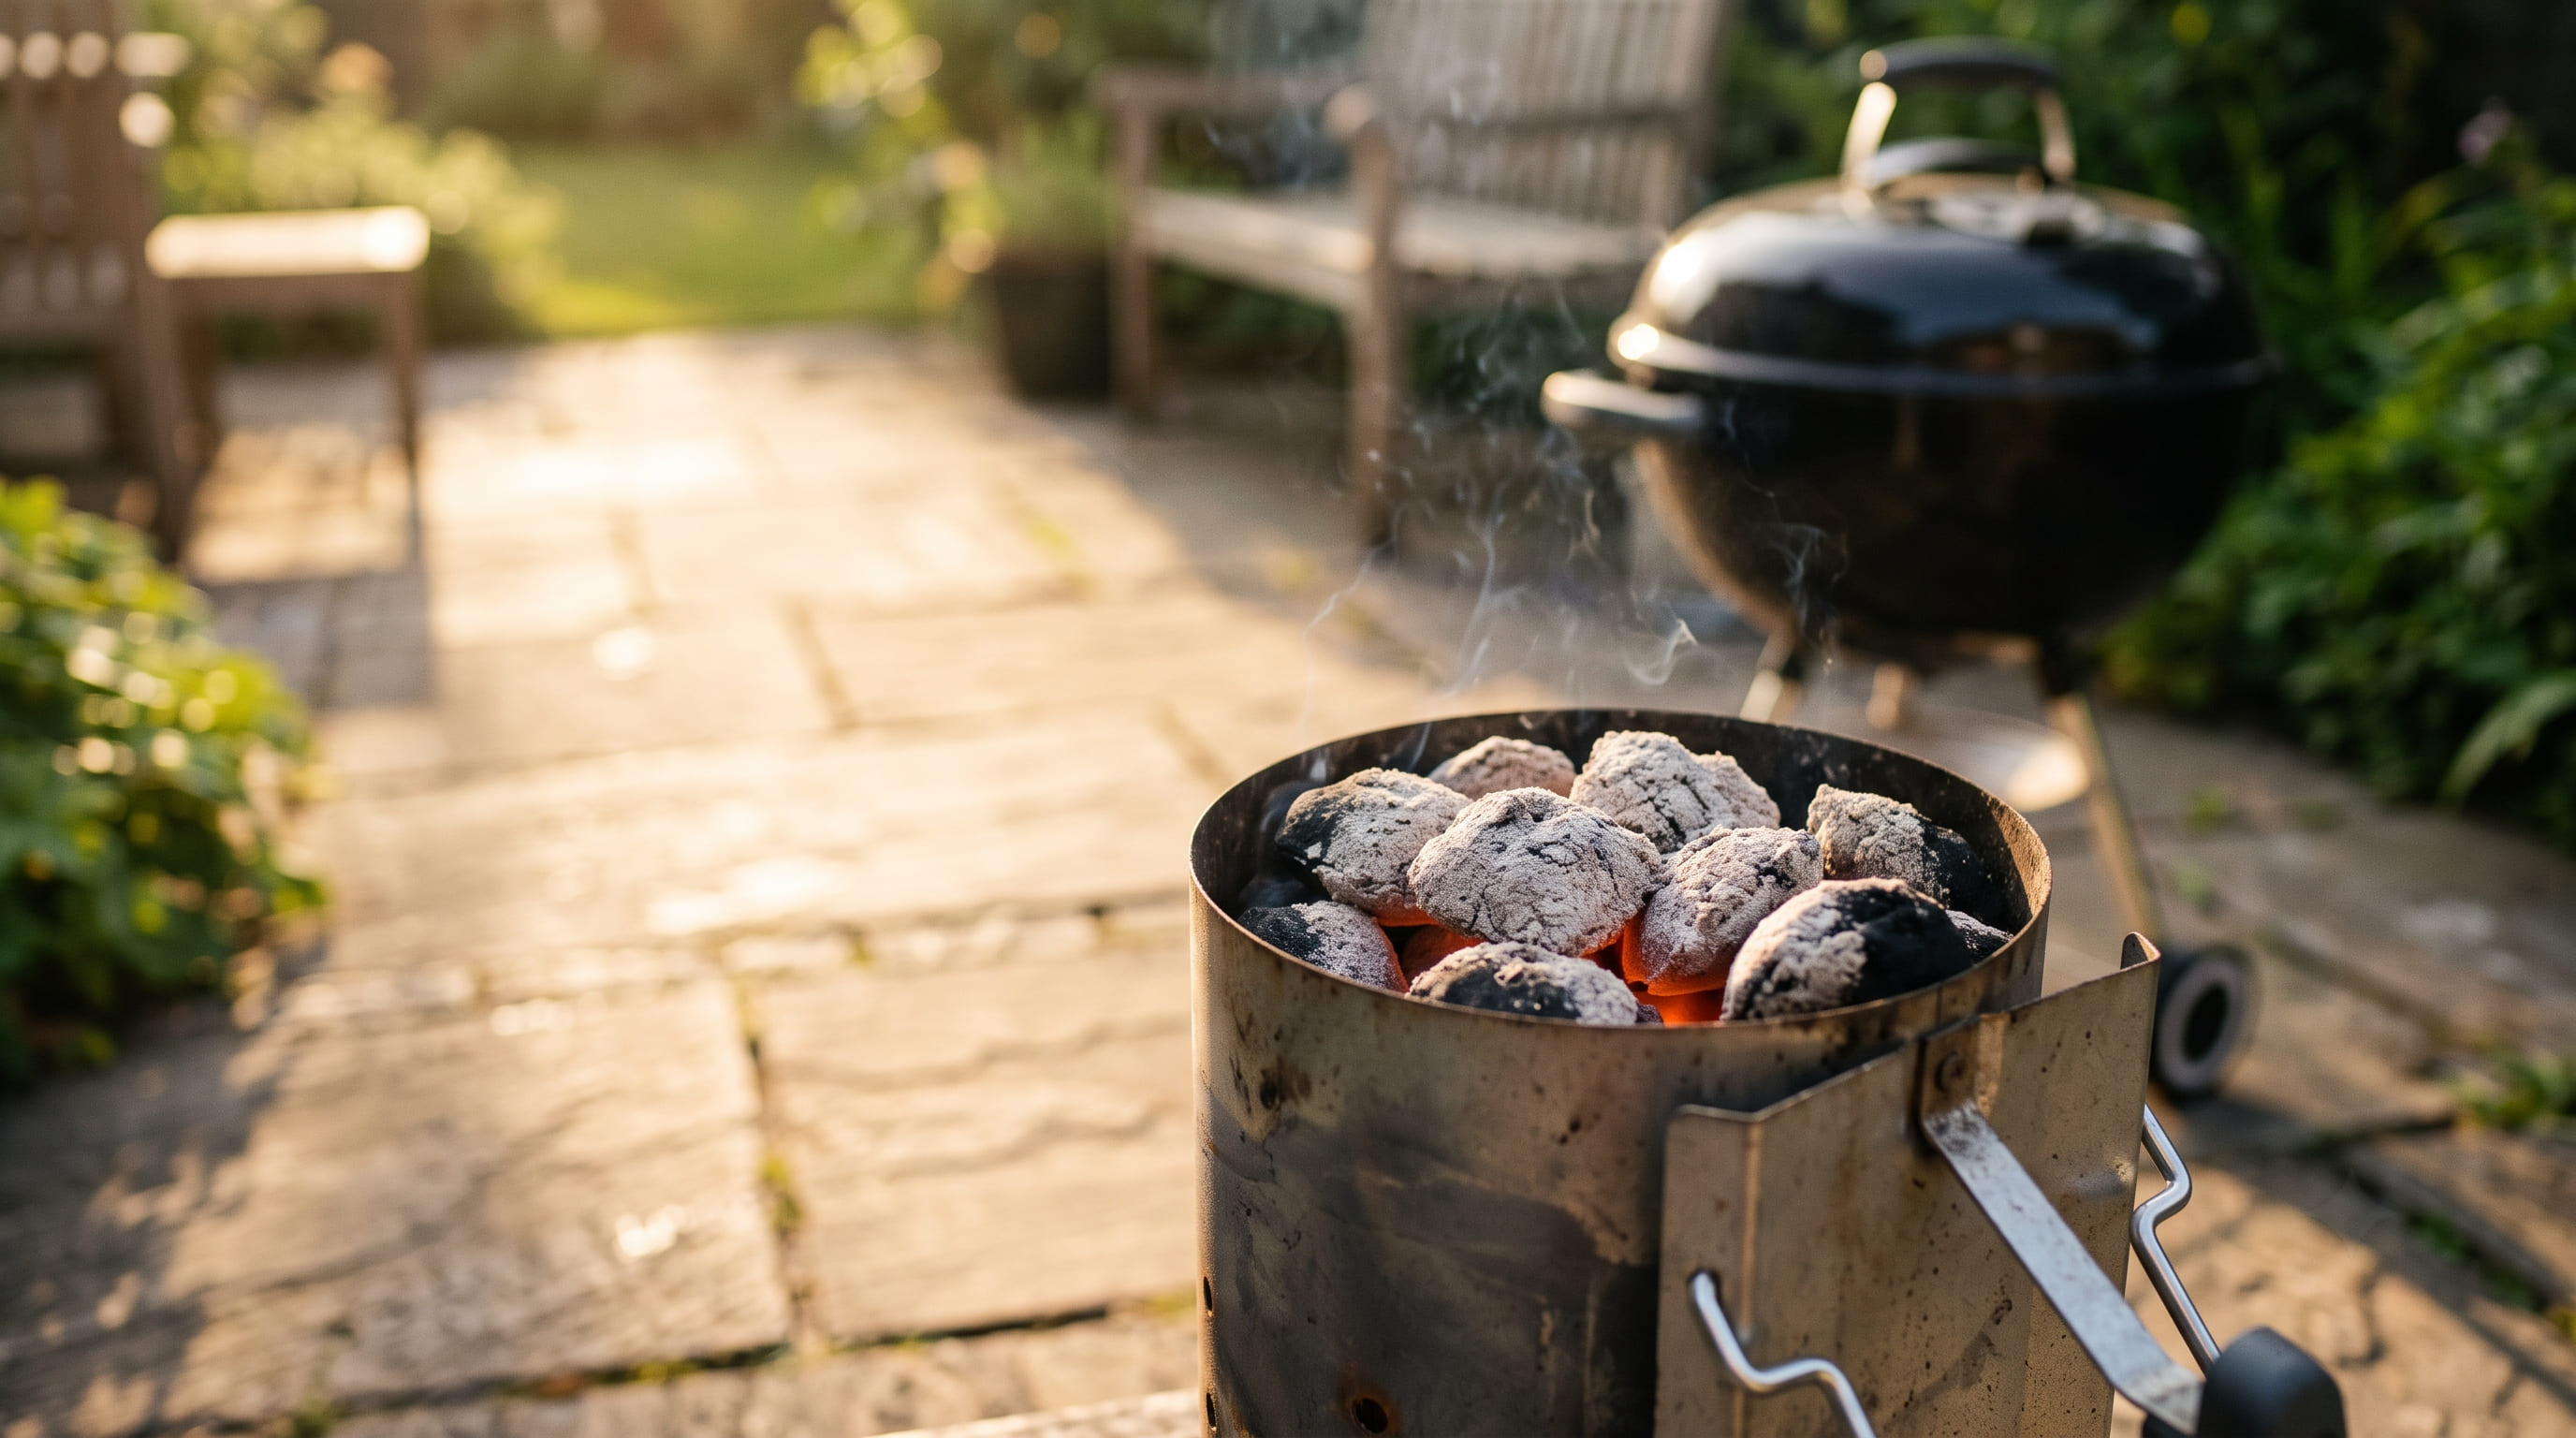
A chimney starter uses a sheet of crumpled newspaper (or a starter cube) placed underneath a metal cylinder filled with charcoal, drawing air upward through the charcoal as it burns to light the whole load evenly. It's faster and more reliable than dousing coals in lighter fluid, and it avoids the chemical off-taste lighter fluid can leave on food if the coals aren't fully burned off before cooking.
How to Do It
- Stuff 1–2 sheets of crumpled newspaper (or a starter cube) into the bottom chamber of the chimney.
- Fill the top chamber with charcoal — a full chimney is standard for most cooks on a kettle-sized grill like the Weber Original Kettle 22-Inch.
- Set the chimney on the charcoal grate (or a heat-safe surface) and light the newspaper or cube from underneath.
- Wait 15–20 minutes. The coals are ready when the top layer is glowing and coated in light grey ash throughout, not just at the edges.
Step 2: Arrange the Coals for What You're Cooking
Direct Pile (Fast, High-Heat Grilling)
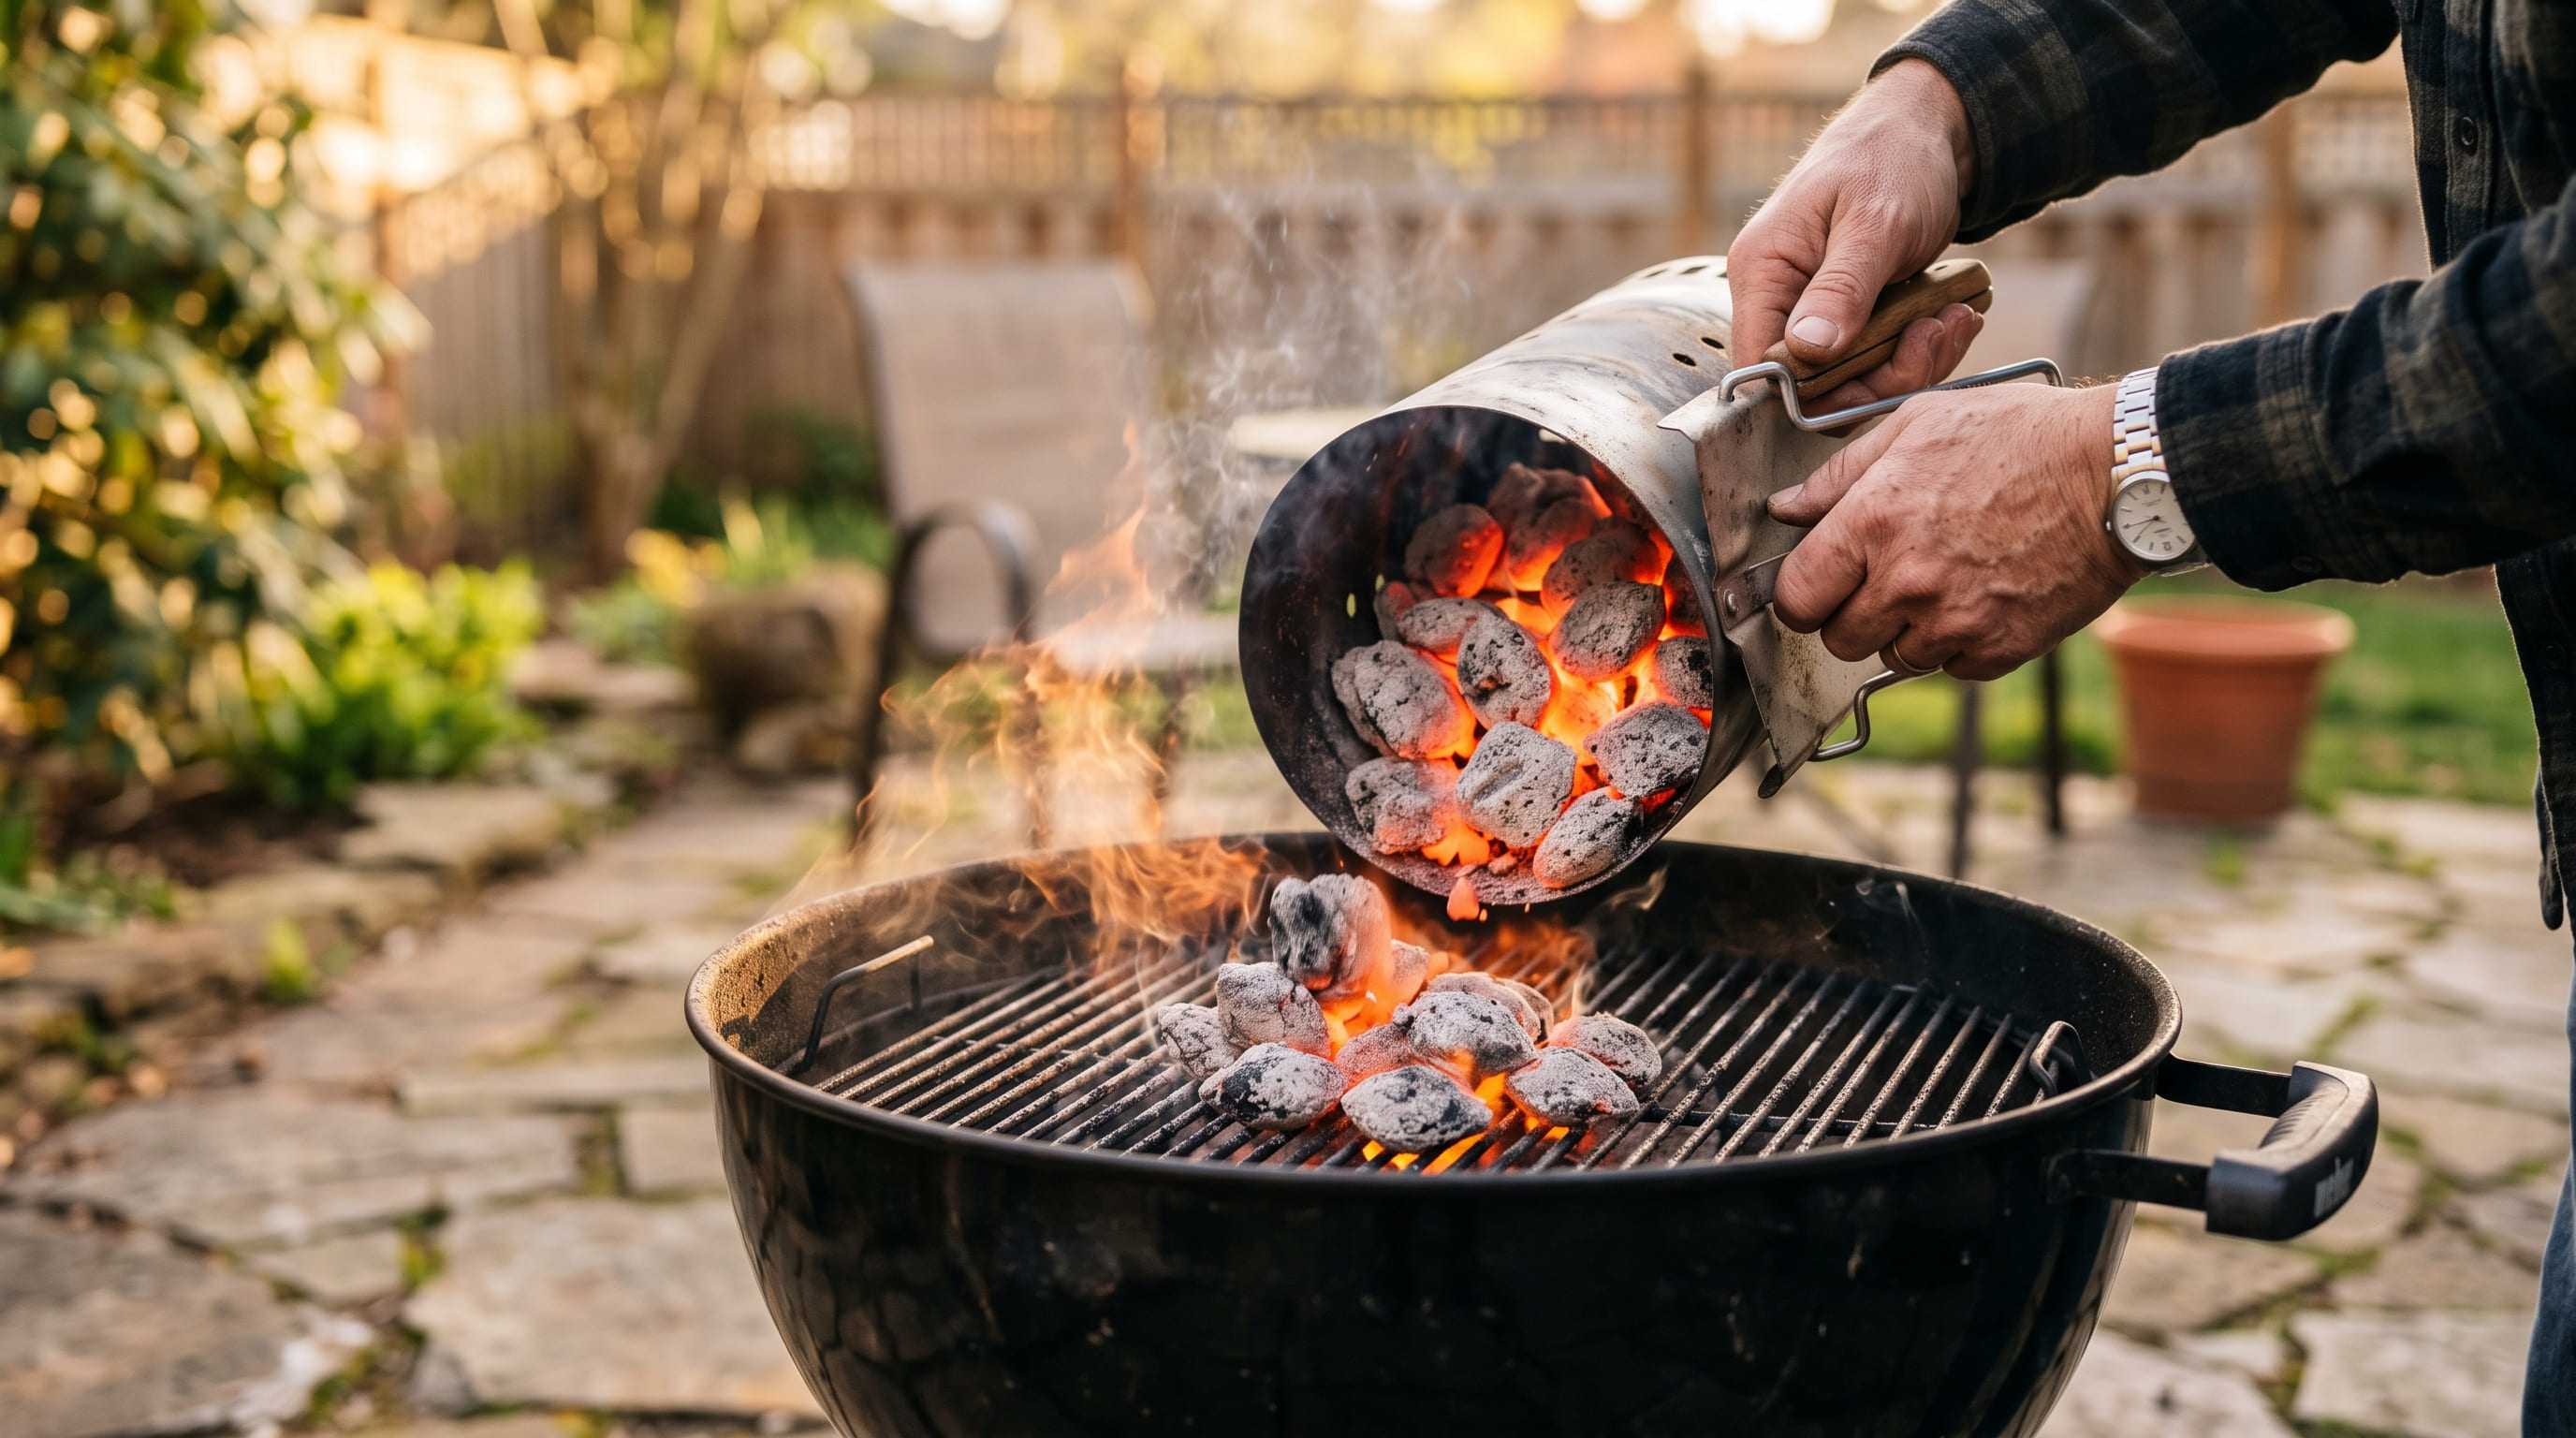
Pour the ashed-over coals into a mounded pile in the center or across the full grate for burgers, hot dogs, and other quick-cooking food that benefits from direct high heat. This is the simplest setup and the right starting point for your very first cook.
Two-Zone Setup (Searing Plus Gentle Finishing)
Pour coals onto one side of the grill only, leaving the other side empty. The coal side becomes your hot, direct-heat zone; the empty side becomes a cooler, indirect zone for finishing thicker cuts without burning the outside. See our direct vs indirect grilling guide for the full technique once you're ready to move beyond a single-zone cook.
Snake Method (Long, Low-and-Slow Cooks)
Arrange charcoal in a curving line around the kettle's edge instead of a pile, so it burns slowly and sequentially rather than all at once. This is how a basic charcoal kettle can hold a low, steady temperature for hours — genuinely more advanced than your first cookout needs, but worth knowing exists once you're comfortable with the basics.
Step 3: Set the Grate and Vents
Placing the Cooking Grate
Once coals are arranged, place the cooking grate on top and let it heat for about 5 minutes with the lid closed before food goes on — a cold grate is one of the most common reasons food sticks on a first attempt.
Understanding Vent Position
Open both the top and bottom vents fully for high-heat direct grilling. The bottom vent controls most of the real airflow to the fire; the top vent has a smaller effect on temperature but helps direct smoke flow. For a deeper breakdown of exactly how much each vent affects temperature and how to make real-time adjustments, see our charcoal grill temperature control guide — this walkthrough keeps things simple for a first cook, but that guide covers the full mechanics once you want more precise control.
Step 4: Cook Your Food
Your First Cook Should Be Simple
Burgers, hot dogs, or bone-in chicken thighs are forgiving first choices — enough fat content to tolerate minor timing mistakes, unlike a lean cut that punishes overcooking more severely. Save steaks and more technique-sensitive cuts for once you're comfortable reading your grill's heat. When you are ready for steak specifically, our how to grill the perfect steak guide covers sear timing and doneness in depth.
Judging Heat Without a Thermometer (a Rough Backup Method)
Hold your hand about 5 inches above the grate — if you can only hold it there for 2 seconds before it's too hot, that's high heat; 4–5 seconds is medium; 7+ seconds is low. This is a rough estimate, not a substitute for an actual grill thermometer or food thermometer, but it's a useful sanity check while you're still building intuition for how your specific grill behaves.
Use a Thermometer to Confirm Doneness
Don't rely on cook time alone, especially for chicken and thicker cuts — see our meat and grilling temperature chart for safe minimums and recommended pull temperatures across every common type of meat.
Step 5: Shut Down and Clean Up
Extinguishing the Fire
Close both the top and bottom vents fully once you're done cooking — cutting off airflow smothers the fire safely without needing water, which can warp grates and damage porcelain-enameled finishes if used to douse hot coals directly.
Ash Disposal
Let ash cool completely, ideally overnight, before disposing of it. Never empty ash directly into a plastic trash bag while still warm — a genuine fire risk that's easy to overlook, since ash can retain enough heat to reignite or melt through a bag hours after the cook ends. Use a dedicated metal ash bucket for this.
Grate Cleaning
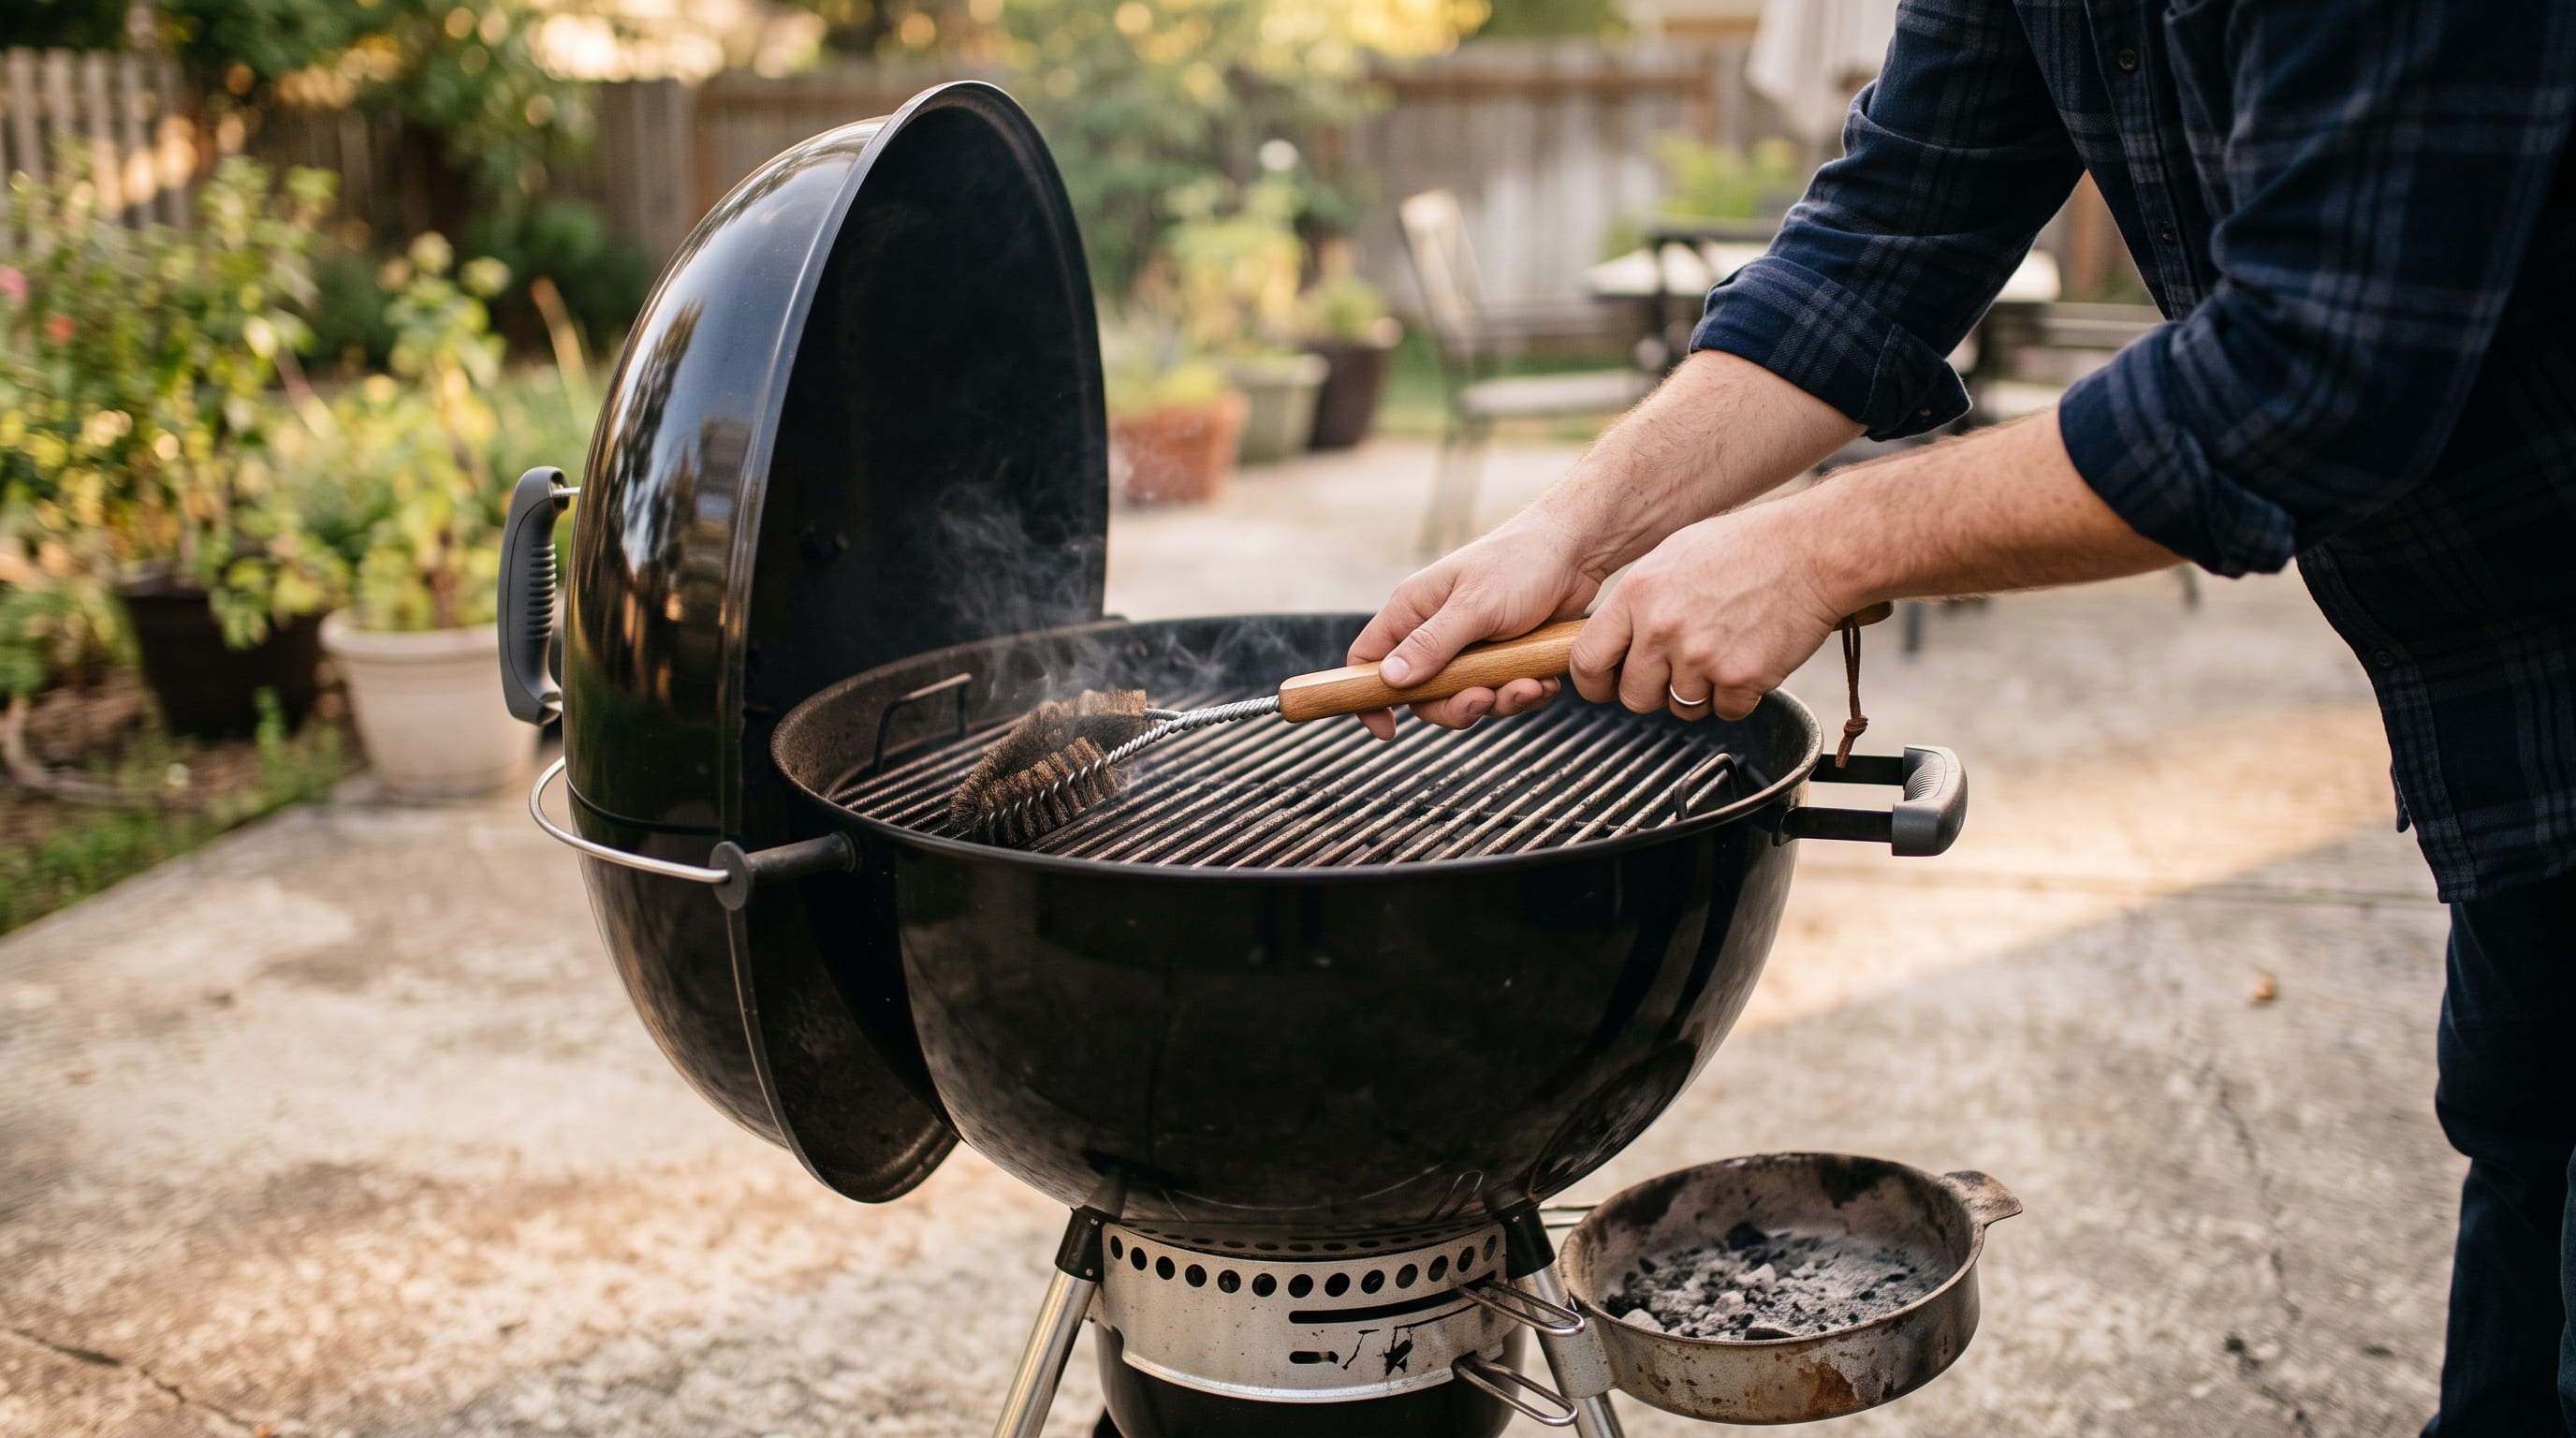
Brush the grates while still warm from residual heat after cooking, before residue has a chance to cool and harden — this single habit prevents most of the stuck-on buildup that makes grates genuinely hard to clean later. Our grill cleaning and maintenance guide covers the full routine, including deeper periodic cleaning beyond this everyday habit.
Common First-Timer Mistakes
Using Too Much Lighter Fluid
Beyond the chemical taste risk, oversaturating charcoal with lighter fluid produces a large, uncontrolled flare that's genuinely more dangerous to manage than a chimney starter's contained burn. If you don't own a chimney starter yet, use only a small, controlled amount of fluid and let it burn off completely — coals should be ashed over, not still flaming, before cooking.
Cooking Before the Grate Is Hot
Placing food on a cold grate right after arranging coals is a near-guaranteed way to have food stick and tear when you try to flip it. Give the grate its full 5-minute preheat with the lid closed first.
Closing Vents Too Aggressively Mid-Cook
New charcoal grillers often overcorrect a too-hot fire by closing vents most or all of the way, which can smother the fire and produce thick, bitter smoke right before it goes out entirely, rather than a controlled temperature decrease. Small adjustments, given 10–15 minutes to take effect before adjusting further, work better than large, sudden ones.
Not Using Enough Charcoal for the Cook
A thin, sparse layer of charcoal can't generate the heat mass needed for a real sear or an extended cook. A full chimney load is the right starting point for most cooks on a kettle-sized grill — you can always spread coals thinner for a smaller cook, but running short on fuel mid-cook is harder to recover from.
Frequently Asked Questions
How long does it take to light charcoal with a chimney starter?
About 15–20 minutes. The coals are ready when the top layer is glowing and coated in light grey ash throughout, not just glowing at the edges.
Do I need lighter fluid to start a charcoal grill?
No, and most experienced charcoal grillers avoid it specifically because a chimney starter lights charcoal just as reliably without any risk of a chemical off-taste on your food. A chimney starter is the standard, recommended method.
How do I know when my charcoal grill is ready to cook on?
Coals are ready once they're ashed over grey throughout, and the cooking grate should get about 5 minutes to preheat on top of them with the lid closed before food goes on. A grate that hasn't preheated is one of the most common reasons food sticks on a first attempt.
What's the easiest first thing to cook on a charcoal grill?
Burgers, hot dogs, or bone-in chicken thighs. All three have enough fat content to tolerate minor timing mistakes while you're still learning to judge your grill's heat, unlike leaner cuts that punish overcooking more severely.
How do I put out a charcoal fire when I'm done cooking?
Close both the top and bottom vents fully. Cutting off airflow smothers the fire safely without water, which can warp grates or damage porcelain-enameled finishes if poured directly onto hot coals.
Is charcoal grilling hard to learn?
Not really — the process itself is simple (light, arrange, preheat, cook, shut down), and most of the "difficulty" people associate with charcoal is really just unfamiliarity with judging heat by eye, which comes with your first few cooks. Once you're comfortable with the basics in this guide, our charcoal grill temperature control guide covers more precise vent management for longer or more technique-sensitive cooks.
Final Takeaway
Charcoal grilling comes down to five repeatable steps: light with a chimney starter, arrange coals for what you're cooking, preheat the grate, cook with a thermometer rather than guesswork, and shut down safely afterward. Start with a forgiving first cook like burgers or chicken thighs on a simple direct-pile setup, and the more advanced techniques — two-zone cooking, the snake method, precise vent control — will make a lot more sense once you've got the basics under your belt.
Shopping for your first charcoal grill? See our best charcoal grills guide for tested picks across every budget. Ready to go deeper on technique? Our direct vs indirect grilling guide and charcoal grill temperature control guide both build directly on what's covered here.
Ready to shop? Browse our top-rated grill picks to find your perfect match.