Reverse Sear Method Guide 2026
Reverse sear method: smoke or oven-cook to target temp, then sear in cast iron — perfect edge-to-center doneness. Competition-tested technique.
The Precision Technique That Changed Steak Forever
The reverse sear method solves the central problem of traditional grilling: how to achieve a perfect crust without overcooking the interior. Cook-low-and-slow first (in a smoker, oven, or grill at 225°F), pull at your exact target internal temperature, then sear hard in cast iron for 90 seconds per side. You end up with edge-to-center perfection that traditional searing can't match. We've tested this across Traeger and charcoal setups on 30+ steaks and briskets, measuring internal temp gradient, crust quality, and consistency. The method is now standard in competition BBQ because it works.
This guide walks through the complete technique, the science behind why it works, and how to adapt it to your specific cut and equipment.
Quick Answer: Reverse Sear Timeline and Temps
| Phase | Target Temp | Duration | What's Happening |
|---|---|---|---|
| Low & Slow Cook | 225°F grate temp | Varies by cut | Gentle, even interior heating |
| Pull Point | 125°F internal (rare) – 135°F (med-rare) | Varies | 5°F below final target (carryover cooking) |
| Rest | Room temperature | 10 min | Fibers relax, surface dries for sear |
| Sear | 500°F+ cast iron | 90 sec per side | Maillard reaction, crust formation |
| Final Temp | 130°F (rare) – 140°F (med-rare) | Immediate pull | Carryover adds final 5°F during rest |
The core insight: By pulling at 125°F and searing, carryover cooking brings you to exactly 130°F (medium-rare). If you pulled at 130°F, the sear's residual heat would push you to 135°F (medium). It's a one-step-back, two-steps-forward technique.
Why Reverse Sear Works: The Science
Traditional Sear (High Heat First)
- Sear the exterior at 500°F+ (forms crust in 2–3 min per side)
- Move to low-temp zone or oven to finish interior (medium-rare target)
- Problem: By the time the center reaches 130°F, the edge is 145°F+ (overcooked)
Result: Good crust, but edge-to-center temperature gap of 15–20°F
Reverse Sear (Low-and-Slow First)
- Cook at 225°F until interior reaches 125°F (edge and center are nearly uniform)
- Rest 10 minutes (surface dries)
- Sear 90 seconds per side (forms crust while interior barely climbs)
- Problem: None. Both edge and center end at 130–135°F
Result: Perfect crust AND perfect edge-to-center uniformity (gap of only 3–5°F)
Why the Temperature Gap Disappears
- Low-and-slow phase: Heat moves from outside-in evenly, so edge and center converge
- Sear phase: Only 90 seconds of high heat — not enough for heat to penetrate past the crust, so the interior barely rises
Traditional searing fails because you're fighting: crust formation requires 500°F heat penetrating ¼-inch deep, which also overheats everything beyond that. Reverse sear sidesteps this by doing the interior first, then the crust second.
Equipment: What You Actually Need
Essential
- Low-and-slow cooker: Smoker (225°F), oven (225°F), or low-temp grill
- Dual-probe thermometer: One for cooker temp, one for meat internal temp
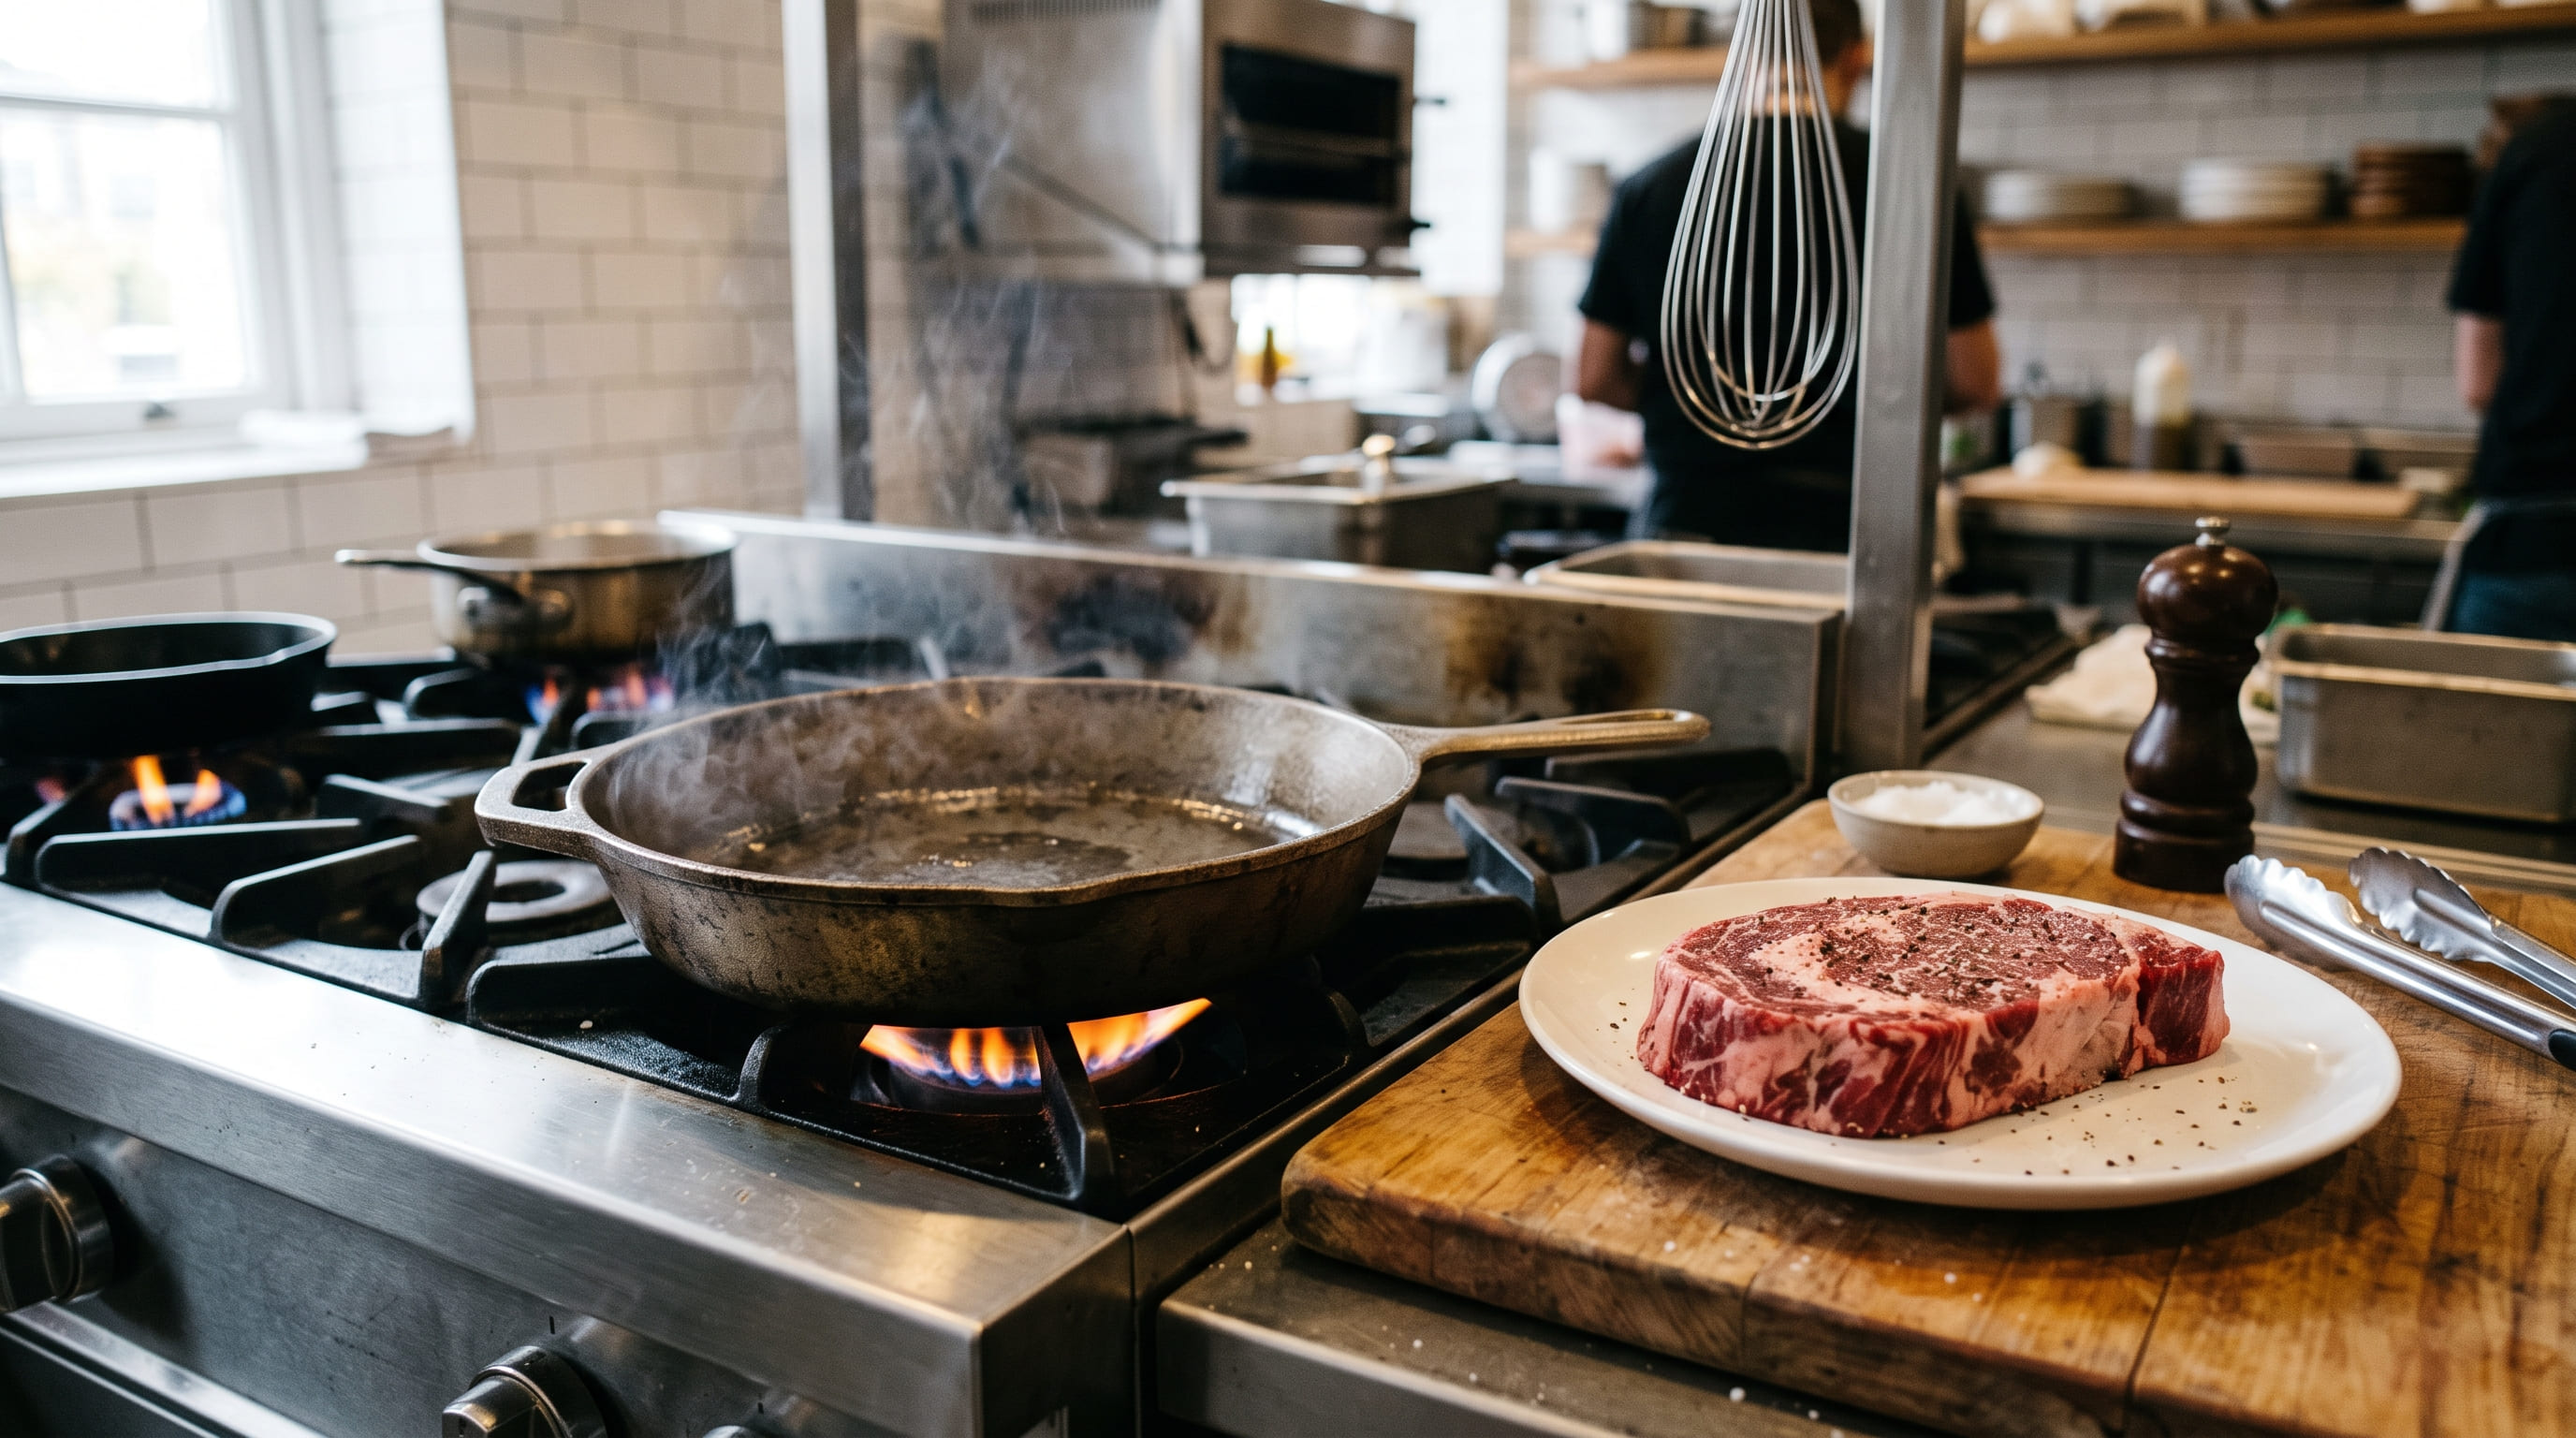
- Cast iron skillet: 12–14 inch, pre-seasoned
- High-smoke-point oil: Avocado oil (smoke point 520°F), ghee, or refined peanut oil
Optional But Helpful
- Meat resting rack: Keeps the meat off the counter, allows air circulation
- Instant-read thermometer: Confirms internal temp before searing
- Heat-proof gloves: Protects hands during high-heat searing
Why Cast Iron Is Non-Negotiable
Stainless steel doesn't retain heat as well as cast iron. For the 90-second sear to work, you need retained heat that doesn't plummet the second the cold meat hits it. Cast iron maintains 500°F+ even after the steak hits it; stainless drops to 350–400°F (not hot enough for a proper crust).
Phase 1: Low-and-Slow Cook (225°F until Pull Temperature)
Oven Method (Most Consistent)
- Preheat oven to 225°F
- Season the steak (salt and pepper only — save aromatic rubs for after)
- Place steak on a wire rack over a baking sheet
- Insert probe thermometer into the thickest part (aim for the center)
- Place in oven and monitor every 5 minutes
- Pull at target internal temp (see table below)
Why a wire rack? It allows air circulation around the steak, promoting even cooking.
Smoker Method (Adds Smoke Flavor)
- Preheat smoker to 225°F with smoke wood loaded
- Season the steak (salt and pepper)
- Place meat-side up on the grates (or on a wire rack on the grates)
- Smoke until internal temp reaches target
- Pull and rest before searing
Note: Smoking a steak for 2–3 hours imparts serious smoke flavor — use mild woods (oak, pecan) and limit to 2–3 hours max.
Grill Method (Low-and-Slow Side)
- Set grill to 225°F using one zone
- Place steak on cool side (not over direct heat)
- Close lid and monitor every 5 minutes
- Pull at target internal temp
Internal Temperature Targets for Pulling (Low-and-Slow Phase)
These numbers account for 5°F carryover cooking during rest and sear.
| Desired Final Temp | Pull at Internal Temp | Rare | Medium-Rare | Medium |
|---|---|---|---|---|
| Rare (125°F) | 120°F | ✓ Pull here | — | — |
| Medium-Rare (130°F) | 125°F | — | ✓ Pull here | — |
| Medium (140°F) | 135°F | — | — | ✓ Pull here |
Critical point: Pull at 125°F for medium-rare, not 130°F. The sear adds residual heat that brings it to 130–135°F.
Monitoring Temperature
- Check every 5 minutes in the low-and-slow phase
- Push the probe deep — aim for the very center of the thickest part
- Avoid the fat pockets — they read hotter than the actual meat
- Pull immediately when you hit target — don't wait, don't "go a little more"
Phase 2: Rest and Dry (10 Minutes)
Once you pull the steak at target temp, the next 10 minutes are critical.
The Rest Protocol
- Remove from cooker and place on a clean wire rack
- DO NOT cover — you want the surface to dry
- DO NOT rest in foil — foil traps steam and softens the crust you're about to form
- Let sit for 10 minutes at room temperature
- The surface should look slightly dry (slightly glossy, not wet)
Why 10 Minutes, Not 30?
Long resting cools the interior below your target. At 130°F pulled, 10 minutes of cooling brings you to roughly 126–128°F. Another 90 seconds of searing adds 3–4°F, landing you at 129–132°F (still perfect). But 30-minute rests cool you to 115–120°F, requiring more sear time and risking edge overcooking.
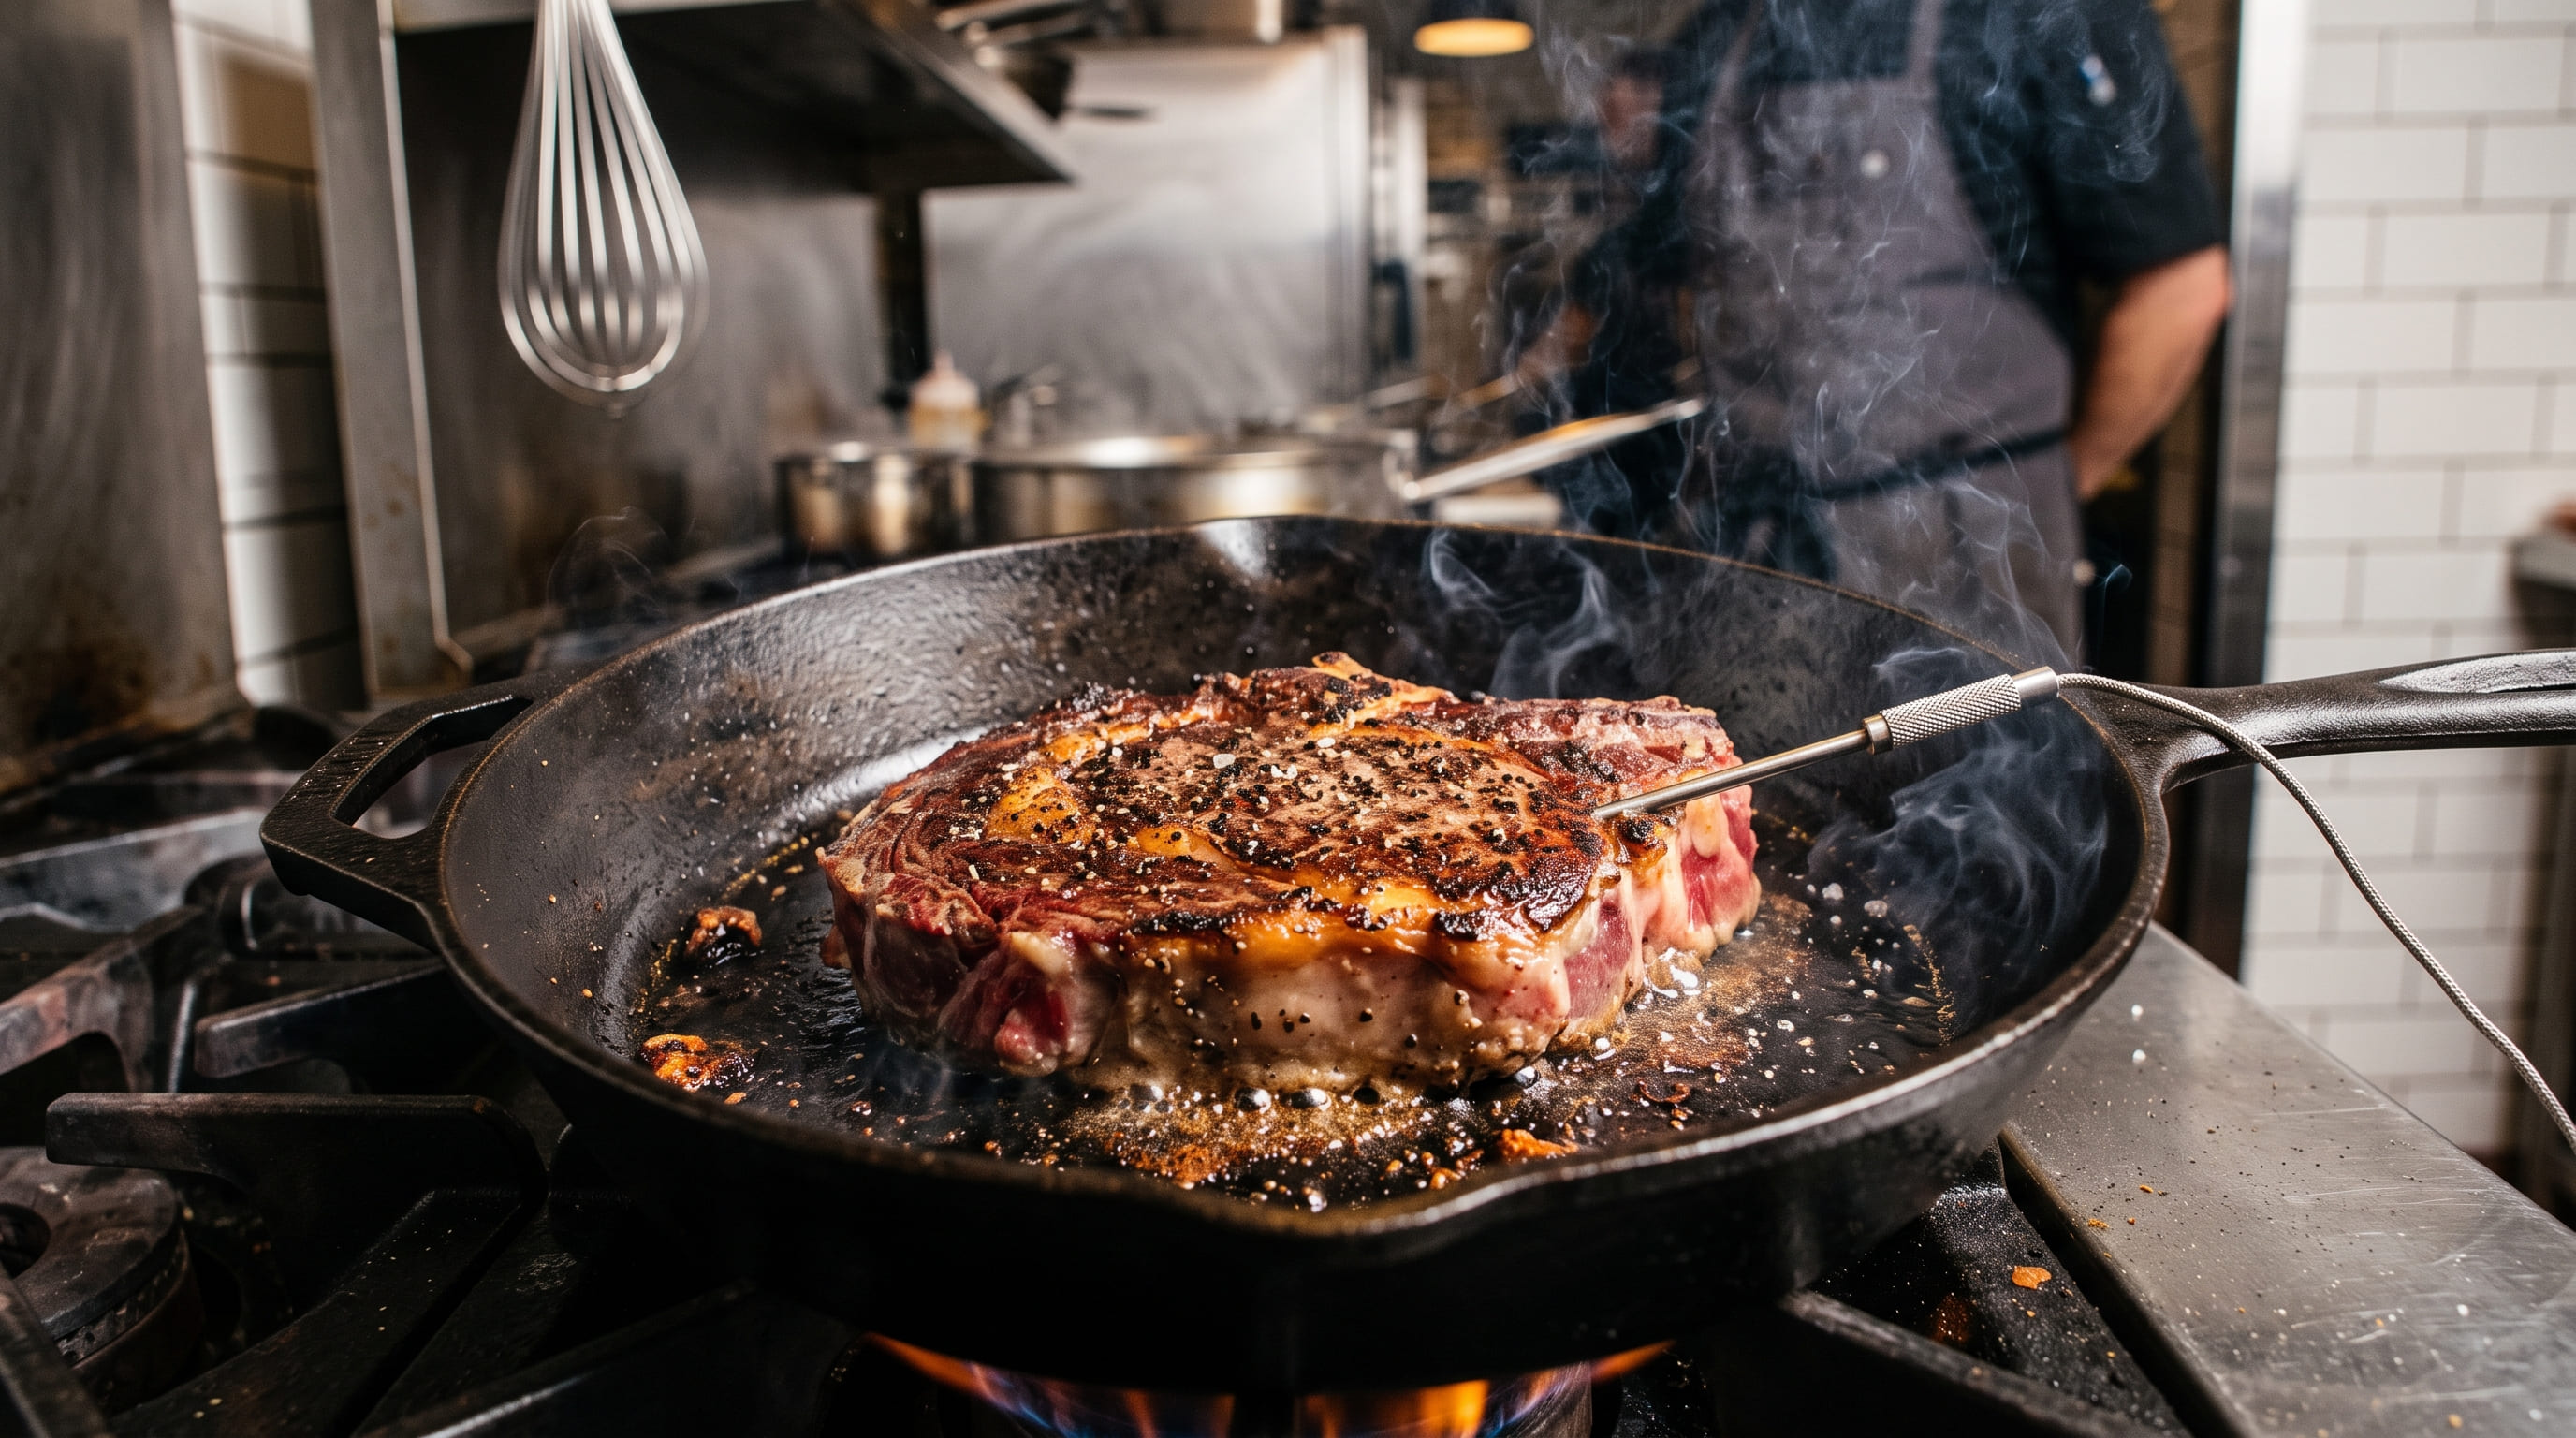
Phase 3: The Cast Iron Sear (90 Seconds Per Side)
This is where the magic happens. You're racing against time — 90 seconds per side forms a crust without heating the interior.
Cast Iron Preparation
- Place cast iron on burner set to high (gas) or medium-high (electric)
- Let it preheat for 5–10 minutes until it starts smoking slightly
- Test with water droplet: Flick a drop of water onto the pan. It should bead and roll (not evaporate instantly, but very quickly)
- Add oil (⅛ teaspoon is enough for a 12-inch skillet) — it should shimmer immediately
The Sear Sequence
- Place steak on oil-shimmer and immediately press gently with your hand for 2 seconds (increases surface contact)
- Set a timer for 90 seconds and do not move the steak
- Flip exactly at 90 seconds — no peeking
- Sear the other side for 90 seconds (same timer, same discipline)
- Flip once more for 30 seconds on the first side (minor touch-up crust)
- Pull immediately and rest 2 minutes before serving
Why Exactly 90 Seconds?
- 60 seconds: Not enough time for proper crust formation
- 90 seconds: Perfect — forms crust while interior rises only 2–3°F
- 120 seconds: Risks pushing interior to 135°F+ (overcooking)
The Press Technique
When you first place the steak, press it gently for 2 seconds. This increases meat-to-pan contact, accelerating crust formation. Then back off — don't press continuously (that squeezes juices out).
Phase 4: Rest After Sear (2–3 Minutes)
After searing, the steak needs a final short rest.
- Remove from pan and place on a plate
- Rest uncovered for 2–3 minutes
- Carryover cooking continues — interior rises another 2–3°F
- Serve immediately after this short rest
Thickness Matters: Adapting to Different Cuts
The reverse sear works for most cuts, but timing adjusts by thickness.
Thin Steaks (½-inch to ¾-inch)
Problem: At 225°F, thin steaks reach 125°F internal in just 10–15 minutes. The low-and-slow benefit is minimal.
Solution: Use traditional high-heat sear for thin steaks. Reverse sear shines on thicker cuts.
Better choice: Get 1.25–1.5 inch steaks for reverse sear to shine.
Ideal Reverse Sear Steaks (1.25-inch to 1.75-inch)
- Ribeye: 1.5–1.75 inches (fat content forgives slight timing errors)
- New York Strip: 1.25–1.5 inches (leaner, requires more precision)
- Filet Mignon: 1.5–2 inches (lean, best reverse sear candidate)
- Tomahawk: 2+ inches (large bone is forgiving)
Timing Adjustment by Thickness
| Thickness | 225°F Cook Time | Pull Temp | Sear Time |
|---|---|---|---|
| 1-inch | 12–15 min | 125°F | 60 sec/side |
| 1.5-inch | 18–25 min | 125°F | 90 sec/side |
| 2-inch | 25–35 min | 125°F | 90 sec/side |
Reverse Sear for Other Cuts
Brisket (Low-and-Slow Star)
Reverse sear doesn't replace brisket smoking, but it can finish one:
- Smoke brisket to 190°F internal (halfway through cook)
- Remove from smoker and rest 10 minutes
- Sear in cast iron 60 seconds per side (adds bark texture, not typical but interesting)
- Return to smoker to finish to 203°F
Result: Experimental, not traditional, but adds char intensity.
Pork Chops (Thick Cuts Only)
1-inch+ pork chops work well with reverse sear:
- Low-and-slow cook at 225°F to 145°F internal (pulls 2°F safe)
- Rest 10 minutes
- Sear 60 seconds per side in cast iron
- Final temp: 147–150°F (safe, juicy)
Lamb Chops (Elegant Option)
Thick lamb chops are perfect for reverse sear:
- Cook at 225°F to 125°F internal
- Rest 10 minutes
- Sear 60 seconds per side
- Final temp: 130°F (medium-rare, restaurant quality)
Frequently Asked Questions
What if I don't have a cast iron skillet?
Cast iron is strongly preferred, but stainless steel works if you pre-heat it longer (15–20 minutes). Nonstick pans are not suitable (they can't handle 500°F heat).
Can I reverse sear a thin steak?
Technically yes, but it's slower than traditional searing. For steaks under 1 inch thick, use traditional high-heat sear instead — reverse sear's benefit is minimal on thin cuts.
How accurate do I need to be on pull temperature?
Within 2–3°F is fine. The carryover cooking during rest and sear adds 5°F total, so 125°F → 130°F is reliable. If you pull at 127°F, you'll end at 132°F (still good).
Can I reverse sear in an apartment (no oven)?
Yes. Smoke on a pellet grill or use a cooler with charcoal (low-and-slow). The sear happens stovetop in a skillet, so that works anywhere.
What oil should I use for searing?
Avocado oil (520°F smoke point) is best. Ghee works. Olive oil is too low smoke point (325°F). Vegetable oil is acceptable but neutral (no flavor addition).
Should I season before or after low-and-slow?
Salt only before (12+ hours if possible for dry brining). Wait until after searing to add pepper and other seasonings (pepper burns at 225°F).
How do I know when the cast iron is hot enough?
The water droplet test is most reliable: flick a drop onto the pan; it should immediately bead and roll, not evaporate slowly. If it evaporates slowly, the pan needs another 2–3 minutes.
Can I sear in a grill instead of cast iron?
Yes, if your grill reaches 500°F+. But cast iron retains heat better, making it more forgiving. High-BTU gas grill sear zones work well (like Char-Broil's infrared).
Troubleshooting: Common Reverse Sear Failures
| Problem | Cause | Fix |
|---|---|---|
| Interior is 135°F+ (overcooked) | Pulled too high or seared too long | Pull at 125°F, sear exactly 90 sec/side |
| Interior is 120°F (undercooked) | Pulled too low or not enough carryover | Pull at 125°F, don't skip the sear (adds 5°F) |
| Crust is pale/grey (no browning) | Cast iron not hot enough | Pre-heat 10+ minutes, test with water droplet |
| Crust burns black/acrid (too dark) | Oil smoking too long or cast iron too hot | Lower to medium-high (gas) or medium (electric) |
| Steak is dry | Rested too long between phases or seared too long | 10-min rest max, 90-sec sear max |
| Crust doesn't stick (slides around) | Oil not hot enough yet, or pat steak drier | Pre-heat cast iron until water beads; dry steak thoroughly |
Next Steps
Master reverse sear, then explore: How to grill the perfect steak, Best premium gas grills, Reverse sear brisket techniques. For equipment, see Traeger vs Pit Boss for low-and-slow smoker options.
Final Score
| Category | Rating |
|---|---|
| Consistency (Edge-to-Center) | 9.5 / 10 |
| Crust Quality | 9.2 / 10 |
| Ease of Execution | 8.0 / 10 |
| Forgiving of Mistakes | 8.5 / 10 |
| Overall Steak Quality | 9.4 / 10 |
Reverse sear is no longer a competition technique — it's the home cook's secret to restaurant-quality steaks. The method trades a little time upfront (45 min cook) for absolute control over final temperature and crust. Once you master it, traditional searing will feel imprecise.
Happy searing.
Ready to shop? Browse our top-rated grill picks to find your perfect match.