What Is It Like to Set Up and Live With?
A 90-minute, two-person build, a power outlet, and ash cleanup after every cook.
Assembly: about 90 minutes with a power drill
The steel felt solid, but it's a big build with more parts to maintain than a kettle. Assembly took 90 minutes with a power drill; get help moving the main body, since it weighs 231 lb.
Where to put it
- Power: it needs an outlet within reach of its cord. Plan its spot around an outdoor GFCI outlet rather than running an extension across a walkway.
- Access: leave room around the hopper side to load charcoal and open the lid.
- Ground: keep it on level, solid ground; the small front casters don't like gravel or debris.
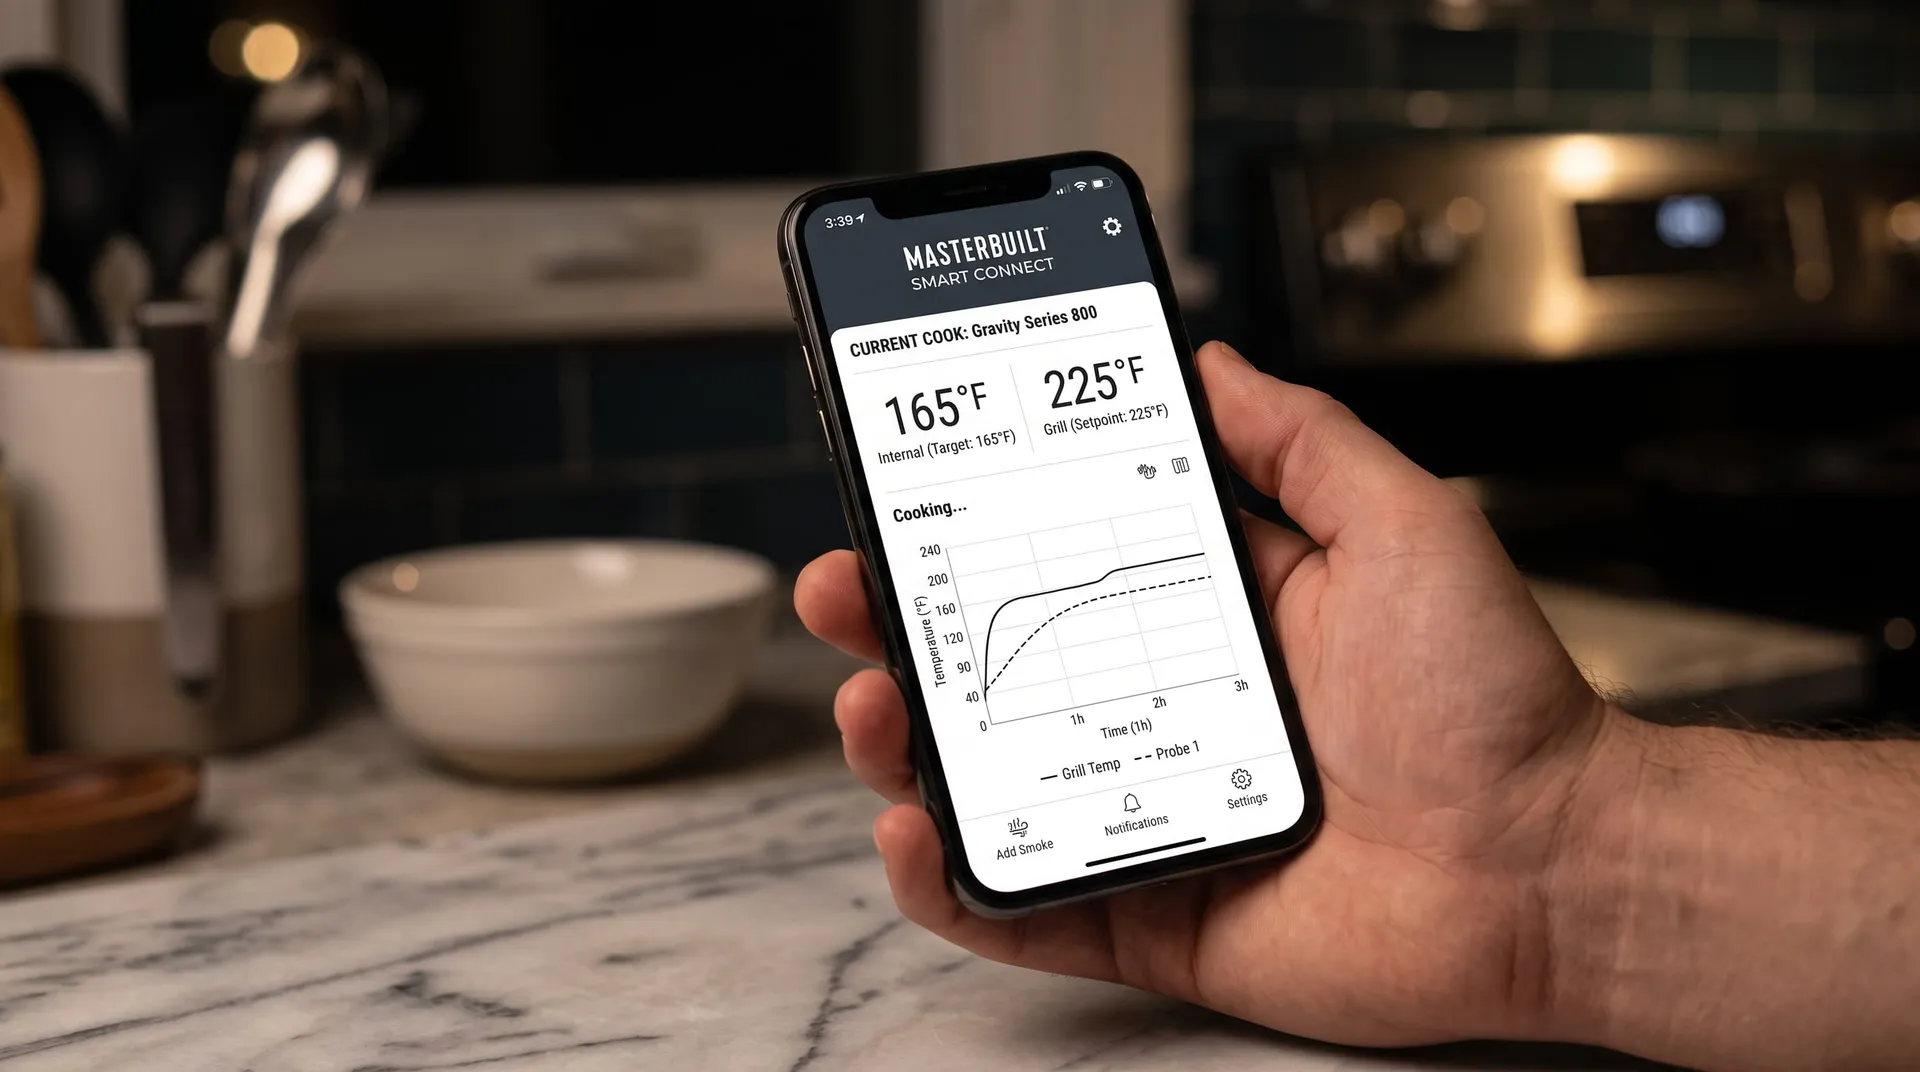
- Wi-Fi: if you want app control, check the signal at the exact spot first. A mesh node or extender near the patio door is cheaper than a ruined overnight cook.
- Battery power: some owners run it from a portable battery, but treat that as unproven on this model.
On a wooden deck, check the owner's manual for clearance distances first, keep it well away from railings and siding, and set a heat-resistant mat underneath to catch ash and embers.
Seasoning before the first cook
Masterbuilt recommends seasoning before you cook food:
- Fill the hopper a quarter to half full.
- Run the grill at 250°F for an hour, then at 400°F for 30 minutes.
- Shut it down, let it cool and wipe a light coat of cooking oil on the grates, warming racks, charcoal grate and inside of the lid and body.
- Repeat the heat-and-oil cycle at 350°F.
Re-season whenever you scrub off rust.
Lighting and starting a cook
- Remove the two slides on the front of the hopper.
- Fill the hopper with charcoal and latch the lid; the fan won't run with the lid open.
- Open the small door below the hopper, set a fire starter on the charcoal grate, light it and close the door.
- Turn on the controller and dial in your temperature.
The grill isn't self-igniting, so keep paraffin starter cubes on hand. Leaving the slides in keeps the coals from lighting and triggers an error code on the controller.
Cleanup routine
Masterbuilt's maintenance guide puts most of the work after each cook, once the grill is cool. Power off and push both slides back into the hopper first.
- Grates and manifold: brush grease off the grates and scrape the heat manifold.
- Trays: empty the grease tray and the bottom tray into a non-combustible container.
- Ash: empty the ash tray and clean the bottom of the hopper once ash is cold, every cook. Built-up ash blocks the airflow the fan relies on. Masterbuilt suggests soaking cold ash with water in a foil pan before disposal.
- Probes: clean with mild dish soap and keep them indoors between cooks.
Use mild detergent and a damp rag on the grill, not oven cleaner. Cover it only when the fire is out and everything is cold. Our grill cleaning and maintenance guide covers the seasonal deep clean.
Rain and off-season care
Light rain is manageable if the controller stays dry and no water gets into the hopper. Don't roll the grill into a garage or enclosed porch to escape it; charcoal makes carbon monoxide, so it has to stay outdoors.
Before a long break, burn the hopper down or scoop out leftover charcoal, which soaks up moisture and can bridge when you next light it. Empty all the ash, wipe a thin coat of oil on the cast iron grates, and keep the cover on. See how to winterize your grill for the full checklist.
Accessories worth adding
| Accessory | Why it helps |
|---|
| Large Digital Charcoal Grill and Smoker Cover | Protects the controller and fan from rain |
| Gravity Series Rotisserie Kit | Whole chickens and roasts on a spit |
| Extra meat probes | The app reads up to four |
| Flat-top griddle and pizza oven inserts | Breakfasts and pizza on the same base |
A cover is the essential one. Extra probes come next if you cook more than one cut at a time.
Reliability watch-points
Electronics are the trade-off for dial-in convenience. The power cord, fan and lid switch are the parts most likely to need attention. The hood could be thicker and the hopper closures may need occasional adjustment, but the grates, cart and wheels are sturdy.
Moisture is the common thread in most electronic faults, and damp charcoal also bridges in the hopper, so store fuel sealed. Register the grill right away, keep the receipt, and test every function in the first weeks while the 1-year coverage is fresh.


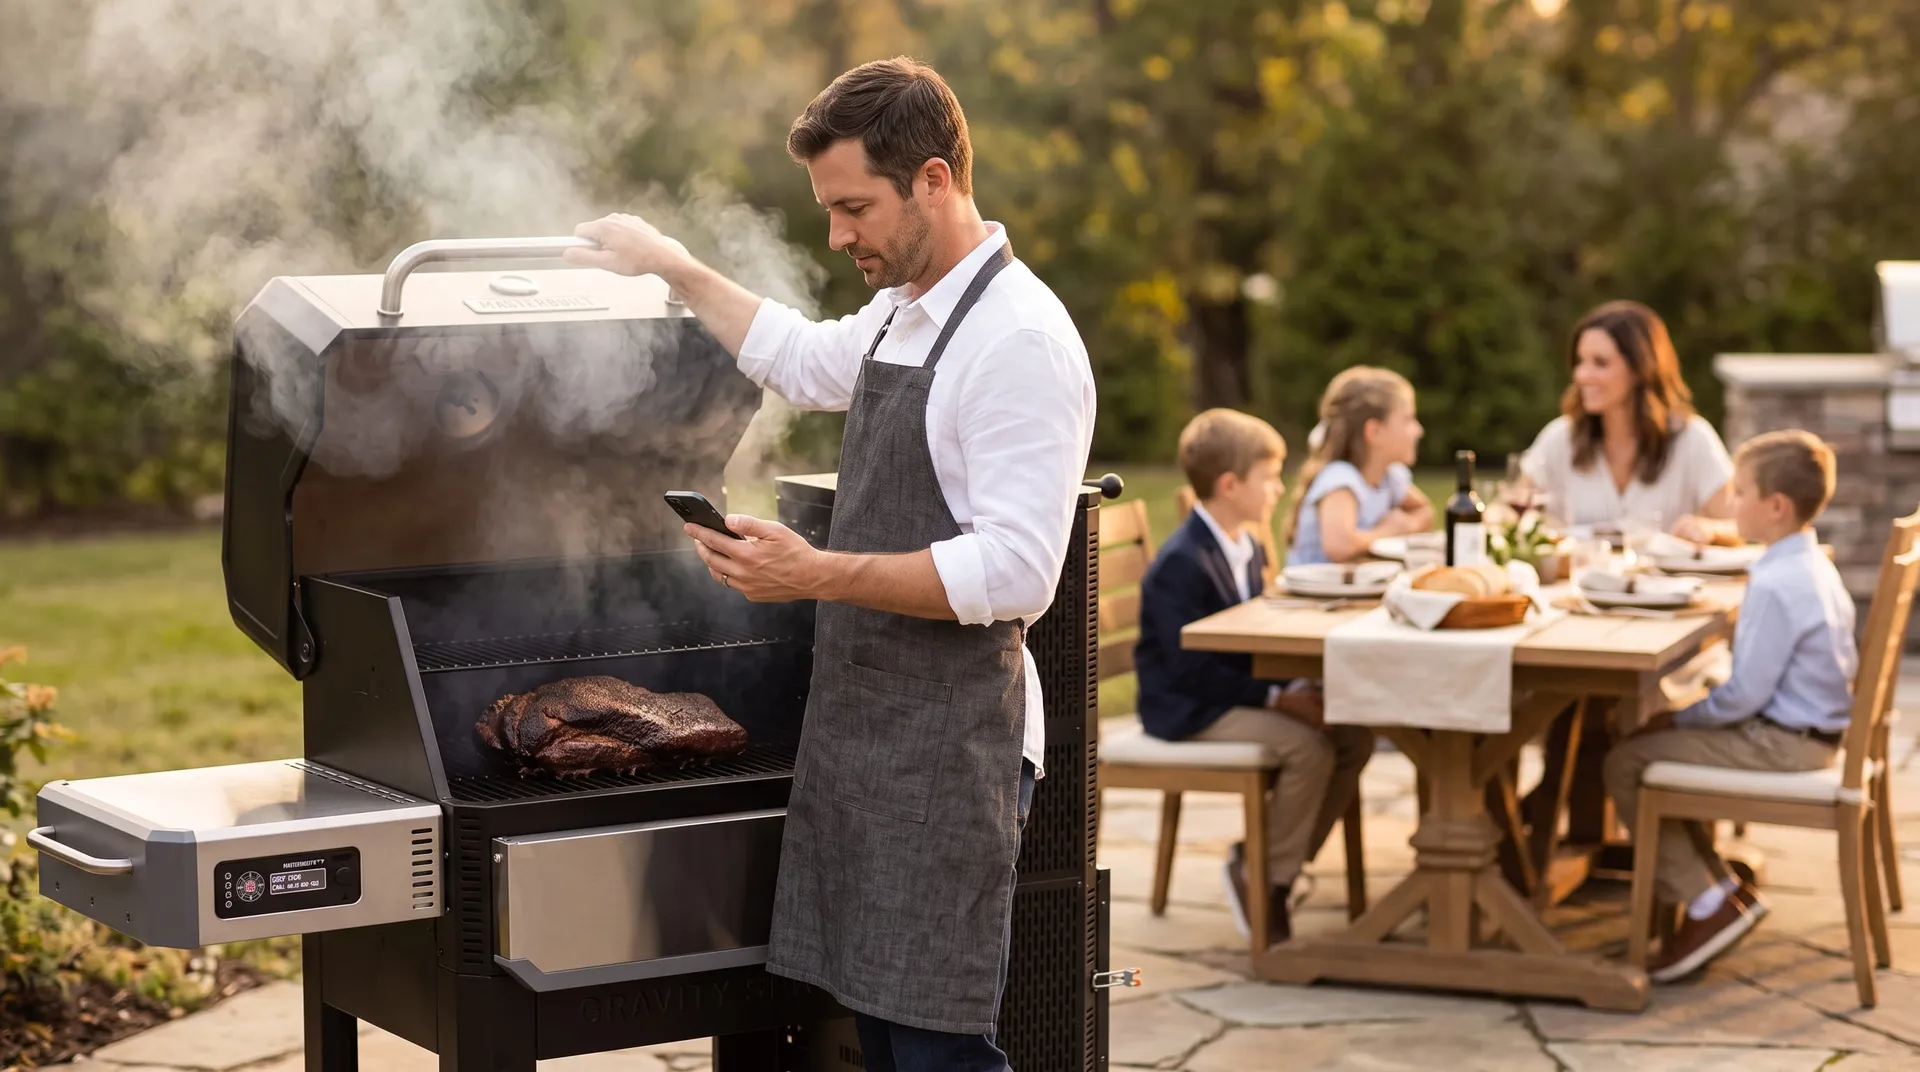 A brisket on the grate while the family eats: the app lets the cook check in from the table.
 Checking the controller's reading against a handheld thermometer once the fan has settled.