What Is It Like to Set Up and Live With?
Solid ceramic and a sturdy cart, with an afternoon of setup and a heavy lid every cook.
Assembly: about 2 hours solo, plus the seasoning burn
Setup takes most of an afternoon once you add the seasoning burn and cooldown.
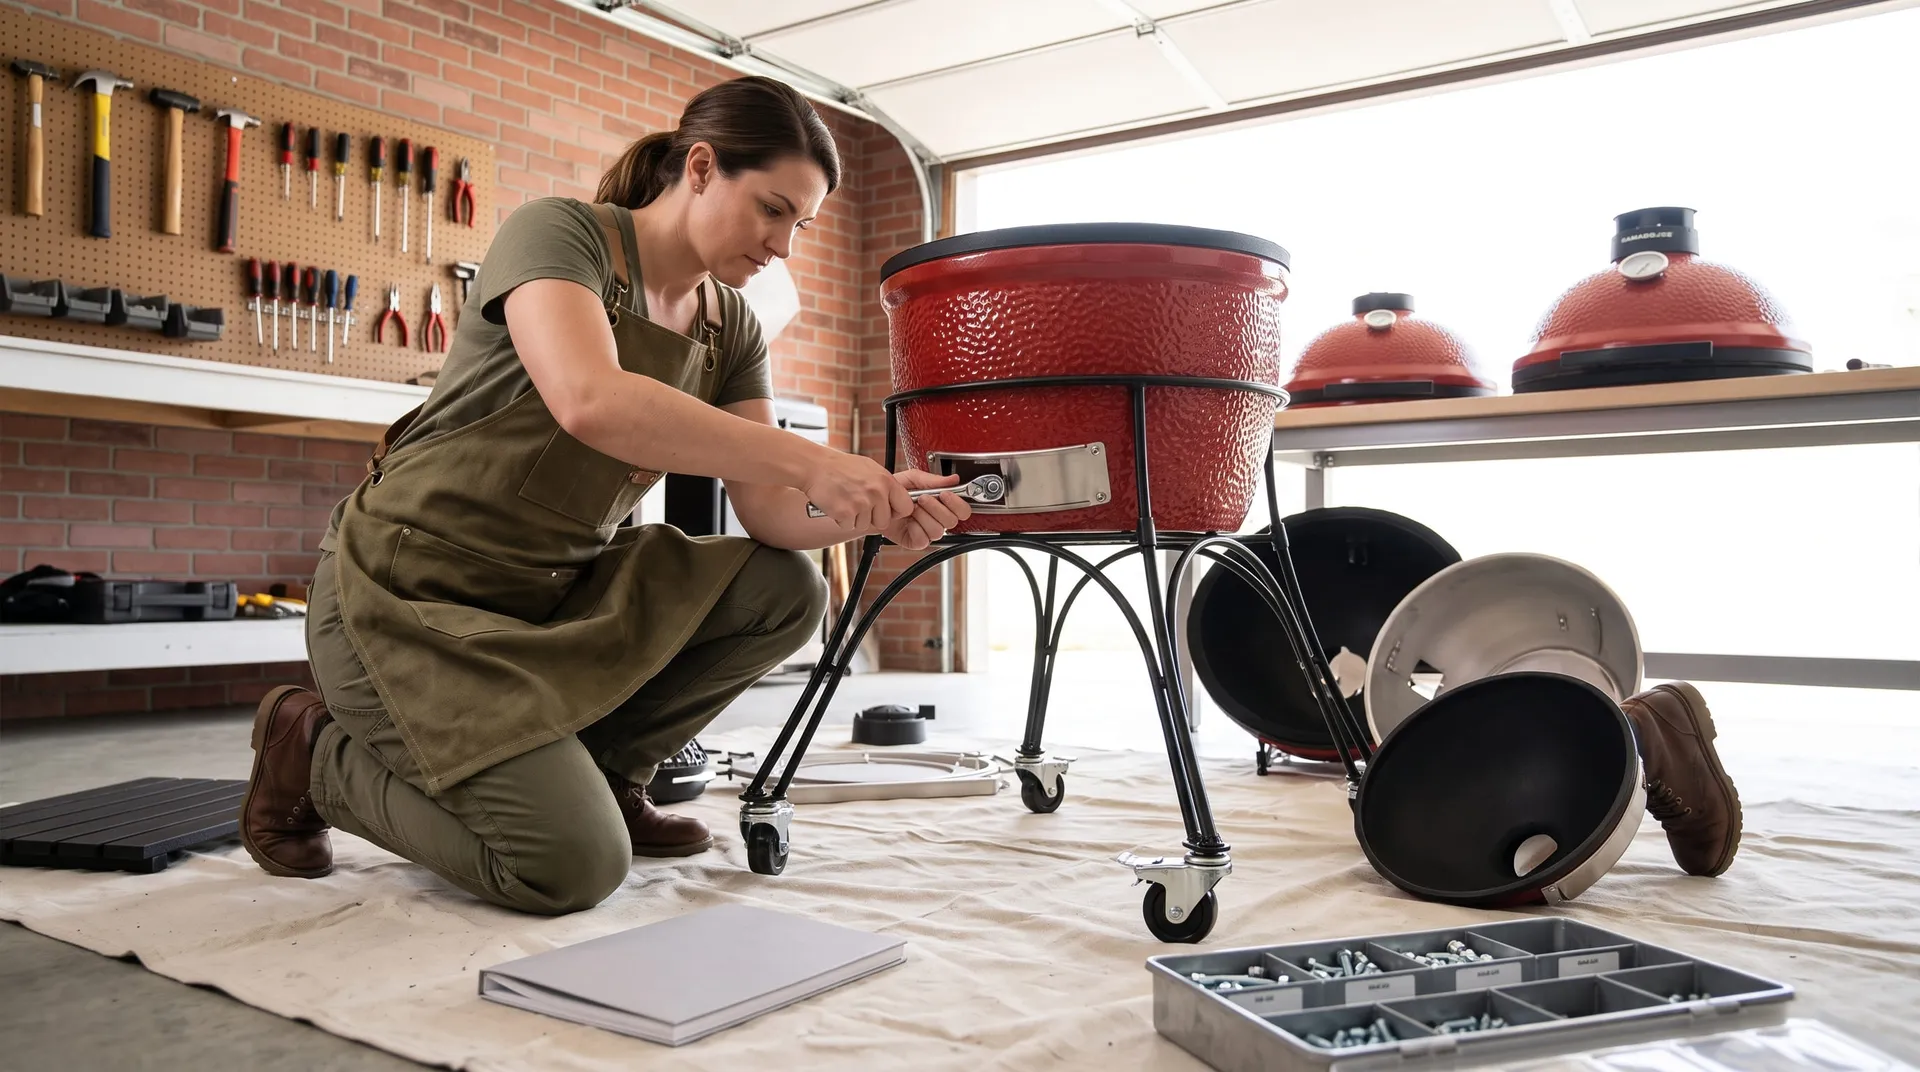 Assembly took about 2 hours solo; the ceramic lifts are the steps that need a helper.
- Assemble the cart close to where the grill will live, on a flat surface, so the finished grill only rolls a short way.
- Lock the casters before lifting any ceramic onto the cart.
- Use two people for the base and dome, lifting with your legs and holding the ceramic, not the bands or hinge.
- Check that the dome closes evenly and the gasket meets all the way around before the first fire; adjust the band if there's a gap.
Run a moderate first fire rather than going straight to searing heat. It lets the gasket adhesive settle and gives you a feel for the vents.
Lighting it the right way
Kamado Joe recommends hardwood lump only, with no lighter fluid, which can leave off flavors in porous ceramic. Briquettes also make more ash, which can choke airflow on long cooks. Use a natural starter cube or an electric looper buried in the lump.
- Load: fill until the lump mound reaches the top of the fire ring, big pieces on the bottom and small ones on top so air flows through.
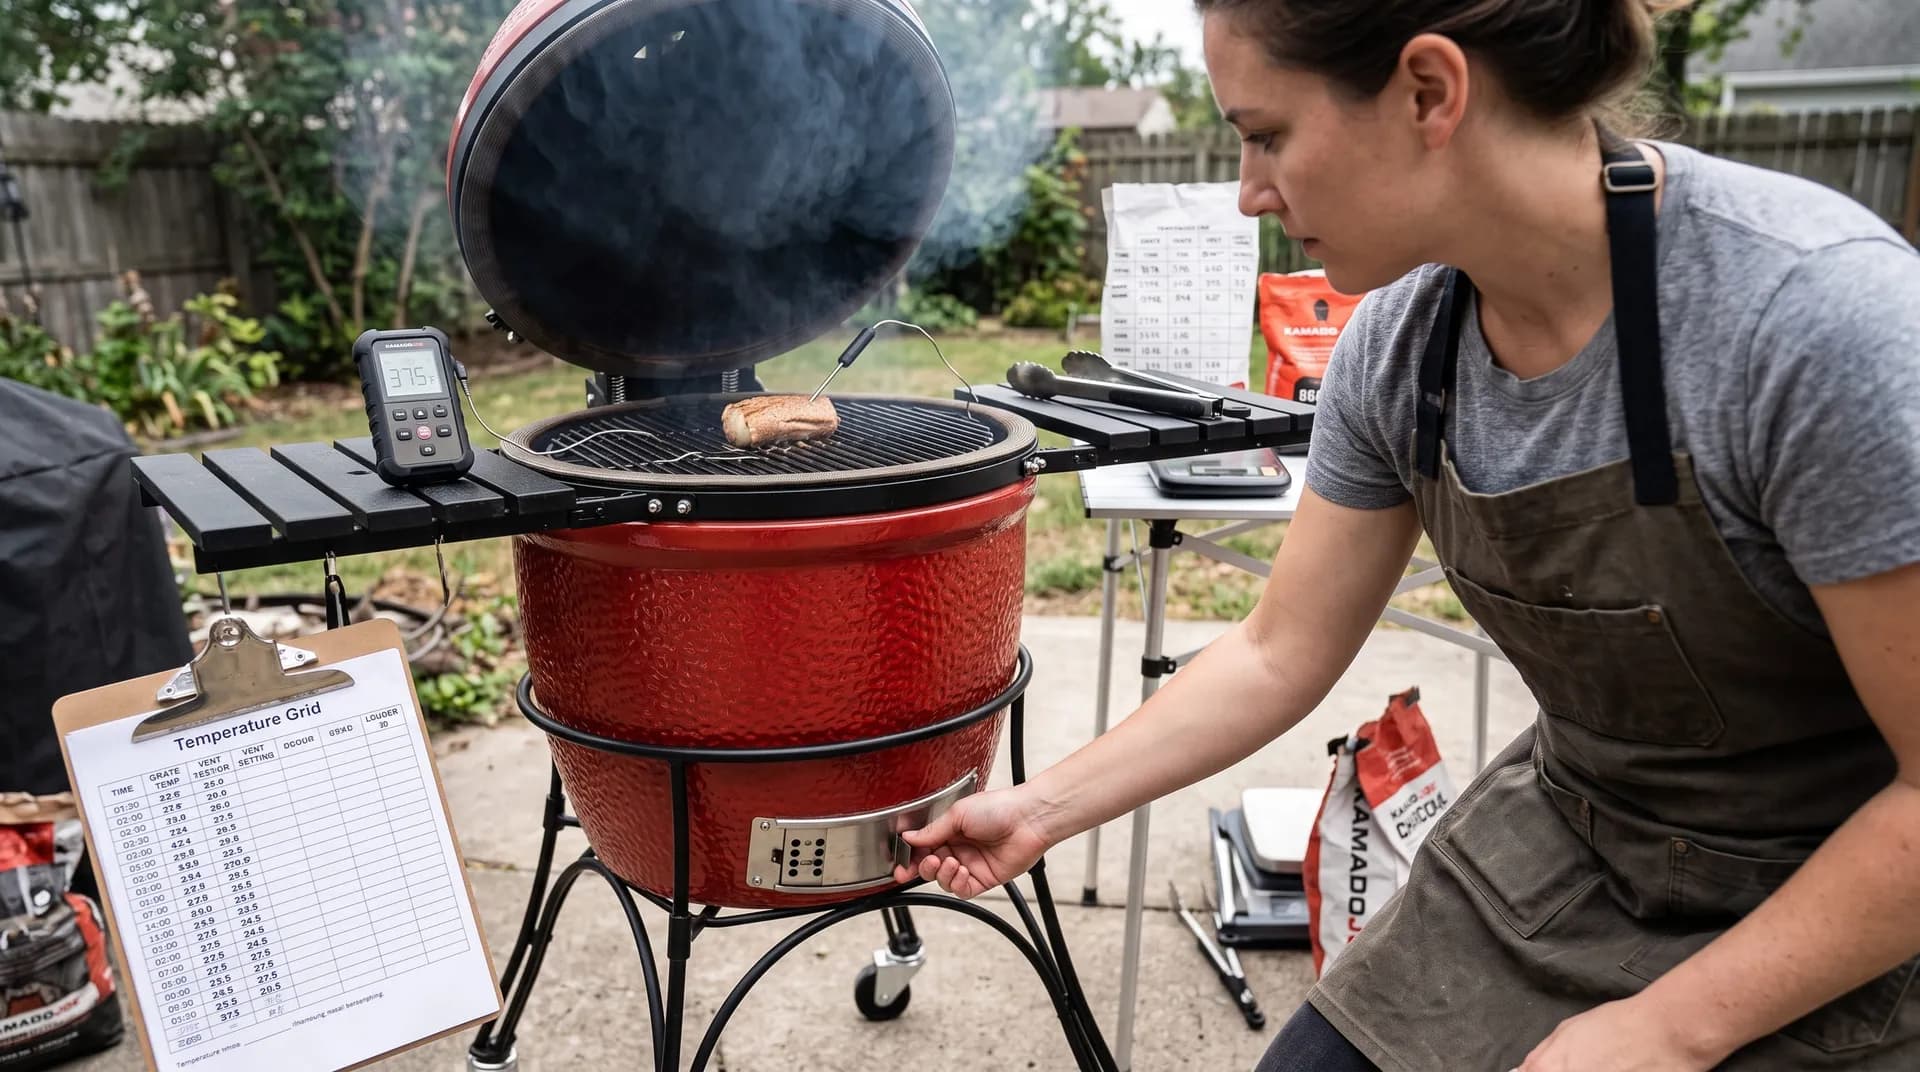
- Light for the cook: for low-and-slow, light a single spot in the center. For searing or pizza, light two or three spots so the whole bed catches quickly.
- Give it time: leave the dome open about 10 minutes after lighting, then close it. Kamado Joe says the ceramic needs 20–40 minutes to stabilize before cooking, longer on cold days.
- Smoke wood: bury two or three fist-sized chunks in the lump before lighting. Chips burn up quickly in a kamado; our wood chips for smoking guide covers flavor pairings.
Choosing lump charcoal
Lump quality varies more than briquettes do. Bags with lots of large pieces burn longer and leave room for air; bags full of chips and dust pack down and choke the fire on long cooks. Set the dust and tiny bits aside rather than loading them into the firebox.
Dense hardwoods like oak and hickory burn longer and steadier, while softer lumps light faster but burn out sooner. If a bag sparks and pops a lot, it may hold trapped moisture; keep charcoal dry in a sealed bin.
Shutting down and reusing charcoal
Close the bottom door and the top vent completely. Starved of air, the fire goes out and leftover lump stays usable. Never use water on hot ceramic.
Before the next fire, stir the old lump so ash drops through the grate, empty the ash drawer and top up with fresh charcoal.
What to cook first
- A spatchcocked chicken at a moderate temperature: it teaches you the deflector setup and how slowly the ceramic responds. Our smoked chicken guide has the method.
- Steak night with the reverse sear.
- Pizza on a stone.
- An overnight smoke, once you've seen how your vents behave in your weather. Pork shoulder is the forgiving choice; trimmed brisket fits the 18-inch grate once you're confident.
Living with the heavy dome
Without lift assist, the dome is the one thing you notice every cook. Lift it from the handle with a straight back, and plan cooks so you open it less: use a leave-in probe instead of checking by eye, and do all your flipping in one opening.
Cleaning and care
- Weekly: brush the grates while warm, empty the ash drawer once cold, and wipe the outside with a damp cloth.
- Interior: a hot, empty burn cleans the ceramic better than any scrubbing. No soap or water inside; ceramic is porous and hates sudden temperature changes.
- Top vent: oil the cast iron now and then so it doesn't rust or stick.
- Rain: with the grill off, close the top vent fully or cover the grill; rain through the vent soaks the lump and firebox.
- Under a cover: in damp weather, leave the vents slightly open so moisture can escape.

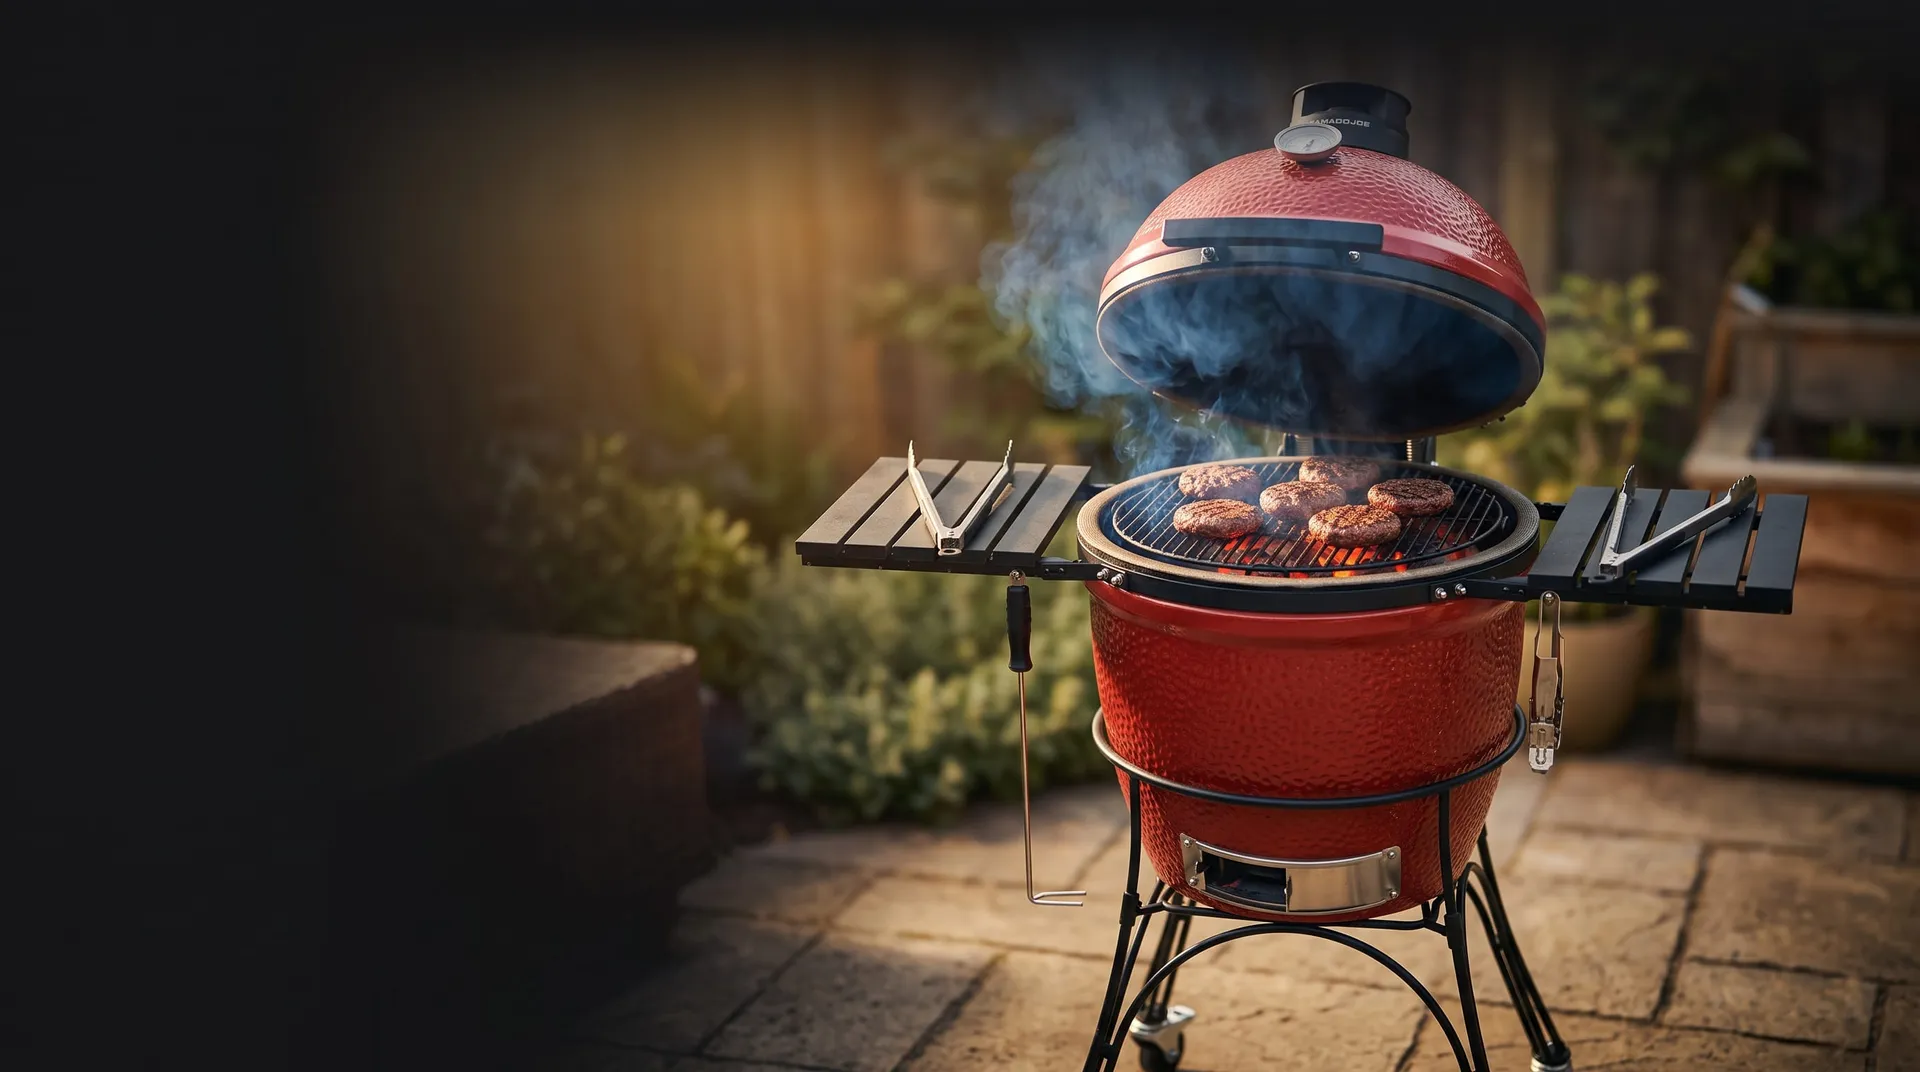
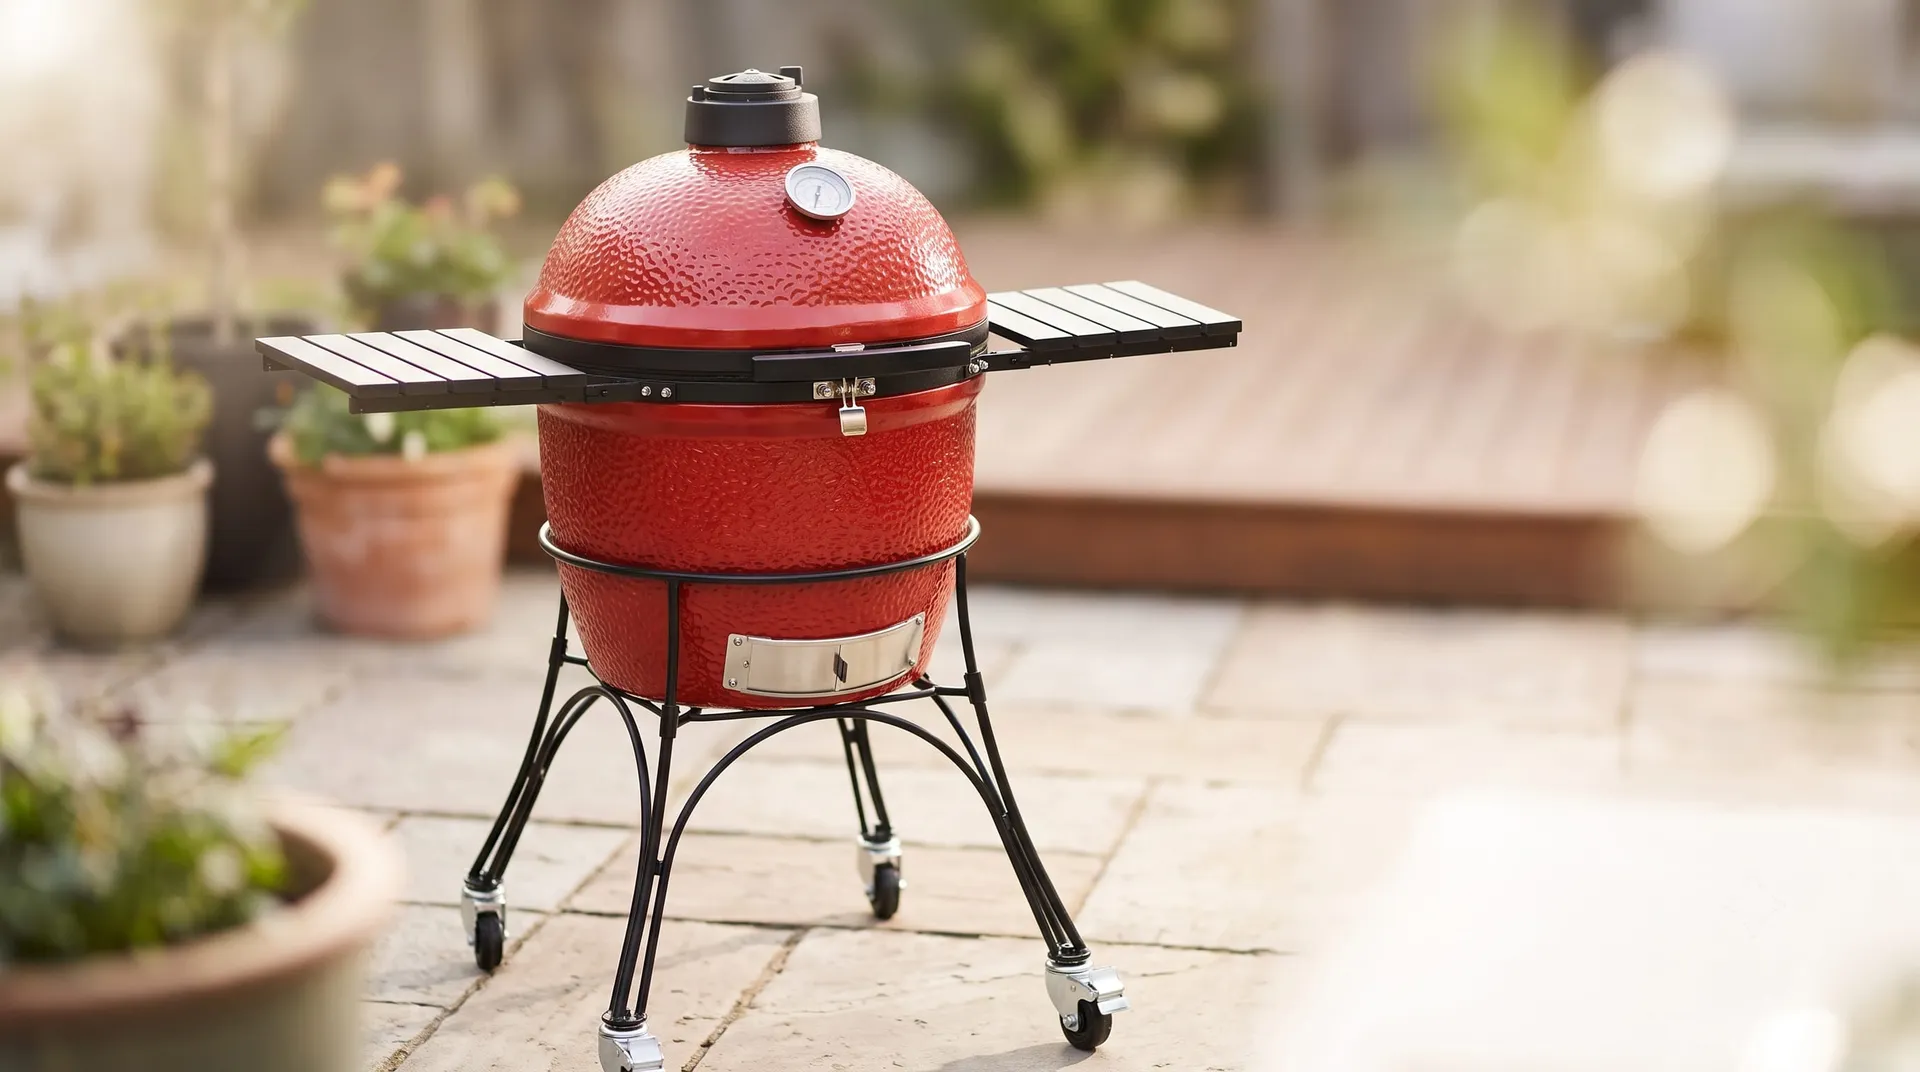 The Classic Joe I on its cart with locking casters: the same 18-inch ceramic body as the Classic II.