
To use an electric smoker, season it once before the first cook, then preheat, load wood chips, fill the water bowl and keep the door shut while it runs. Masterbuilt's manual for its 40-inch digital electric smokers says to season at 275°F for 3 hours, preheat for 30 to 45 minutes at your cooking temperature, and add no more than half a cup of chips at a time, only once the last batch has stopped smoking. For meat, keep the smoker air between 225°F and 275°F: USDA's smoking guidance sets 225°F as the floor, and 275°F is the top of Masterbuilt's dial. Then cook to a safe internal temperature.
Chips, not chunks or pellets, half a cup at a time, door closed.
Electric Smoker Settings at a Glance
Every number here comes from the maker or USDA; your own manual wins if it differs.
| Step | Masterbuilt's number | Source |
|---|---|---|
| Pre-season (first use) | 275°F for 3 hours; ½ cup chips in the last 45 min; water bowl in, empty | Masterbuilt manual |
| Preheat before food | 30–45 min at cooking temperature | Masterbuilt manual |
| Wood chips | ½ cup max per load; add more only when smoke stops | Masterbuilt manual |
| No smoke at a low setting | 275°F for 8–10 min, then back down | Masterbuilt manual |
| Smoker air for meat | 225–275°F (USDA 225–300°F; Masterbuilt max 275°F) | USDA FSIS, Masterbuilt |
| Cooling before moving | Below 115°F | Masterbuilt manual |
Where Can You Use an Electric Smoker Safely?
Placement comes before the first plug-in, because smoldering chips give off carbon monoxide.
Masterbuilt says its smoker is for outdoor household use only, somewhere well ventilated. Its manual rules out:
- Homes, garages, enclosed patios, tents, RVs, boats or any other enclosed area
- Anywhere under roof coverings, carports, awnings or overhangs
- Anywhere within 10 ft of overhead construction, walls, rails or combustible materials
- Tables, counters, wooden decks or other flammable surfaces; it must sit on the ground, on a level, non-combustible surface such as dirt, concrete, brick or rock
Watch out: burning wood chips gives off carbon monoxide, which is why Masterbuilt bans every enclosed space, garages included. If you rent with only a balcony, look at electric grills for apartments instead.
Power and weather rules from the same manual:
- Plug only into a properly grounded outlet.
- An extension cord is allowed if its rating is at least the smoker's, it's a grounding-type 3-wire cord, and it's an outdoor cord marked "W". Keep the connection dry and off the ground.
- Don't run it during an electrical storm, and don't expose it to rain or water.
- Never leave it unattended, and keep a fire extinguisher within reach.
What You Need
- The smoker's owner's manual
- Wood chips (Masterbuilt says never chunks or pellets)
- Water, or apple or pineapple juice, for the water bowl
- A food thermometer for the meat, plus the smoker's own thermometer for the air; USDA says a smoked cook needs both
- Heat-resistant gloves
- Mild dish detergent and a damp cloth for cleanup
- A fire extinguisher
Step-by-Step: How to Use an Electric Smoker
Eight steps take an electric smoker from the box to a cleaned, stored cabinet.
Step 1 of 8Season it before the first cook
Time: 3 hours at 275°F
Masterbuilt calls this pre-seasoning and says to do it before first use. Put the water bowl in with no water, run the smoker at 275°F for 3 hours, and load half a cup of chips during the last 45 minutes. Then shut it down and let it cool. Some smoke during seasoning is normal. The steps here follow the manual for the Masterbuilt 40-inch digital electric smoker family; check yours for your model.
Step 2 of 8Set it up outdoors and plug it in
Done when: it stands on level, non-combustible ground with the clearances in the safety section above
Plug it in only once it's fully assembled. Masterbuilt says to connect the cord to the smoker first, then to the wall outlet.
Step 3 of 8Thaw the meat and set the temperature and timer
Target: 225–275°F for meat
USDA says to thaw meat or poultry completely before smoking. For a whole bird, our guide on how to smoke a turkey covers thawing it in the fridge or in cold water. On Masterbuilt's digital panel, heating won't begin until you set the timer, and the heat switches off when the time runs out, so set a timer longer than you expect the cook to take.
Masterbuilt notes that when it's cooler than 65°F outside or you're above 3,500 ft, the cook may take longer.
Step 4 of 8Preheat with the first chips
Time: 30–45 minutes
Put half a cup of chips in the side wood chip loader before you start, turn the handle clockwise to drop them onto the chip tray, then turn it back upright and leave the loader in place. Masterbuilt says the loader and chip tray must both be in place. If the chips won't smoke at a low setting, raise it to 275°F for 8 to 10 minutes, or until they smolder, then set it back down.
Soaking is your call. Masterbuilt says dry chips burn faster with more intense smoke, while chips soaked for about 30 minutes burn slower with lighter smoke. For which wood to pick, see the best wood chips for an electric smoker.
Step 5 of 8Fill the water bowl and load the racks
Done when: the bowl is at its fill line and every piece of food has space around it
Masterbuilt says to wait until the smoker reaches temperature, then fill the water bowl with water or with apple or pineapple juice; fruit slices, onions or herbs are optional. For chicken and other high-moisture foods, little or no liquid is needed; see how to smoke chicken. Don't cover the racks with aluminum foil or overload them.
Step 6 of 8Keep the door shut and add chips only when the smoke stops
Target: half a cup of chips per load, no more
Add the next batch only after the earlier chips have stopped making smoke. The temperature may spike briefly after you add them; Masterbuilt says not to change the setting. Masterbuilt's blog adds that chips matter most in the first few hours, since the meat takes on less smoke after that.
Opening the door lets heat out, lengthens the cook and can make the chips flare up. Smoke escaping at the seams and a blackened interior are normal, per Masterbuilt.
Watch out: if the chips flare up, close the door and the air damper and wait. Masterbuilt says never spray them with water. The chip loader gets hot even when its handle doesn't feel it.
Check the rear grease tray often and empty it before it fills.
Step 7 of 8Cook to a safe internal temperature
Done when: the food thermometer reads USDA's safe minimum for that meat
Judge doneness by the thermometer in the meat, not by the smoker's display or the clock. Look up the number in our chart of safe internal temperatures. For cook-specific steps, follow how to smoke a brisket or smoke ribs.
Step 8 of 8Shut down, cool and clean
Done when: the smoker is cool to the touch, clean and stored dry
Switch it off at the control panel, then unplug it. Masterbuilt says to let it cool below 115°F before moving or storing it, and to clean it after every use to prevent mold and mildew.
- Racks, rack supports, water bowl and drip pan: wash with mild dish detergent, rinse and dry.
- Interior, door glass and exterior: wipe with a damp cloth and no cleaning agent.
- Chip tray: empty the cold ash before and after each cook. Masterbuilt says to wrap cold ashes in foil, soak them with water and keep them in a non-combustible container.
- Never clean it with a water sprayer or hose.
- Storage: keep it covered and dry; Masterbuilt says indoors when not in use, and check now and then for rust.
For the rest of the routine, see how to clean your smoker.
Why Isn't My Electric Smoker Smoking or Heating?
Masterbuilt's own troubleshooting table covers these three stalls.
No smoke
Sign
The smoker is hot, but nothing comes out of the vent.
Fix
- Check that there are chips on the tray and the loader is in place.
- At a low setting, raise it to 275°F for 8 to 10 minutes, then lower it again.
Expect
Chips smoldering and a steady thin smoke.
Slow to heat up
Sign
Masterbuilt flags a heat-up that takes longer than 60 to 70 minutes.
Fix
- Remove the extension cord if you can and plug straight into the outlet.
- Make sure the door is fully closed and latched.
Expect
A normal heat-up. If it's still slow, Masterbuilt points to the controller; contact Masterbuilt.
Error message, or no heat with the power on
Sign
The panel shows an error, or the smoker has power but won't warm up.
Fix
- Turn it off, unplug it, wait ten seconds and plug it back in.
- If the fault comes back, contact Masterbuilt; its table lists sensor, heating element and controller faults here.
Expect
A cleared error after the reset, or a repair from Masterbuilt.
For problems owners raise with the model itself, see the "Common Problems and Fixes" section of our Masterbuilt 40-inch electric smoker review.
Is an Electric Smoker Right for You?
An electric cabinet trades some bark for set-and-leave control.
The Masterbuilt 40-inch gives you 970 sq in across four chrome-coated racks, a 100–275°F digital range, a side chip loader and a door window. The trade-off our review notes: chips smoldering on an element give milder smoke and bark than charcoal or pellets.
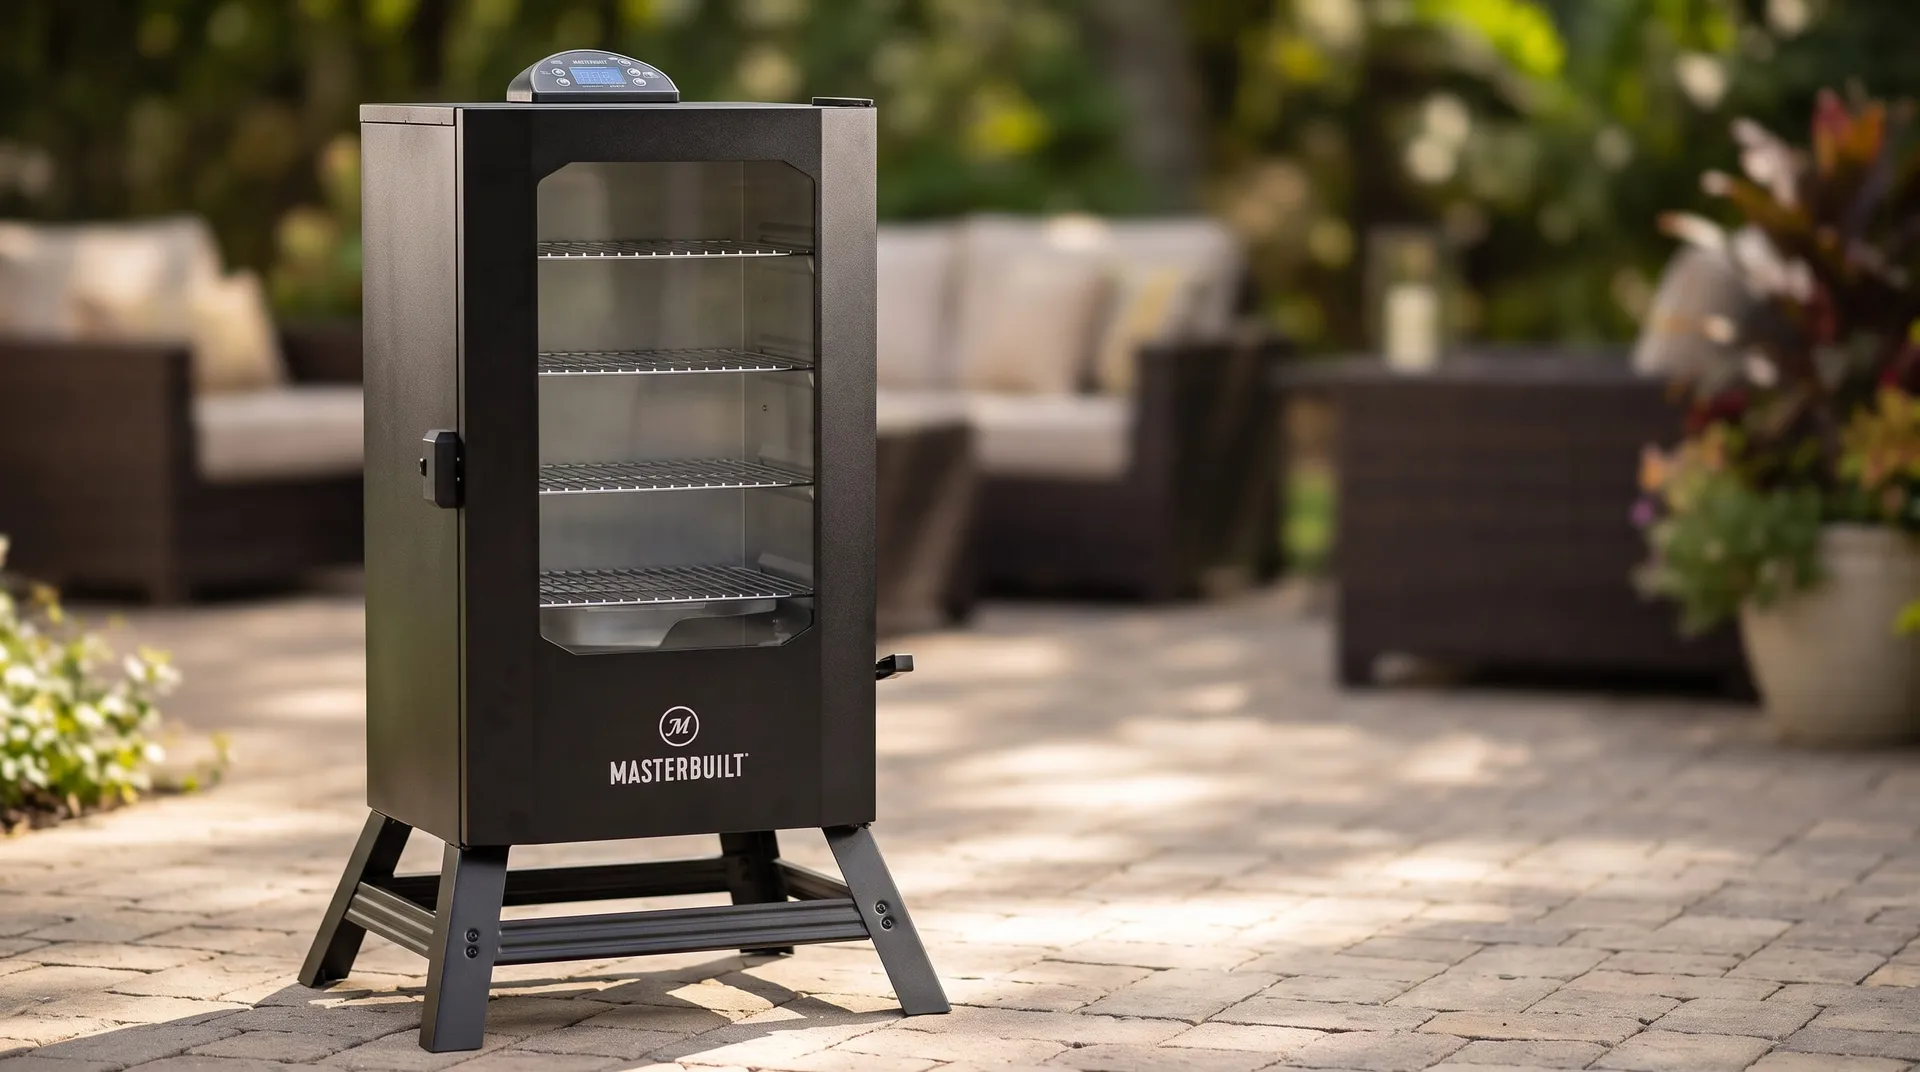 Our electric pick
Four racks, a side chip loader and a window, with a 275°F ceiling.
Weighing other fuels? Compare the best smokers for beginners or the full best smokers list.
Frequently Asked Questions
01Do you need to season an electric smoker?
Yes, once, before any food goes in; Step 1 has Masterbuilt's settings.
02Do you soak wood chips for an electric smoker?
You can, but you don't have to; Step 4 gives Masterbuilt's dry-versus-soaked difference.
03Can you use wood chunks or pellets in an electric smoker?
Not in a Masterbuilt digital electric smoker. Its manual says to use chips only and never wood chunks, wood pellets, charcoal or heat pellets.
04Do you put water in an electric smoker?
Yes, for most foods. Fill the bowl to its line after preheating; skip most or all of it for chicken.
05How often do you add wood chips?
Not on a timer: add the next half cup when the previous load stops smoking, and mostly in the early hours of the cook.
06Can you use an electric smoker in a garage or under a patio roof?
No. Masterbuilt bans garages, enclosed areas and anywhere under a roof, carport, awning or overhang; see the safety section above.
The Takeaway
An electric smoker does the fire-tending for you, so the mistakes to avoid are poor placement, too many chips and an open door. Follow your manual's numbers and let the food thermometer decide when it's done.
- First time: season it before any food goes in.
- Every cook: preheat, chips, water bowl, then keep the door shut.
- Doneness: the food thermometer, never the clock.
- After: cool it, clean it, store it dry.
Still deciding between cookers? See how a pellet grill vs a traditional smoker compares.
Written by
Tom Bricker
Consumer Research Analyst & Editor
Tom Bricker has 10+ years of grilling on every fuel type and a consumer-research background. He leads SmokyHQ’s gas, portable, electric and flat-top coverage and also writes in other categories, so if you’re weighing price against how long a grill will last, his reviews compare specs, materials and warranties to show which ones look worth the money.
- Gas Grills
- Portable Grills
- Electric & Indoor Grills
- Griddles
- Value & Durability
Every grill is scored with the same method. How we score
Keep reading
Related guides

Pellet Grill vs Smoker
Set-and-forget convenience or heavier smoke and no power cord? How pellet grills and traditional smokers compare on flavor, effort, weather and cost.
Read the guide
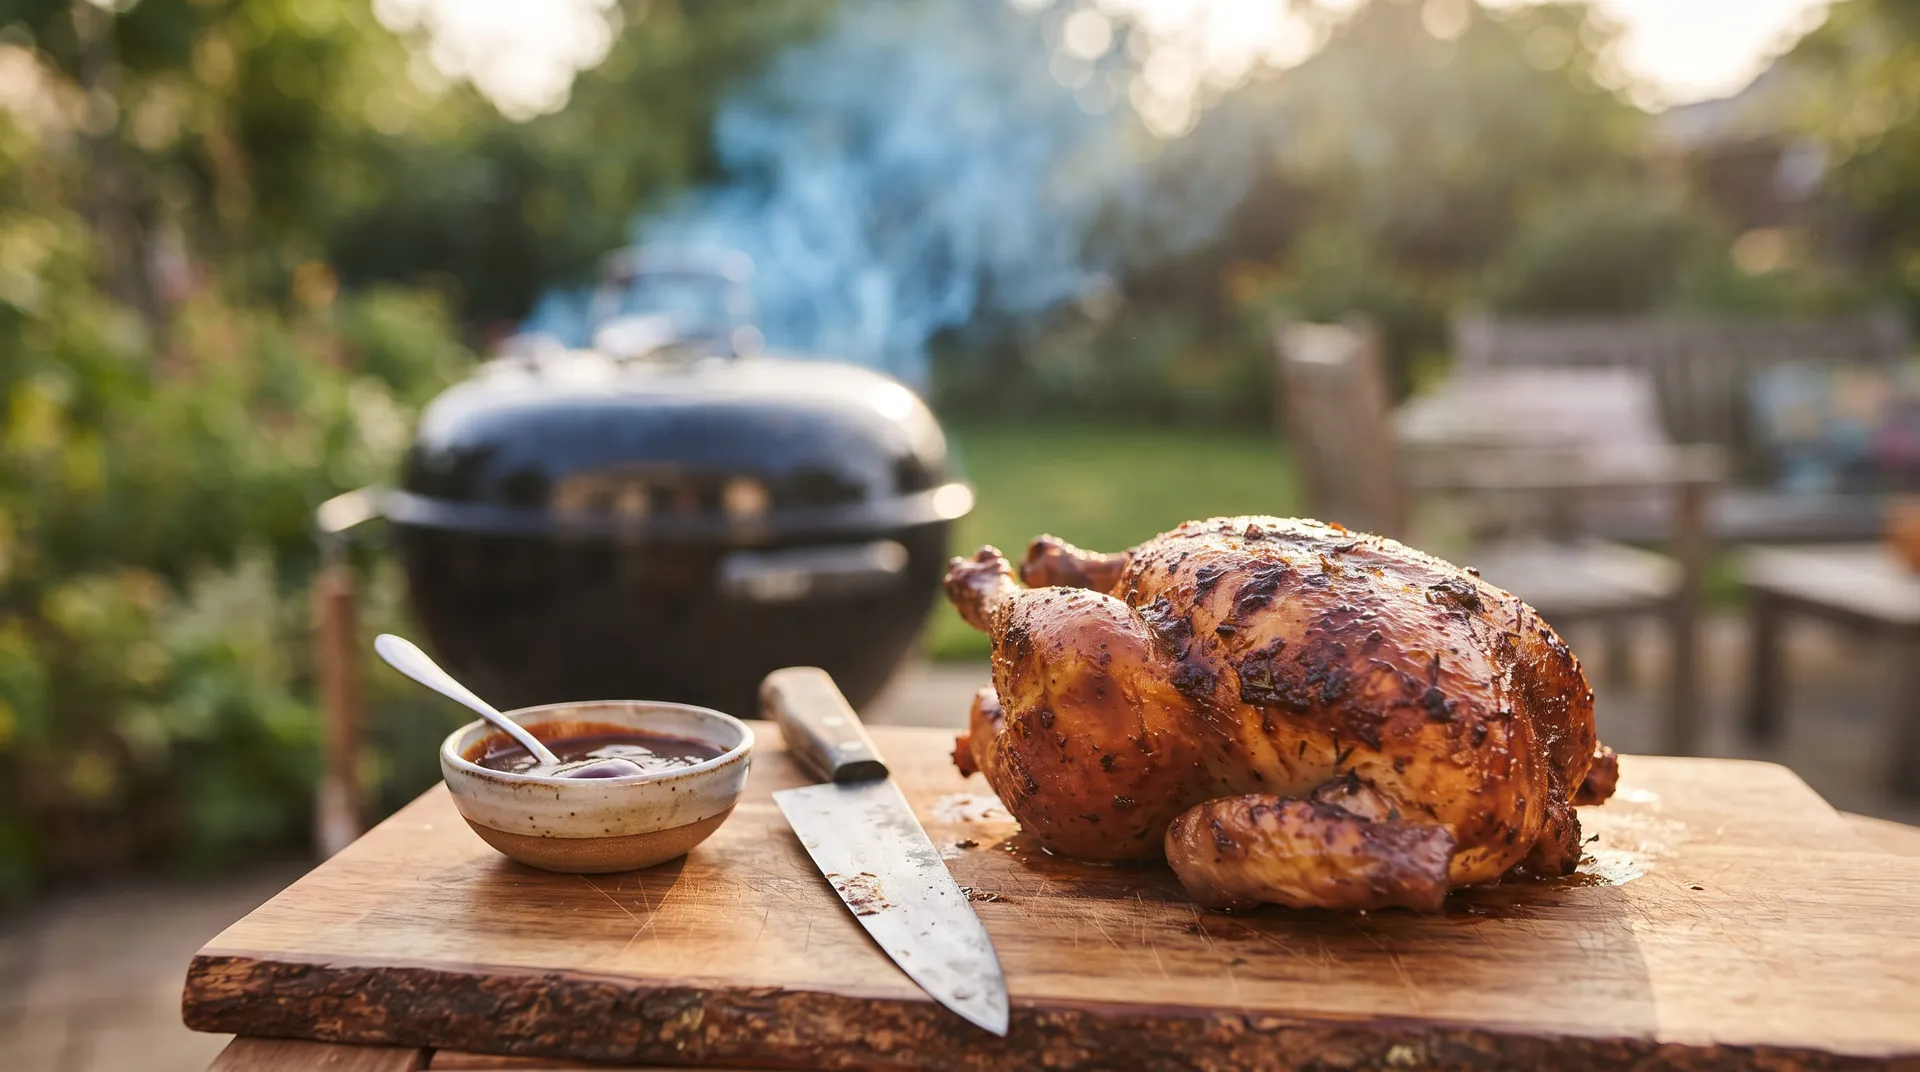
How to Smoke Chicken
Smoke chicken safely with juicy meat and crisp skin: USDA temps, brining, credited times by cut, wood and grill setups.
Read the guide
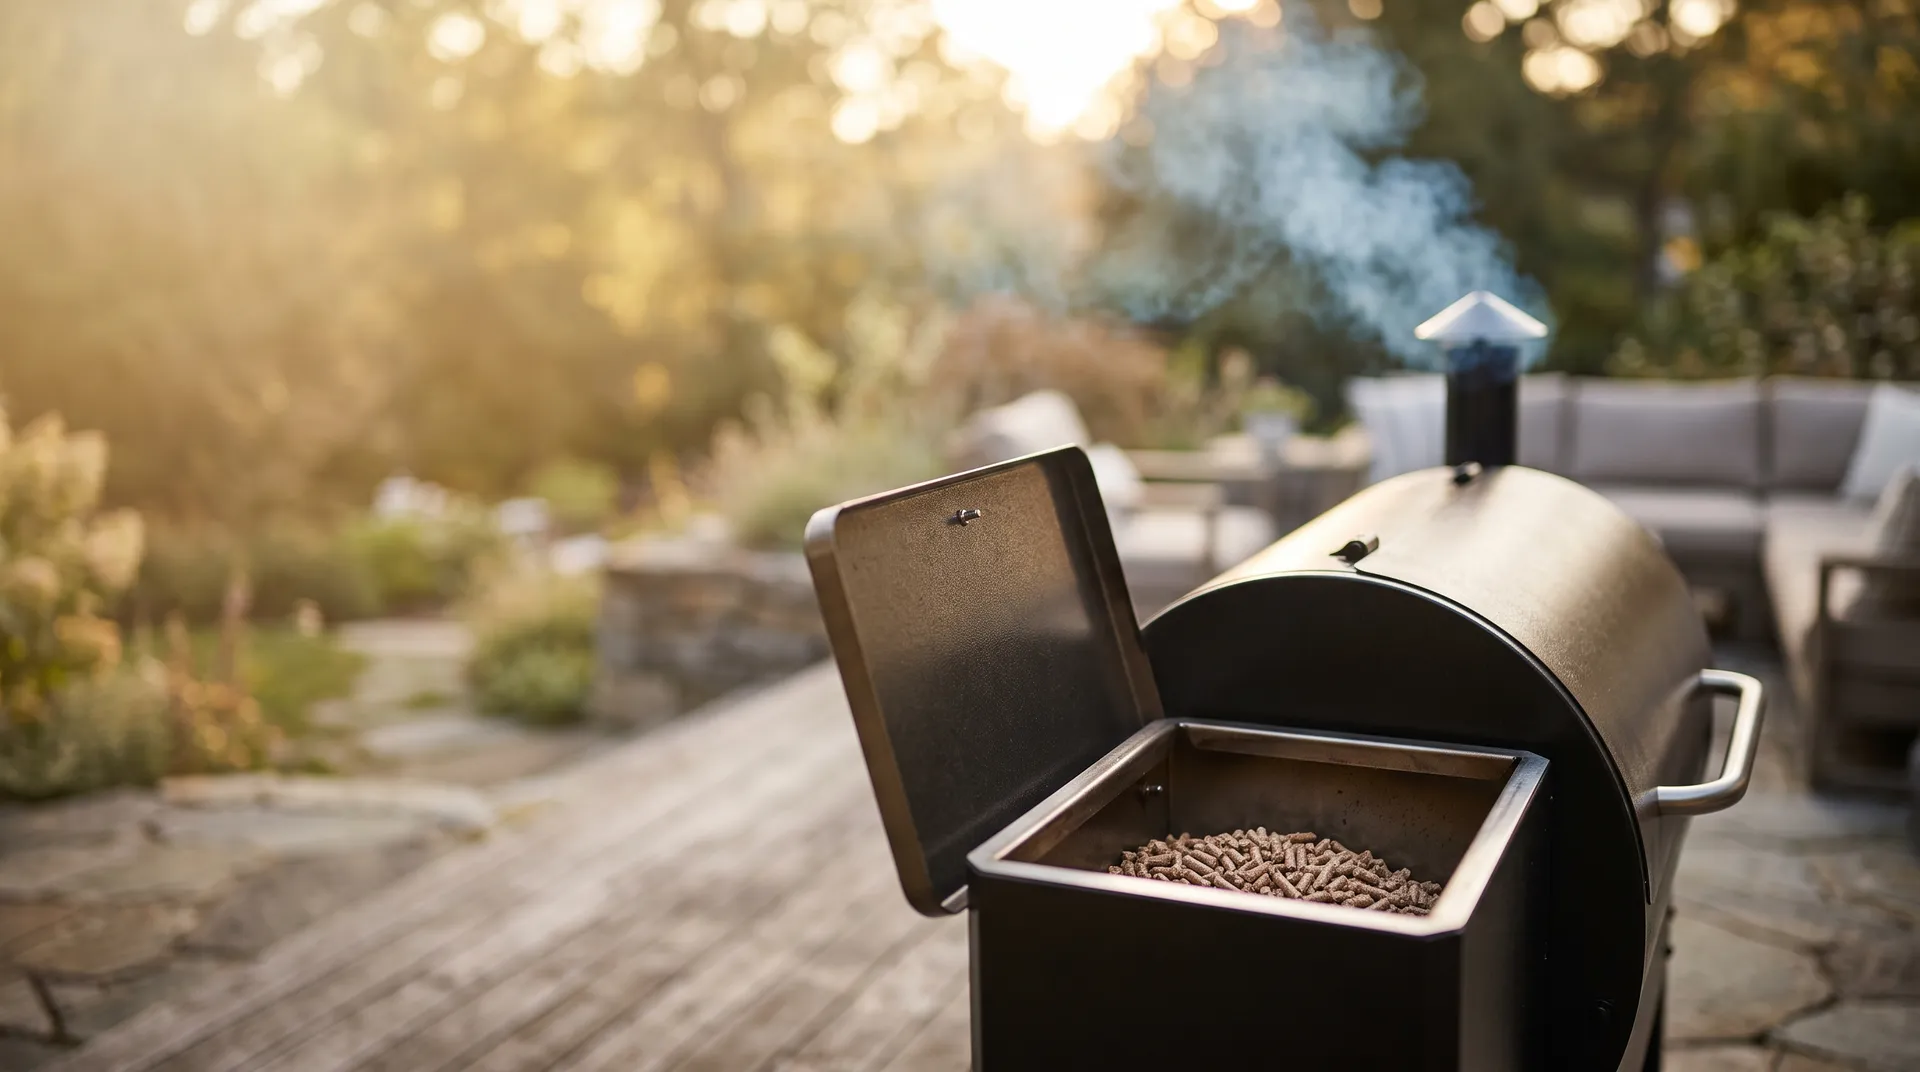
How to Use a Pellet Grill
Burn in a new pellet grill, start it with the lid where your brand says, hold a temperature and shut it down safely, from the makers' own steps.
Read the guide
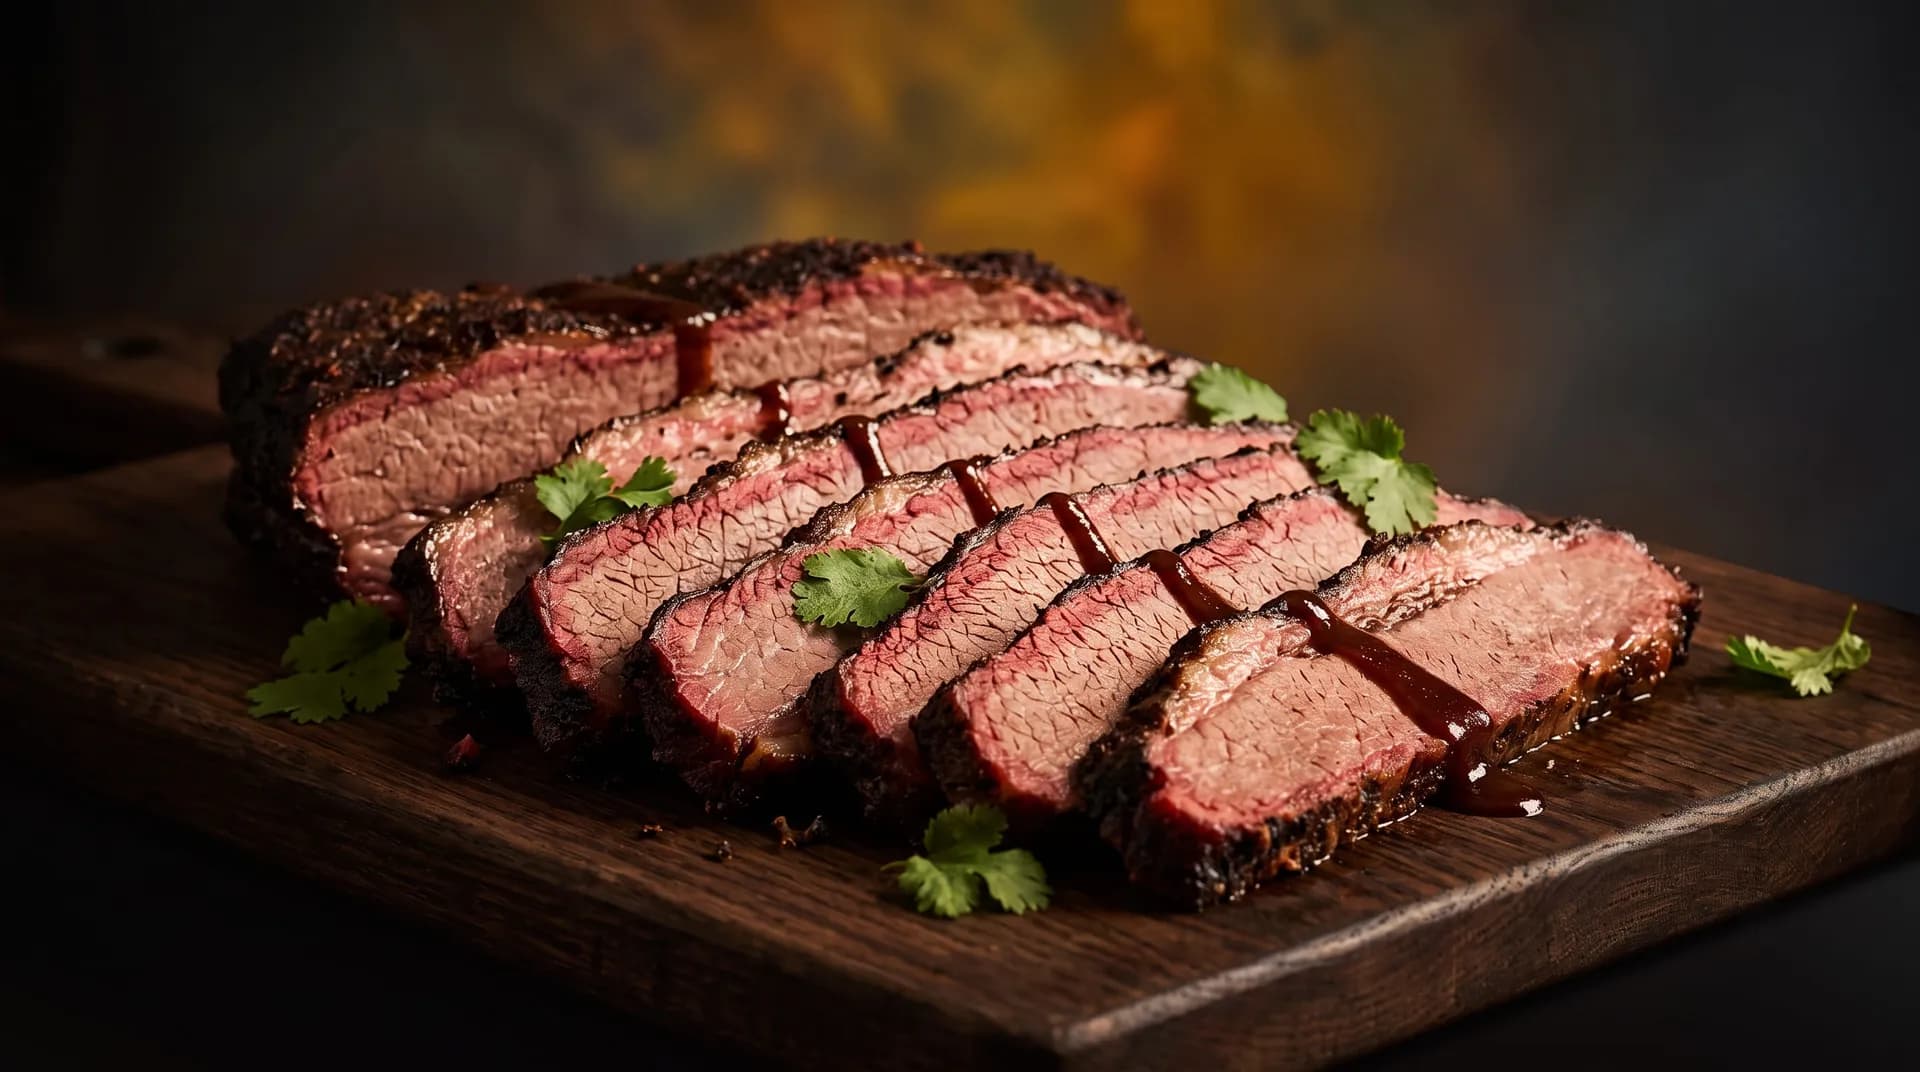
How to Smoke a Brisket
Trim, season, smoke, wrap, rest and slice a whole packer brisket, with USDA safe temperatures, the makers' own times and setup for each type of smoker.
Read the guide